Rockland NY Mom
  • About this Site
    • Privacy Policy & Disclosure
  • Savings for RNYM.com Readers!
  • Currently loving….
    • Feeding Baby
    • BabyCare 101
  • Directories
    • Pregnancy and Babies
    • Camps Directory 2023
    • Childcare/Pre-School Directory
    • Classes Directory
    • For the Home
    • Direct Sales Directory
    • Party Directory
    • Party Entertainment Directory
    • Photographers Directory
    • Family Services Directory
    • Crafters Directory
    • Specialty Items Directory
    • Play Ball
  • A Good Cause
  • I’m Going on a Trip…
    • Theater
  • We’re having a party….
  • RNYM’s Favorite Recipes
  • Become Part of RocklandNYMom
  • RNYM in the News!
  • Christmas 2019

Category Archives: Crafts

Tiki Torch Torture

Posted on July 18, 2022 by RocklandNYMom Posted in Crafts, RNYM's Picks .

Disclosure: This is an unsponsored post.  All opinions expressed are my own.  This article contains affiliate links which means if you choose to purchase the items we recommend we earn a small commission.  

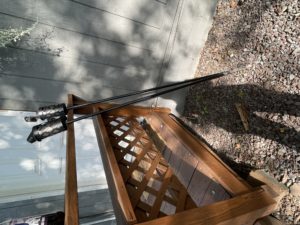
We own a cabin in the woods of the Poconos.  It’s my happy place.  We have been working on it non stop in the two years that we have owned it.  Last year for Mother’s day my family purchased for me a set of Tiki Torches.  What a great IDEA cause I LOVE to sit outside in the evenings and enjoy company of family and friends.  The problem is, being in a lake region, the ground is TOO SOFT for the torches to stay put in the ground.  Every time I put them in the ground, they fell.

We came up with this inexpensive planter fix- which I think is ADORABLE.  Now they stay put, they look adorable, and I am pleased as punch to sit outside and enjoy my outdoor space.

What you need:

  • Plastic Pots in two sizes (this link has both on it if you need them)– one that’s about the size of a coffee can (or actual coffee cans), and then a larger pot to put it all in and then put flowers in.  I found mine at Dollar General, but in case you can’t get out, I linked you to some on Amazon.
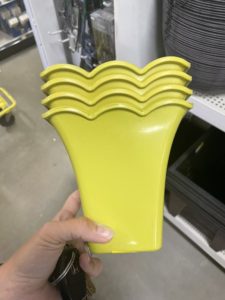
  • Tiki Torches 

  • Tiki Torch Cartridge Replacements (in case your got rusty over the winter too)
  • Cement
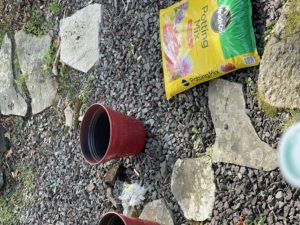
  • Potting Soil (we used miracle grow)

  • Flowers (went with Vinca’s here because deer don’t love them)
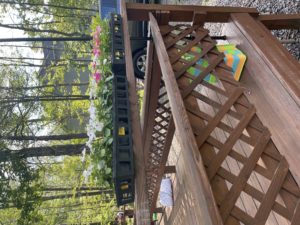
Steps:

  1. Mix the cement.
  2. Put tiki torch bottom into the smaller pot- fill around it with cement. Let dry at least 24 hours.
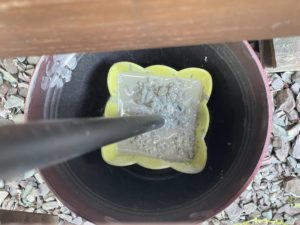
     3.  Put the smaller pot into the larger one, filling around the bottom with rocks for stability and filler.

4.  Add potting soil, then flowers.
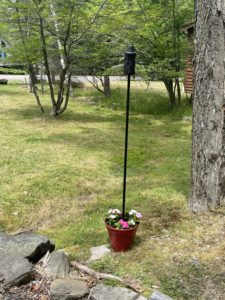
We placed ours around the fire pit area and I cannot wait for the flowers to fill themselves in!

If you love our post or give it a try please as always share a pin, a comment, a social share <3

 

DIY Valentines

Posted on January 15, 2022 by RocklandNYMom Posted in Crafts, Valentines Day .

Disclosure:  This post is unsponsored, but the posts include affiliate links.

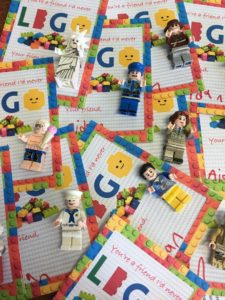
Want to get a jump on this year’s celebrations???  Here are some fun DIY Valentines you can use, with FREE Downloads (please don’t sell our hard work).

Lego Valentine 5

A friend I won’t LEGO

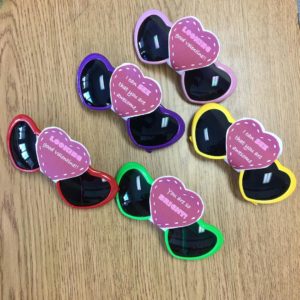
sunglass valentine 4

I only have EYES for you

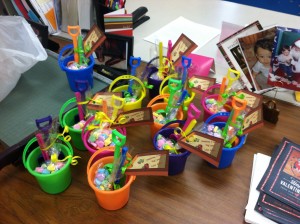
Valentines 2014 group

Valentine I Dig You

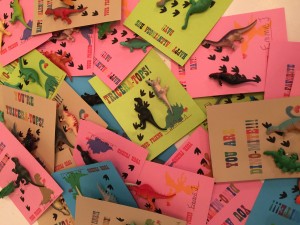
Dino Valentine 2016 2

Dino-Mite!

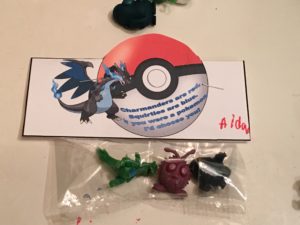
IMG_5160

I Choose You!

Head Over Wheels Valentine

Head Over Wheels

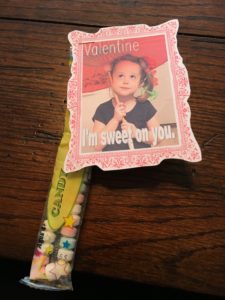
IMG_5364

Valentine I’m Sweet on You

Home Made Christmas Ornaments!

Posted on December 4, 2021 by RocklandNYMom Posted in Christmas Ornaments, Crafts .

Disclosure:  This post contains links to other posts of past projects.  Within each post there are affiliate links to purchase supplies.  This means that when purchased, the website earns a small percentage of your order. 

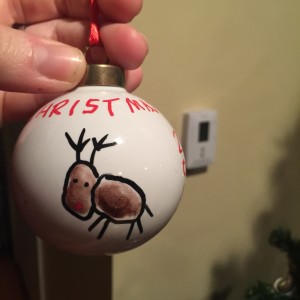
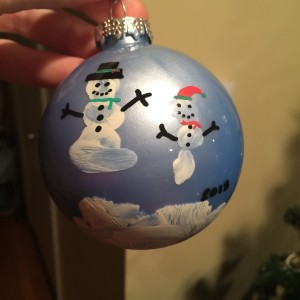
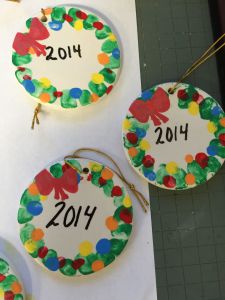
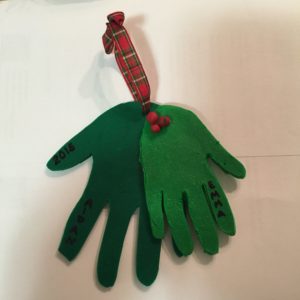
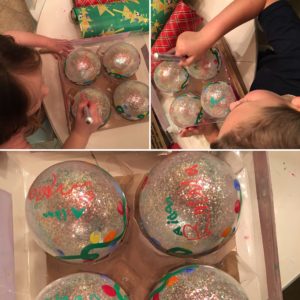
It’s no surprise that I LOVE a handmade ornament.  In fact, we make one every year.  Its a challenge for me creatively too, because I prefer to make it a handprint ornament or a fingerprint one.  Here is a look at this years’ as well as a compilation of those from the past in case you are looking to re-create one or for inspiration.  If you aren’t quite as crazy as me, you can always go see Jill at Jill’s Ceramics and she can help you recreate these (or a version of them) with her ceramic ornaments.

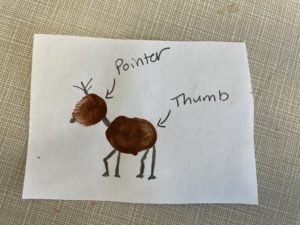
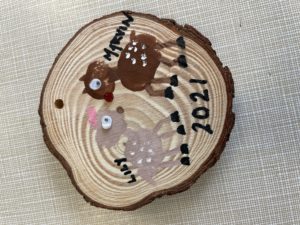
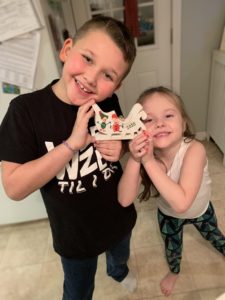
Here’s how I work it:  My elves (Marvin and Lily) bring the kids a photo or sample of what they need to recreate.  We have one big kid who knows about Christmas but still loves the Magic we make, and one who is hanging on to all the belief by a tread, so I am of course apt to do it up this year while I can.  All of the supplies come too.  Then we work to create several (we give all the grandparents a copy) of the ornaments.  At Christmas, they all expect it and its fun to look at all of them over the years.  THIS YEAR- my kids are now the “big cousins” so the Elves will still bring them all the supplies, but will instruct them to teach the little guys how to do it, therefore, they will have all the supplies to bring to our family night at my sister’s house.

This year everything we do is Rudolph themed, we started with a trip to see the musical (SO WORTH IT) and it has snowballed from there.  No surprise that although I did a version of the same in 2012 with just (A) I felt it was ok to repeat.  1. Because now (E) is here, and 2. Because there are little cousins involved now as well.

What you need:

  • Wood Slice Ornaments
  • Brown Paint
  • White paint
  • Pink and/or Red Paint (for girls- modeled after Clarice and Rudolph’s Mom)
  • Brown and Black Paint Pens
  • Red Glitter glue
  • Small Google Eyes
  • Small Detail Paint Brush

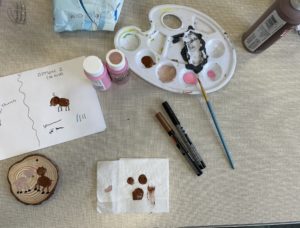
The kids haven’t done it yet, they will in 2 weeks, but with shipping delays we wanted to get this out to you ASAP.  I have added a photo of the Elves’ sample for them to follow.

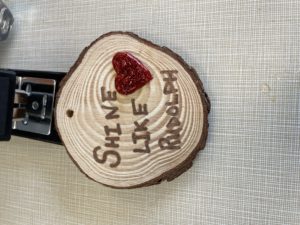
Once complete, we added on the back “Shine Like Rudolph” and of course the year is on it.

You can add names above the deer if you want, and in a family where the kids’ thumbs are smaller you may be able to fit the whole family (I am assuming my siblings will do this).  It’s super cute and I ADORE THIS TRADITION.

We started this tradition in 2012 when (A) was 2.  I have linked the past projects here so that you can look for inspiration.  They can all also be found on “Pinterest” under RocklandNYMom

Past Ornaments:

2012

2013

2014

2015

2016

I CAN’T FIND MY ORNAMENT PHOTOS WHAT HAVE I DONE???! #BLOGGERFAIL #MOMFAIL #NOBODYSPERFECT

2017

2018

2019

This was the “Little Cousin” version because they were single kiddos and had smaller hands <3
Since I have the two kiddos this is the version we did, (A) is the Grinch and (E) is Max <3
2020

Love Ornaments as much as we do?? Read about our other ornament traditions (yes we are going to need another tree soon-not a horrid problem to have <3)

  • Ornament Adventure Tradition
  • Christmas Card Ornament Tradition (which we love so much we started doing it for our cousins too!)


1 Comment .

Just Elfing Around

Posted on December 4, 2021 by RocklandNYMom Posted in Christmas Ornaments, Crafts, Uncategorized .

Disclosure:  This post contains links to other posts of past projects.  Within each post there are affiliate links to purchase supplies.  This means that when purchased, the website earns a small percentage of your order. 

It’s no surprise that I LOVE a handmade ornament.  In fact, we make one every year.  Its a challenge for me creatively too, because I prefer to make it a handprint ornament or a fingerprint one.  Here is a look at this years’ as well as a compilation of those from the past in case you are looking to re-create one or for inspiration.  If you aren’t quite as crazy as me, you can always go see Jill at Jill’s Ceramics and she can help you recreate these (or a version of them) with her ceramic ornaments.

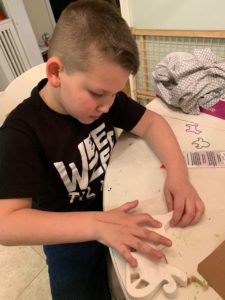
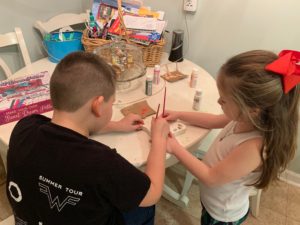
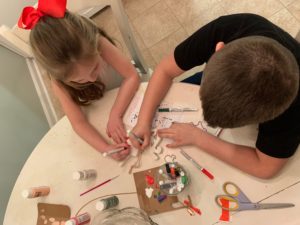
Here’s how I work it:  My elves (Marvin and Lily) bring the kids a photo or sample of what they need to recreate.    All of the supplies come too.  Then we work to create several (we give all the grandparents a copy) of the ornaments.  At Christmas, they all expect it and its fun to look at all of them over the years.

Here’s what you need:

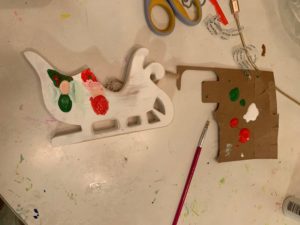
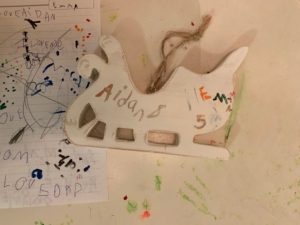
  • Sleigh Ornament (I can’t find the one we used, so here is a great alternative)
  • Craft Paints
  • Flesh Toned Craft Paints
  • Paint Pens
  • Baby Wipes (these clean fingers etc better than anything else- in fact they can be used to correct a placement mistake with the craft paint when done quickly too.)

Here’s how we do it:

Fingerprints make the elf body and face.

Then we painted on matching hats.

Used the paint pens to add arms, legs, faces and the date, on the back we also added names and ages <3
 

Finished Product

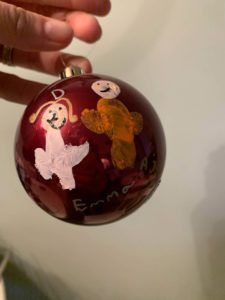
Angel Finger Print Ornaments

Posted on December 4, 2021 by RocklandNYMom Posted in Christmas Ornaments, Crafts .

Disclosure:  This post contains links to other posts of past projects.  Within each post there are affiliate links to purchase supplies.  This means that when purchased, the website earns a small percentage of your order. 

It’s no surprise that I LOVE a handmade ornament.  In fact, we make one every year.  Its a challenge for me creatively too, because I prefer to make it a handprint ornament or a fingerprint one.  Here is a look at this years’ as well as a compilation of those from the past in case you are looking to re-create one or for inspiration.  If you aren’t quite as crazy as me, you can always go see Jill at Jill’s Ceramics and she can help you recreate these (or a version of them) with her ceramic ornaments.

Here’s how I work it:  My elves (Marvin and Lily) bring the kids a photo or sample of what they need to recreate.    All of the supplies come too.  Then we work to create several (we give all the grandparents a copy) of the ornaments.  At Christmas, they all expect it and its fun to look at all of them over the years.

Here’s what you need:

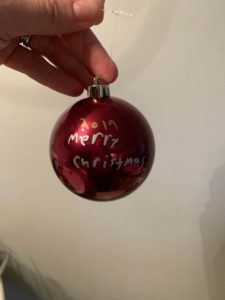
  • Red Plastic Ornaments (any color will do but we like to switch it up from year to year)
  • Craft Paints for the Dress (these last forever so I invested in the multi pack so I can use them again and again)
  • Flesh Toned Craft Paint
  • Black Paint Pen
  • Metallic Paint Pens

Here’s How:

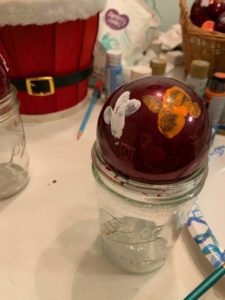
Fingers dipped in their chosen color create the dress and wings. Then a flesh toned finger makes the face.

Upon drying the paint pens are used to add faces, hair, halo’s, the year, names and ages as well as “Merry Christmas”

These ornaments we treasure and they are a rather inexpensive and not too time consuming way to bond at Christmastime, as well as keep kiddos off their electronic devices.

Home- Made Grinch Ornament 2020

Posted on December 4, 2021 by RocklandNYMom Posted in Christmas Ornaments, Crafts .

Disclosure:  This post contains links to other posts of past projects.  Within each post there are affiliate links to purchase supplies.  This means that when purchased, the website earns a small percentage of your order. 

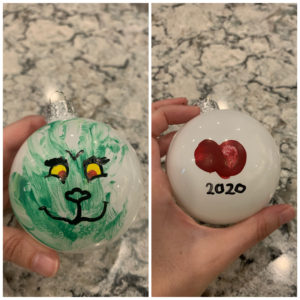
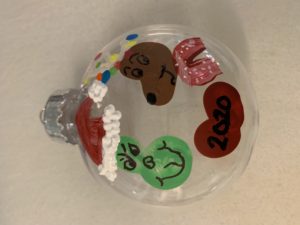
It’s no surprise that I LOVE a handmade ornament.  In fact, we make one every year.  Its a challenge for me creatively too, because I prefer to make it a handprint ornament or a fingerprint one.  Here is a look at this years’ as well as a compilation of those from the past in case you are looking to re-create one or for inspiration.  If you aren’t quite as crazy as me, you can always go see Jill at Jill’s Ceramics and she can help you recreate these (or a version of them) with her ceramic ornaments.

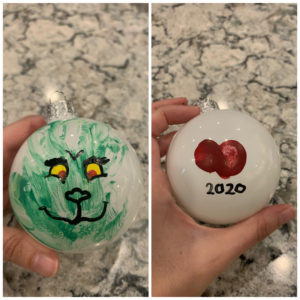
This year’s theme is the Grinch.  We were so excited to begin this tradition with out little cousins as well, that we made up little bags with the items to make the ornaments, including directions and dropped them off at their houses since we couldn’t get together last year.

What you need:

  • Clear Flat Plastic Ornaments
  • White Circular Plastic Ornaments
  • Green Craft Paint
  • Brown Craft Paint
  • Red Craft Paint
  • White Puff Paint
  • Colored Craft Paint Pens
  • Detail Paint Brushes

Older kid version with 2 kids:

To begin the kids used their thumbs to make the Grinch and Max Heads.  Then they wiped their fingers and each made a heart with the red p


aint.  Once dry the kids drew on a hat, antlers with lights on them, faces, year and scarf. The last step was to put the puff paint on the fuzzy parts of the scarf and Santa Hat to give dimension.

Finished Product:

Younger kid version 1 kid:

We painted their palm with the green paint and used it to make a Grinch head impression on the ball.  Then parents put their fingers in the red paint and made a heart on the back.

Once dry, we drew on the Grinch face and the year.

CAMP Johnston- Brittany Hollow Farm

Posted on August 21, 2020 by RocklandNYMom Posted in Camp Johnston, Crafts, Day Trips, Out and about..., Photo Obsessed .

Disclosure:  This is an unsponsored post, but contains affiliate links.  If you click our links and purchase the item, we earn a small commission.  We have used and highly recommend everything we provide links for.  All opinions expressed are our own.

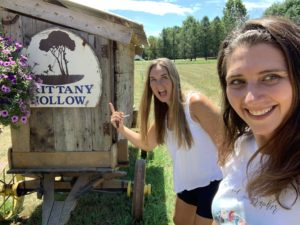
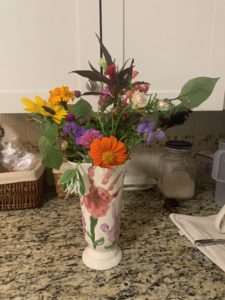
Last year we did a #RNYMBucketList of outdoor activities we wanted to do.  One of the ones we ADORED was Brittany Hollow Farm.  We went with friends.  Its a pick your own flower farm with tons of amazing different flowers to see and experience.  You pay by the bucket for what you pick, and if you bring your good camera you can also snag some priceless memories.  If you are allergic to bees just be sure as with all activities outdoors that you have your meds with you as there are tons of awesome flowers which of course attract our pollinating buddies (we got stung last year but its no big deal because we aren’t allergic).

  • Its not HUGE, but we also haven’t seen much traffic there.
  • This year we also packed a lunch and blanket to enjoy while there.
  • Its out in the sun, so don’t forget your sunscreen, and go earlier or later in the day to avoid the direct mid day heat.

Extensions:

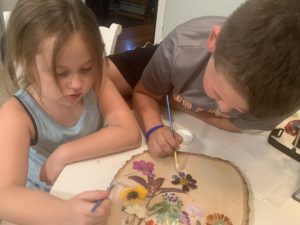
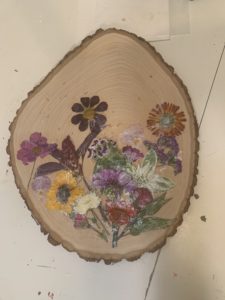
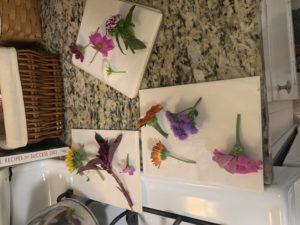
To commemorate our adventure we decided to try some….Pressed flower art! We are creating something for our adventure wall in the playroom as well as an ornament for our Christmas tree which we do so that our tree is full of our memories.

We purchased an  old school press  (details and links below- click purple to go to the item).  I prefer rustic so we are going that route, but for a more finished product you can go with the glass frames or finished wood.  The wood can of course all be stained or painted first depending on the look you are going for.

  • Flower Press
  • Glass Frame Wall
  • Glass Frame Tabletop
  • Modge Podge
  • Wooden Ornament
  • Wood Plaque- Rustic
  • Wood Plaque- Finished

LOVE the press that we got, you can microwave the pages to get them to remove the liquid from flowers another time, and its compact and easy to use.  The flowers were pressed PERFECTLY!!!  It said to only leave it tied up for like 2 days, we did more like a week.

The kids were able to lightly pull the flowers off of the paper, if it sticks, its not quite ready yet.

WE researched how they are usually placed, and did a dry run.

We then modge podged the wood, replacing each flower (bottom to top) and glued on top of them as well.  Be careful once those petals get a little wet they can move and rip so go lightly.

Once dried, we came up with a word that we wanted to use for our “Adventure Wall” in the playroom, stenciled and put it up!!!

Physical Extension- Learning Opportunity

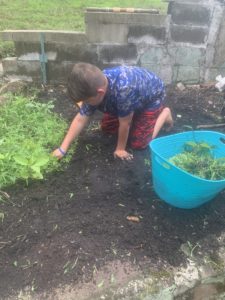
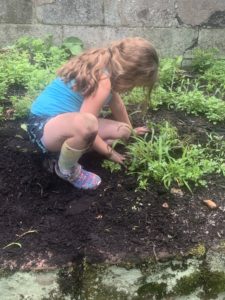
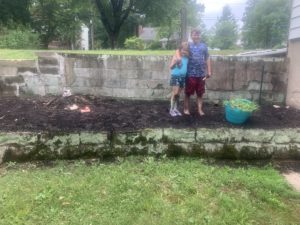
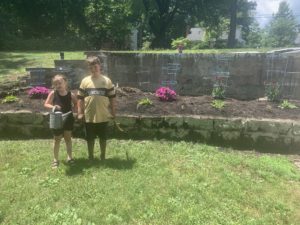
I saved a planter for my kids outside my bedroom window.  I had this in mind as soon as we knew they wouldn’t have their camp.  We started by weeding the whole thing.

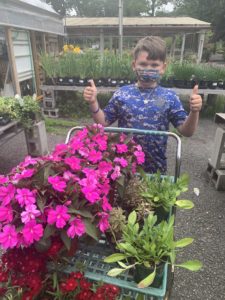
Then making observations about where it is. We discussed the different kind of plants available and what we would need. Off to Red HIll Nursery we went (its closest to us, but we always recommend the local guys where you live instead of big box).  The kids knew we needed “Full Sun” varieties, and decided on a mix of perennial and annual.  They wanted a mix of heights (we talked a little landscape design) and colors, plus some stuff that would attract butterflies and pollinators.

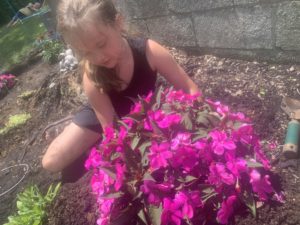
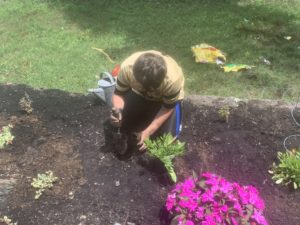
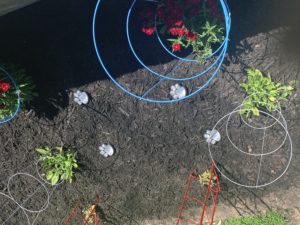
The kids planted all their purchases, added black mulch, and some AMAZING SOLAR dog paw print lights.

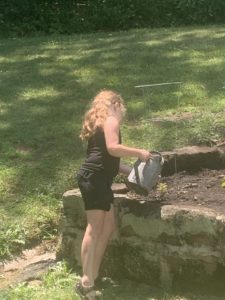
It’s their job to water and keep the flowers alive this summer as well.


CAMP Johnston- Tie Dye Fun

Posted on August 18, 2020 by RocklandNYMom Posted in Camp Johnston, Crafts, Crafts and More Crafts .

Disclosure:  This is an unsponsored post.  All opinions expressed are my own.  The supplies list contains affiliate links which means if you use them we earn a small sum.

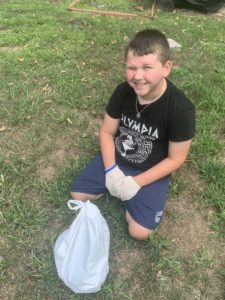
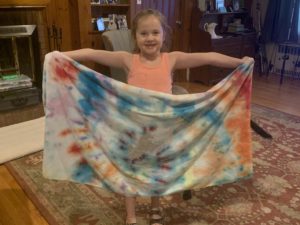
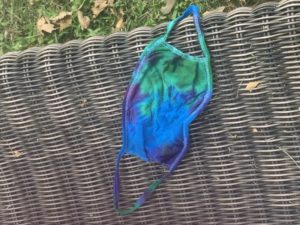
Yes, I know.  You’re thinking- this isn’t really a novel idea.  Everyone Tie Dye’s during the summer its a standard activity.  BUT its what we used that makes it so cool.  Instead of the usual Shirts, tanks, socks, and shorts- we opted to do towels and face masks.

Now for the rest of the summer our kids have their very own towel creations to take with them to the pool etc, and they LOVE them.  They don’t forget them like they do other towels.  Additionally, we have some personalized face masks that they are proud to wear, and they know belong to them.

Ok let’s get down to the nitty gritty.

What you need:

  • Towels
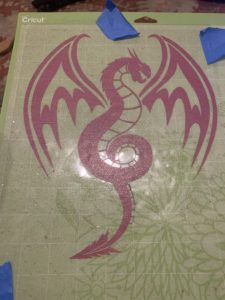
  • Vinyl
  • Glitter Vinyl
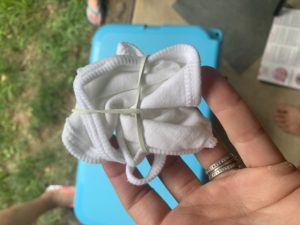
  • Rubber Bands – The kit comes with some but towels are large so its always better to have more.
  • Dye Kit
  • Face Masks
  • Plastic Bags (or saran wrap)- we just used food store bags, but have used saran in the past)

Got our towels and vinyl from Hudson Valley Vinyl but you can also order from Amazon if you would rather (affiliate links to items are the list above).  We like to support local so we went with HVV.

Once you have all the items its easy-

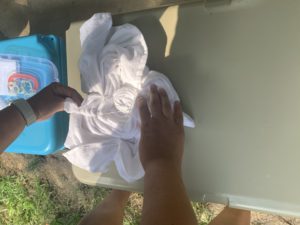
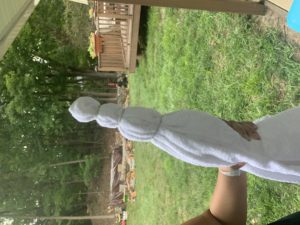
The kit comes with some ideas for how to wrap up your towel, (E) chose a swirl and (A) chose two bullseyes.

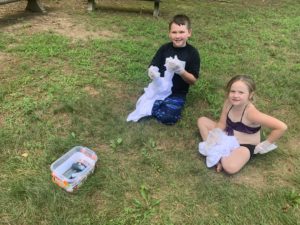
Then we added the dye.  As it got down to about 2/3 we added water again to get a little more out of the small bottles.  When you do this the color gets a little lighter over time, but it wasn’t bad.  I might opt to get larger bottles (like these) since the towels take so much though next time for more vibrant colors.

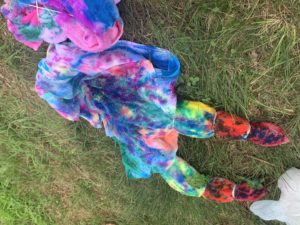
Upon completion, we wrapped them up in plastic bags and left them for 24 hours (it says you can do as littlea s 6).  WE opened them and laid them out to dry in the sun (not necessary but what we do).

Next step is to wash the towels.  I washed each seperately so the colors didn’t run.

Kids then picked a color vinyl and a shape to add.   If you can’t cut vinyl because you don’t have a machine reach out we know people like Hudson Adrift who can handle that for you.

Viola!  Our Tie Dye Towels (and mask)!!!


Chocolatier-Matisse- More than Just Sweet Treats

Posted on February 13, 2019 by RocklandNYMom Posted in Birthdays, Classes, Crafts, Party, Reviews, Uncategorized .

Disclosure:  This is a sponsored post as we were invited over for a class.  All opinions expressed are my own.

Chocolatier-Matisse in Orangeburg has been on our radar for quite a while.  In addition to being a great resource for party favors, a sweet treat for someone you love, holiday trays, and of course chocolate covered strawberries, Danielle and her staff has so much more going on there.  They also hold craft classes (weekly) where your child can affordably make a great project, work on a chocolate component and have a great time.  These classes are drawn upon as inspiration for their super fun birthday parties, as well as scout troop events.

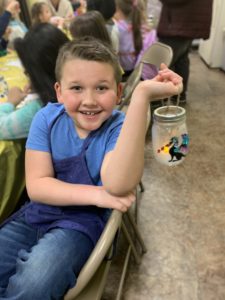
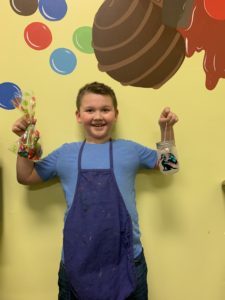
(A) and I were able to head over to the Dragon and Fairy Lantern Event held at the beginning of January.  Poor (E) was sick and was so so sad to be missing it.  That’s the first thing ill say about the Chocolatier Matisse Events that is really nice, they are geared toward BOTH boys AND girls. For me this is a no brainer as I have one of each to occupy, AND its incredibly difficult to find fun things to do for boys.  (A) is OBSESSED with Dragons so this was a home run for us.

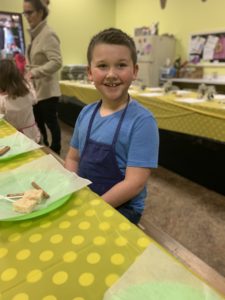
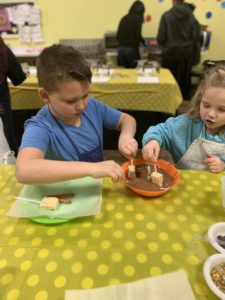
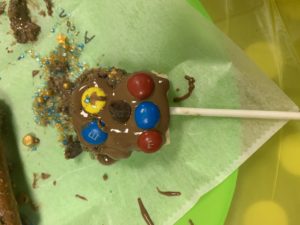
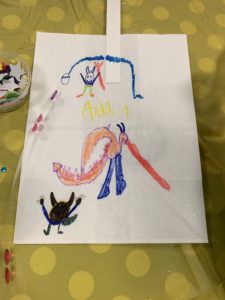
Once all the kids were present and accounted for they made some chocolate dipped treats (rice krispies and pretzels).  There were extra toppings that could be added atop the chocolate and (A) had a ball playing with it.  When everyone had completed that task they moved to the other table which was all set up for the lantern craft.

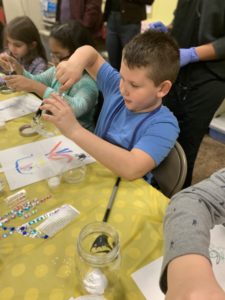
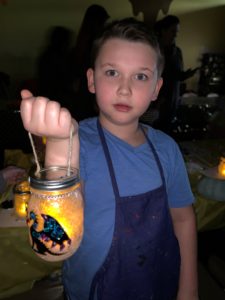
There were more than enough helpers who walked around to repeat the simple directions to the kids, and they were all able to put their own spins on the project.  (A) really loved adding jewels to his dragon for a little extra sparkle when the candle was lit.  While the kids worked, other employees packaged up the chocolate delights that they had made for them to take home.  It was just about the perfect amount of time for the kids.  Enough for them to be creative and enjoy, without getting bored.  They accomplished two things the chocolate and the lanterns, and were ready to go home.


(A) has mentioned that he would love to do it again with more mystical creatures, that it would be really cool.  He has had the lantern on his nightstand since, and puts the light on each night to sleep.  He loved that he made a chocolate dessert and would love to go back and do that too.  (E) is dying to attend one as she loves arts and crafts and hasn’t let me forget that she was unable to attend.
Fall Wall Clock Update

Posted on September 24, 2018 by RocklandNYMom Posted in Crafts, Items, Photo Obsessed, Reviews, Specialty Items, Uncategorized .

Disclousre:  This is an unsponsored post.  All opinions expressed are my own.

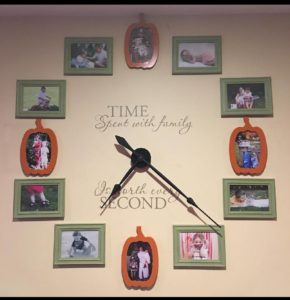
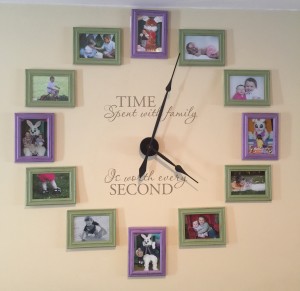
If you’ve been following RNYM for a while you know all about my wall clock.  I am always looking for fun and interesting ways to display my photos (of which my husband says I have 2 million annually).  That’s how the clock came about.  It wasn’t long before that was simply not enough and I needed to change it seasonally.  I began by painting red frames for Christmas time, then was unsure about what color to do for spring and put it out there for you all to choose.  You went with purple. 

This past fall I decided that just doing another color was too tame.

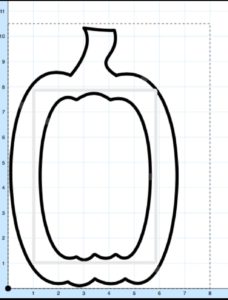
Instead I went looking for a fall shaped frame.  Easier said than done.  I ended up on ETSY after extensive searching and found a few people who made pumpkin frames.  I messaged each one and finally found someone who could do what I was looking for.  https://www.etsy.com/listing/557182219/pumpkin-halloween-picture-frame-4-inch-x

The frames were complete in no time and I was able to easily use the inserts on the back to cut my 5×7 photos to fit.

Here is my finished product.

The frames are custom to my liking, and can be for yours too.  One of the most attractive parts is they were also cheaper than going to the local craft store and purchasing a regular frame.

*RNYM was not compensated for writing this post we just wanted to share our idea.  Regardless, if you should choose to use our link please make sure to mention that you read about them here.*

Next Page »
  • About this Site
    • Privacy Policy & Disclosure
  • Savings for RNYM.com Readers!
  • Currently loving….
    • Feeding Baby
    • BabyCare 101
  • Directories
    • Pregnancy and Babies
    • Camps Directory 2023
    • Childcare/Pre-School Directory
    • Classes Directory
    • For the Home
    • Direct Sales Directory
    • Party Directory
    • Party Entertainment Directory
    • Photographers Directory
    • Family Services Directory
    • Crafters Directory
    • Specialty Items Directory
    • Play Ball
  • A Good Cause
  • I’m Going on a Trip…
    • Theater
  • We’re having a party….
  • RNYM’s Favorite Recipes
  • Become Part of RocklandNYMom
  • RNYM in the News!
  • Christmas 2019

Newsletter Sign Up

Categories

Recent Comments

  • MB on Home Made Christmas Ornaments!
  • Mom E. on LEGOLAND NY- The RNYM Scoop
  • RocklandNYMom on Socially Safe Santa
  • sikis izle on Socially Safe Santa
  • Amanda Kivell on Camps Directory 2023

Meta

  • Register
  • Log in
  • Entries RSS
  • Comments RSS
  • WordPress.org

Recent Posts

  • Climbing out of our Comfort Zone
  • Four Stars for Movie House Paramus
  • Getting Back to it!
  • Kicking off Spring Break with a Time Mission Review!
  • Music Spring Break Camps at Bach 2 Rock!

CyberChimps WordPress Themes

© Rockland Mom