Disclosure: This is a sponsored post as I was invited to a class with Underground Finds & Furniture. All opinions expressed are my own.
You may recall that almost a year ago, I started painting (E)’s highchair and gave up sure that I wouldn’t be able to get it right. At that time Mary of Underground Finds & Furniture came to my rescue and painted it for me at a super reasonable rate (click here). Mary not only paints your requests, she looks for interesting pieces to paint for you, sells the paint so that you can do it yourself, but also offers classes. Given our love for great sturdy and classic furniture we became fast friends. So much so that when I went and purchased some furniture for (E)’s bedroom (coming soon), I brought her with me. I intended to have her paint it for me (again convinced that I would fail), but she talked me into something a little different.
She wanted me to do it myself, but she said that she would teach me at one of her classes…. This is a big deal. Tackling an entire bedroom isn’t something that I was prepared for nor did I have the time, or so I thought.
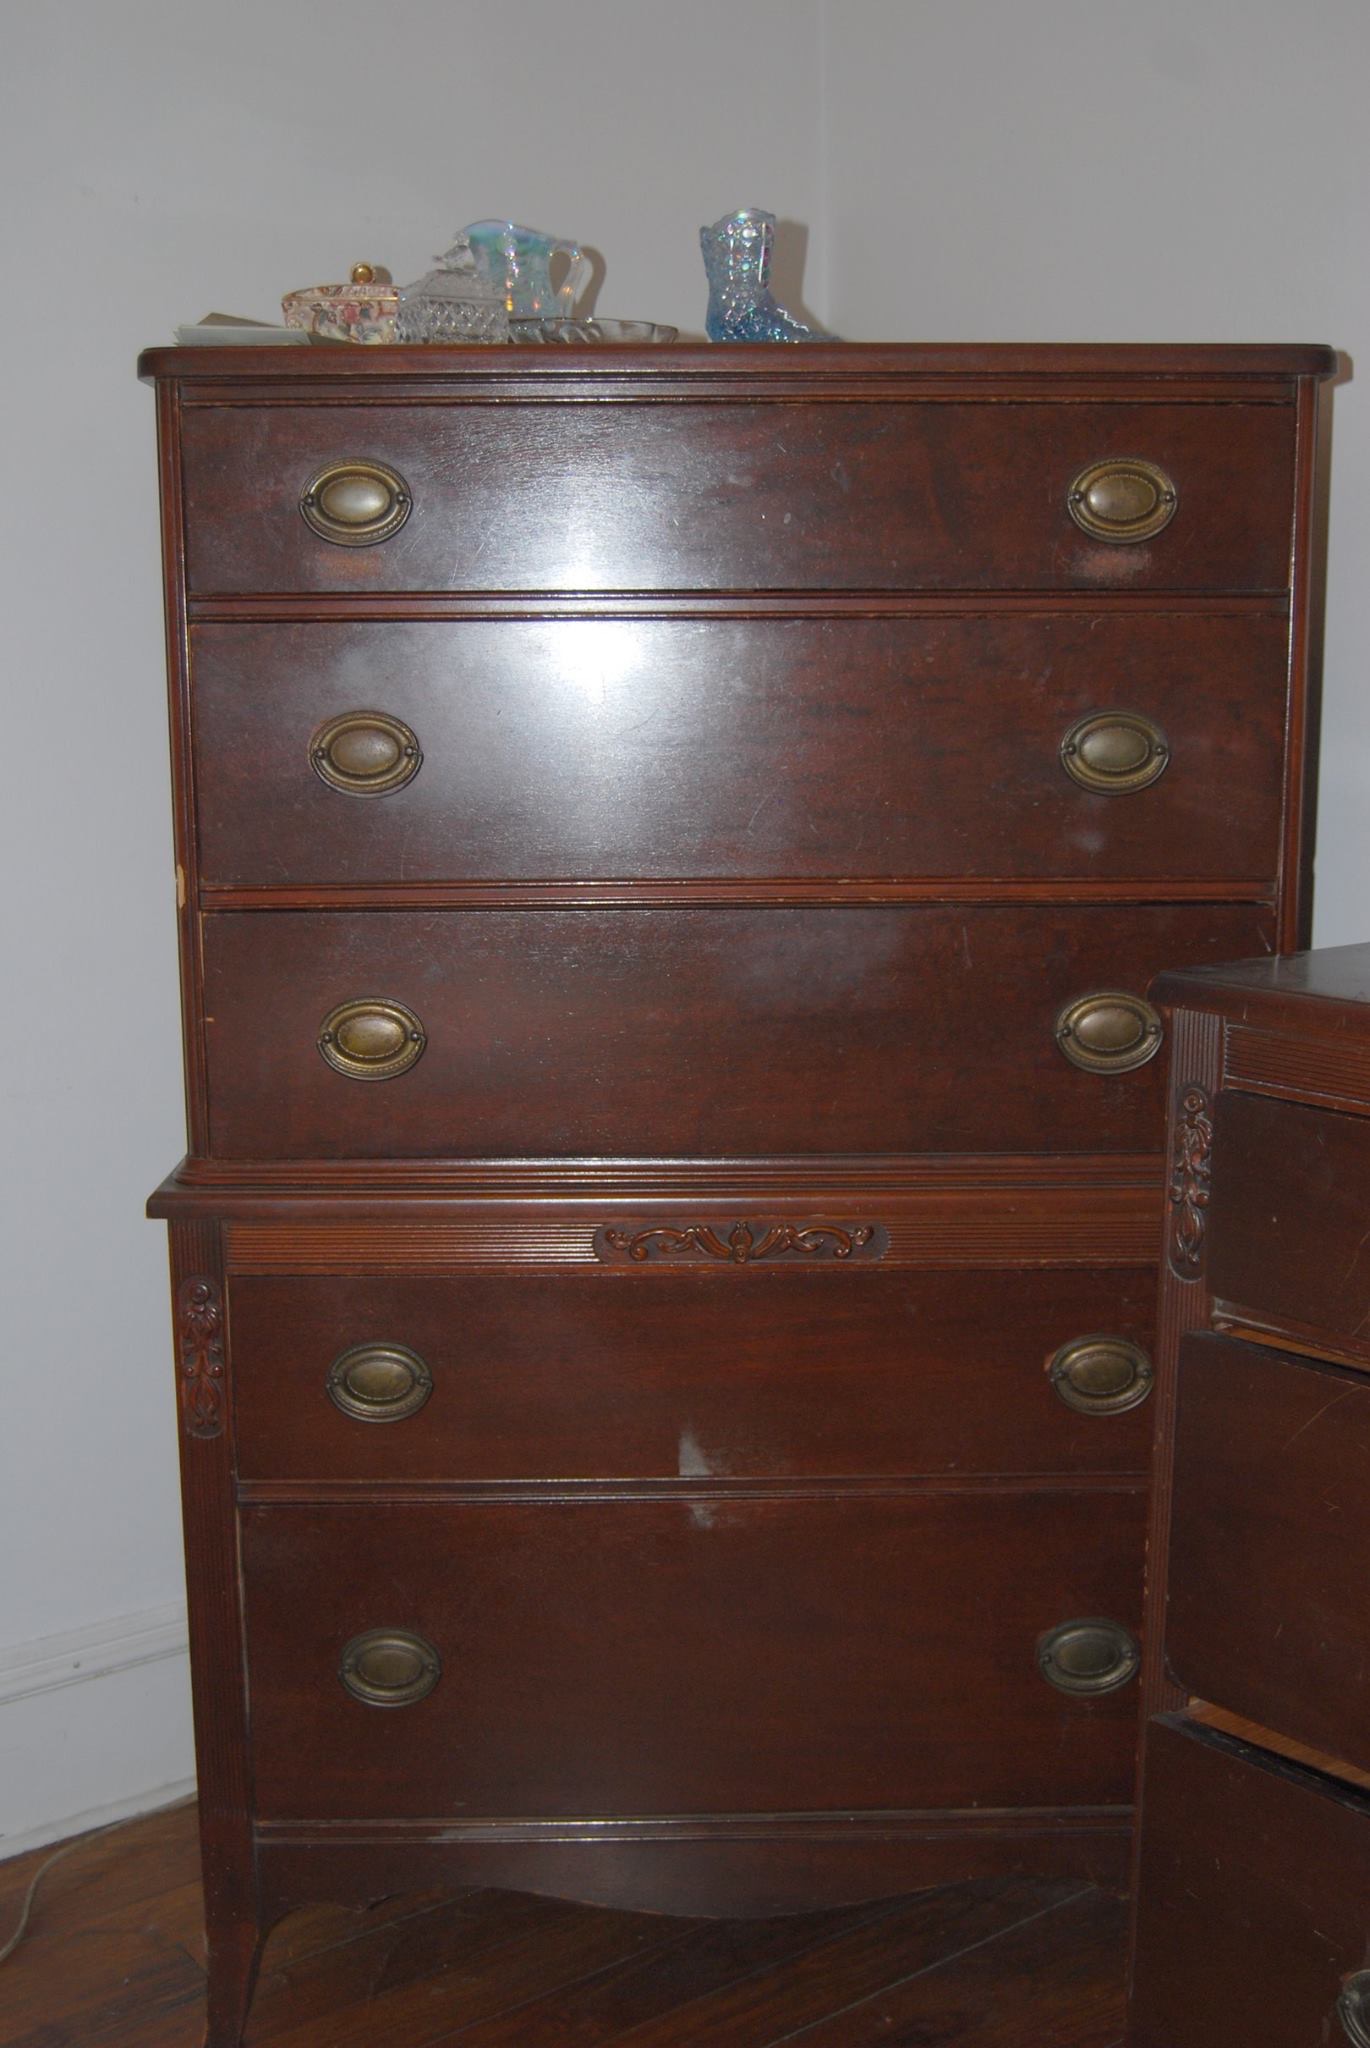
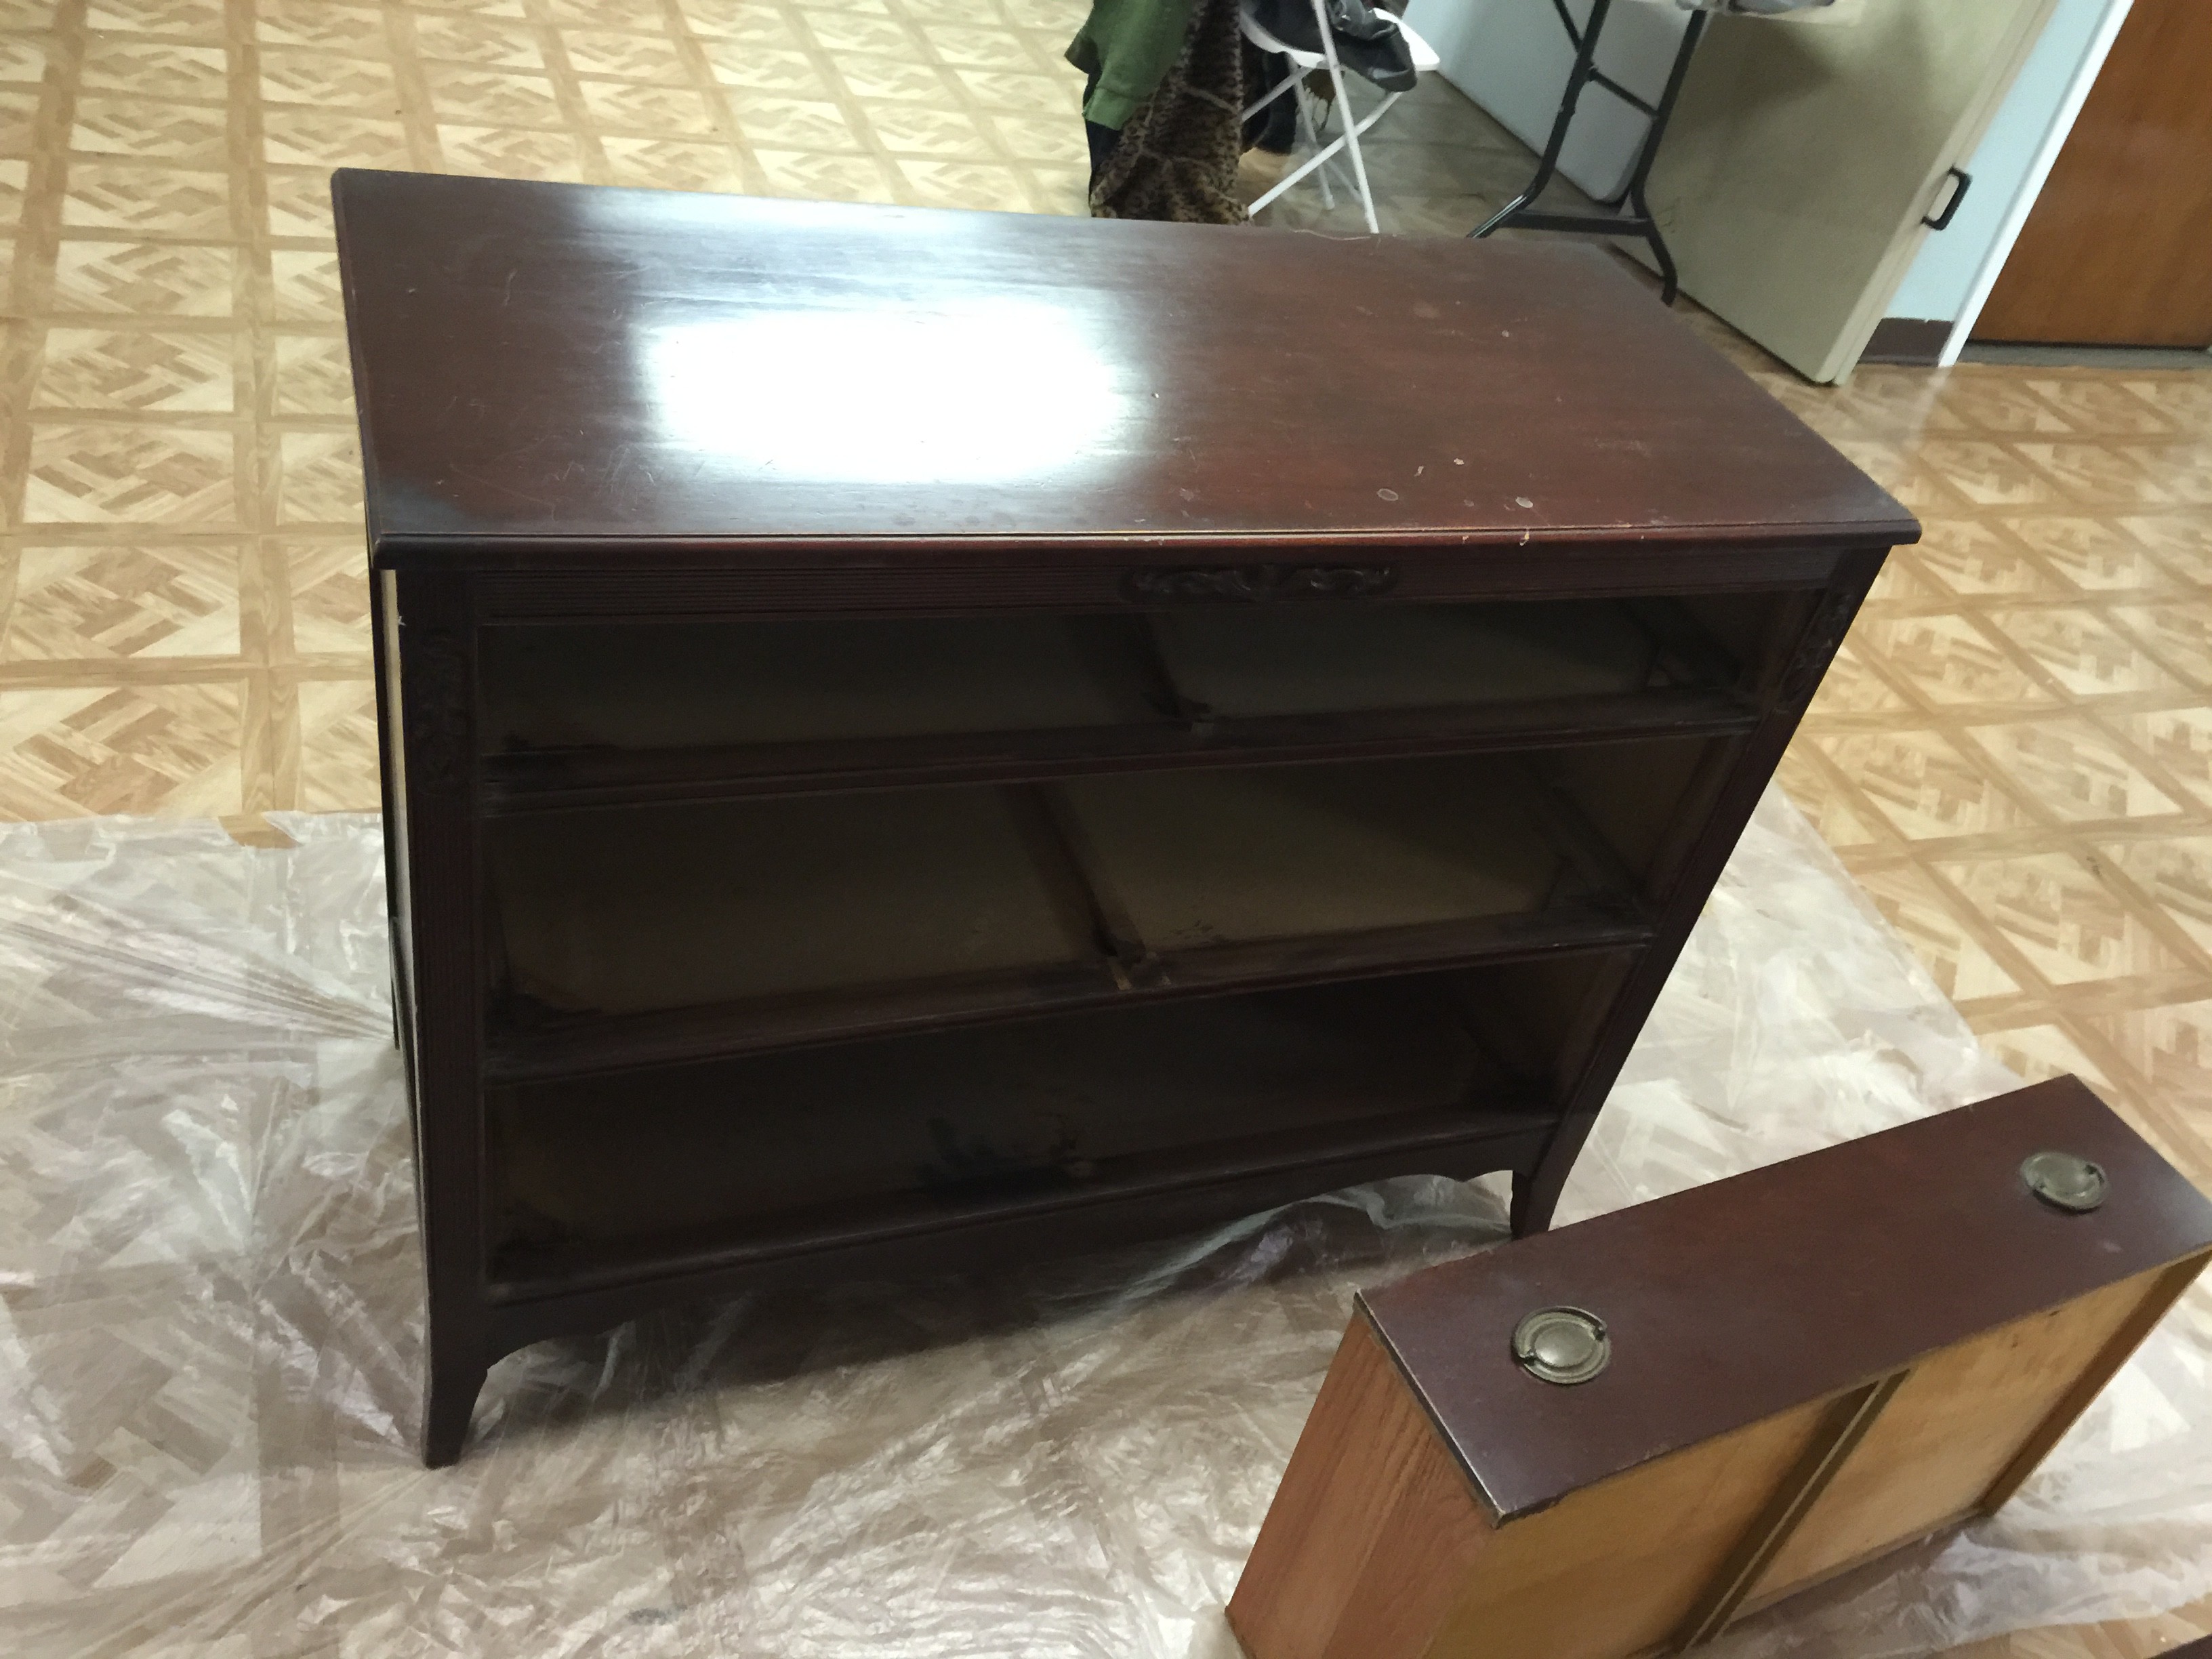
The furniture I found for (E)’s room:
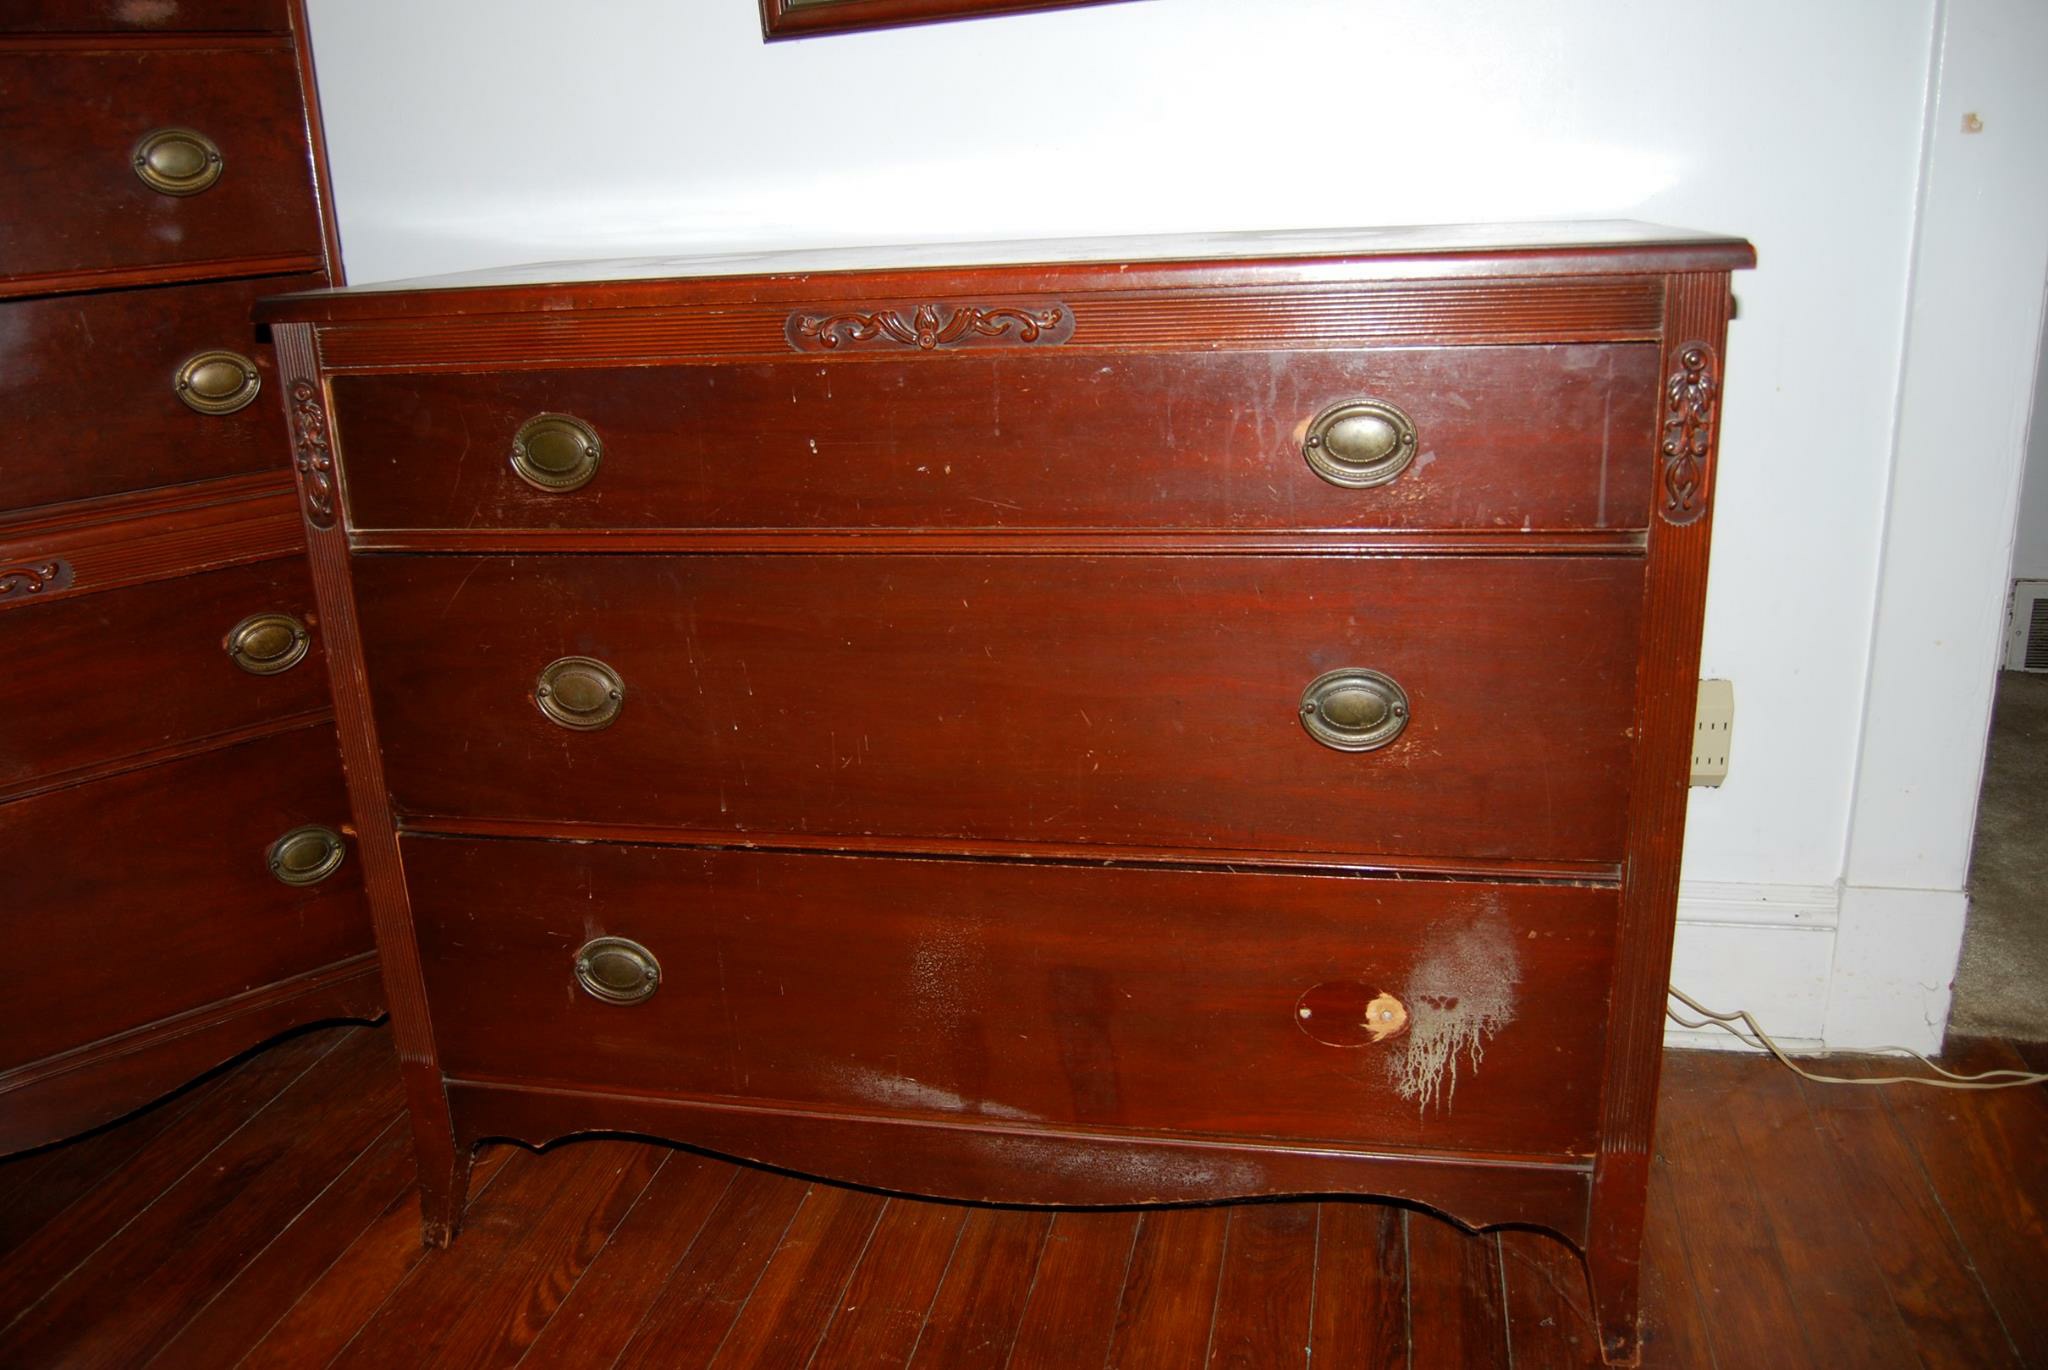
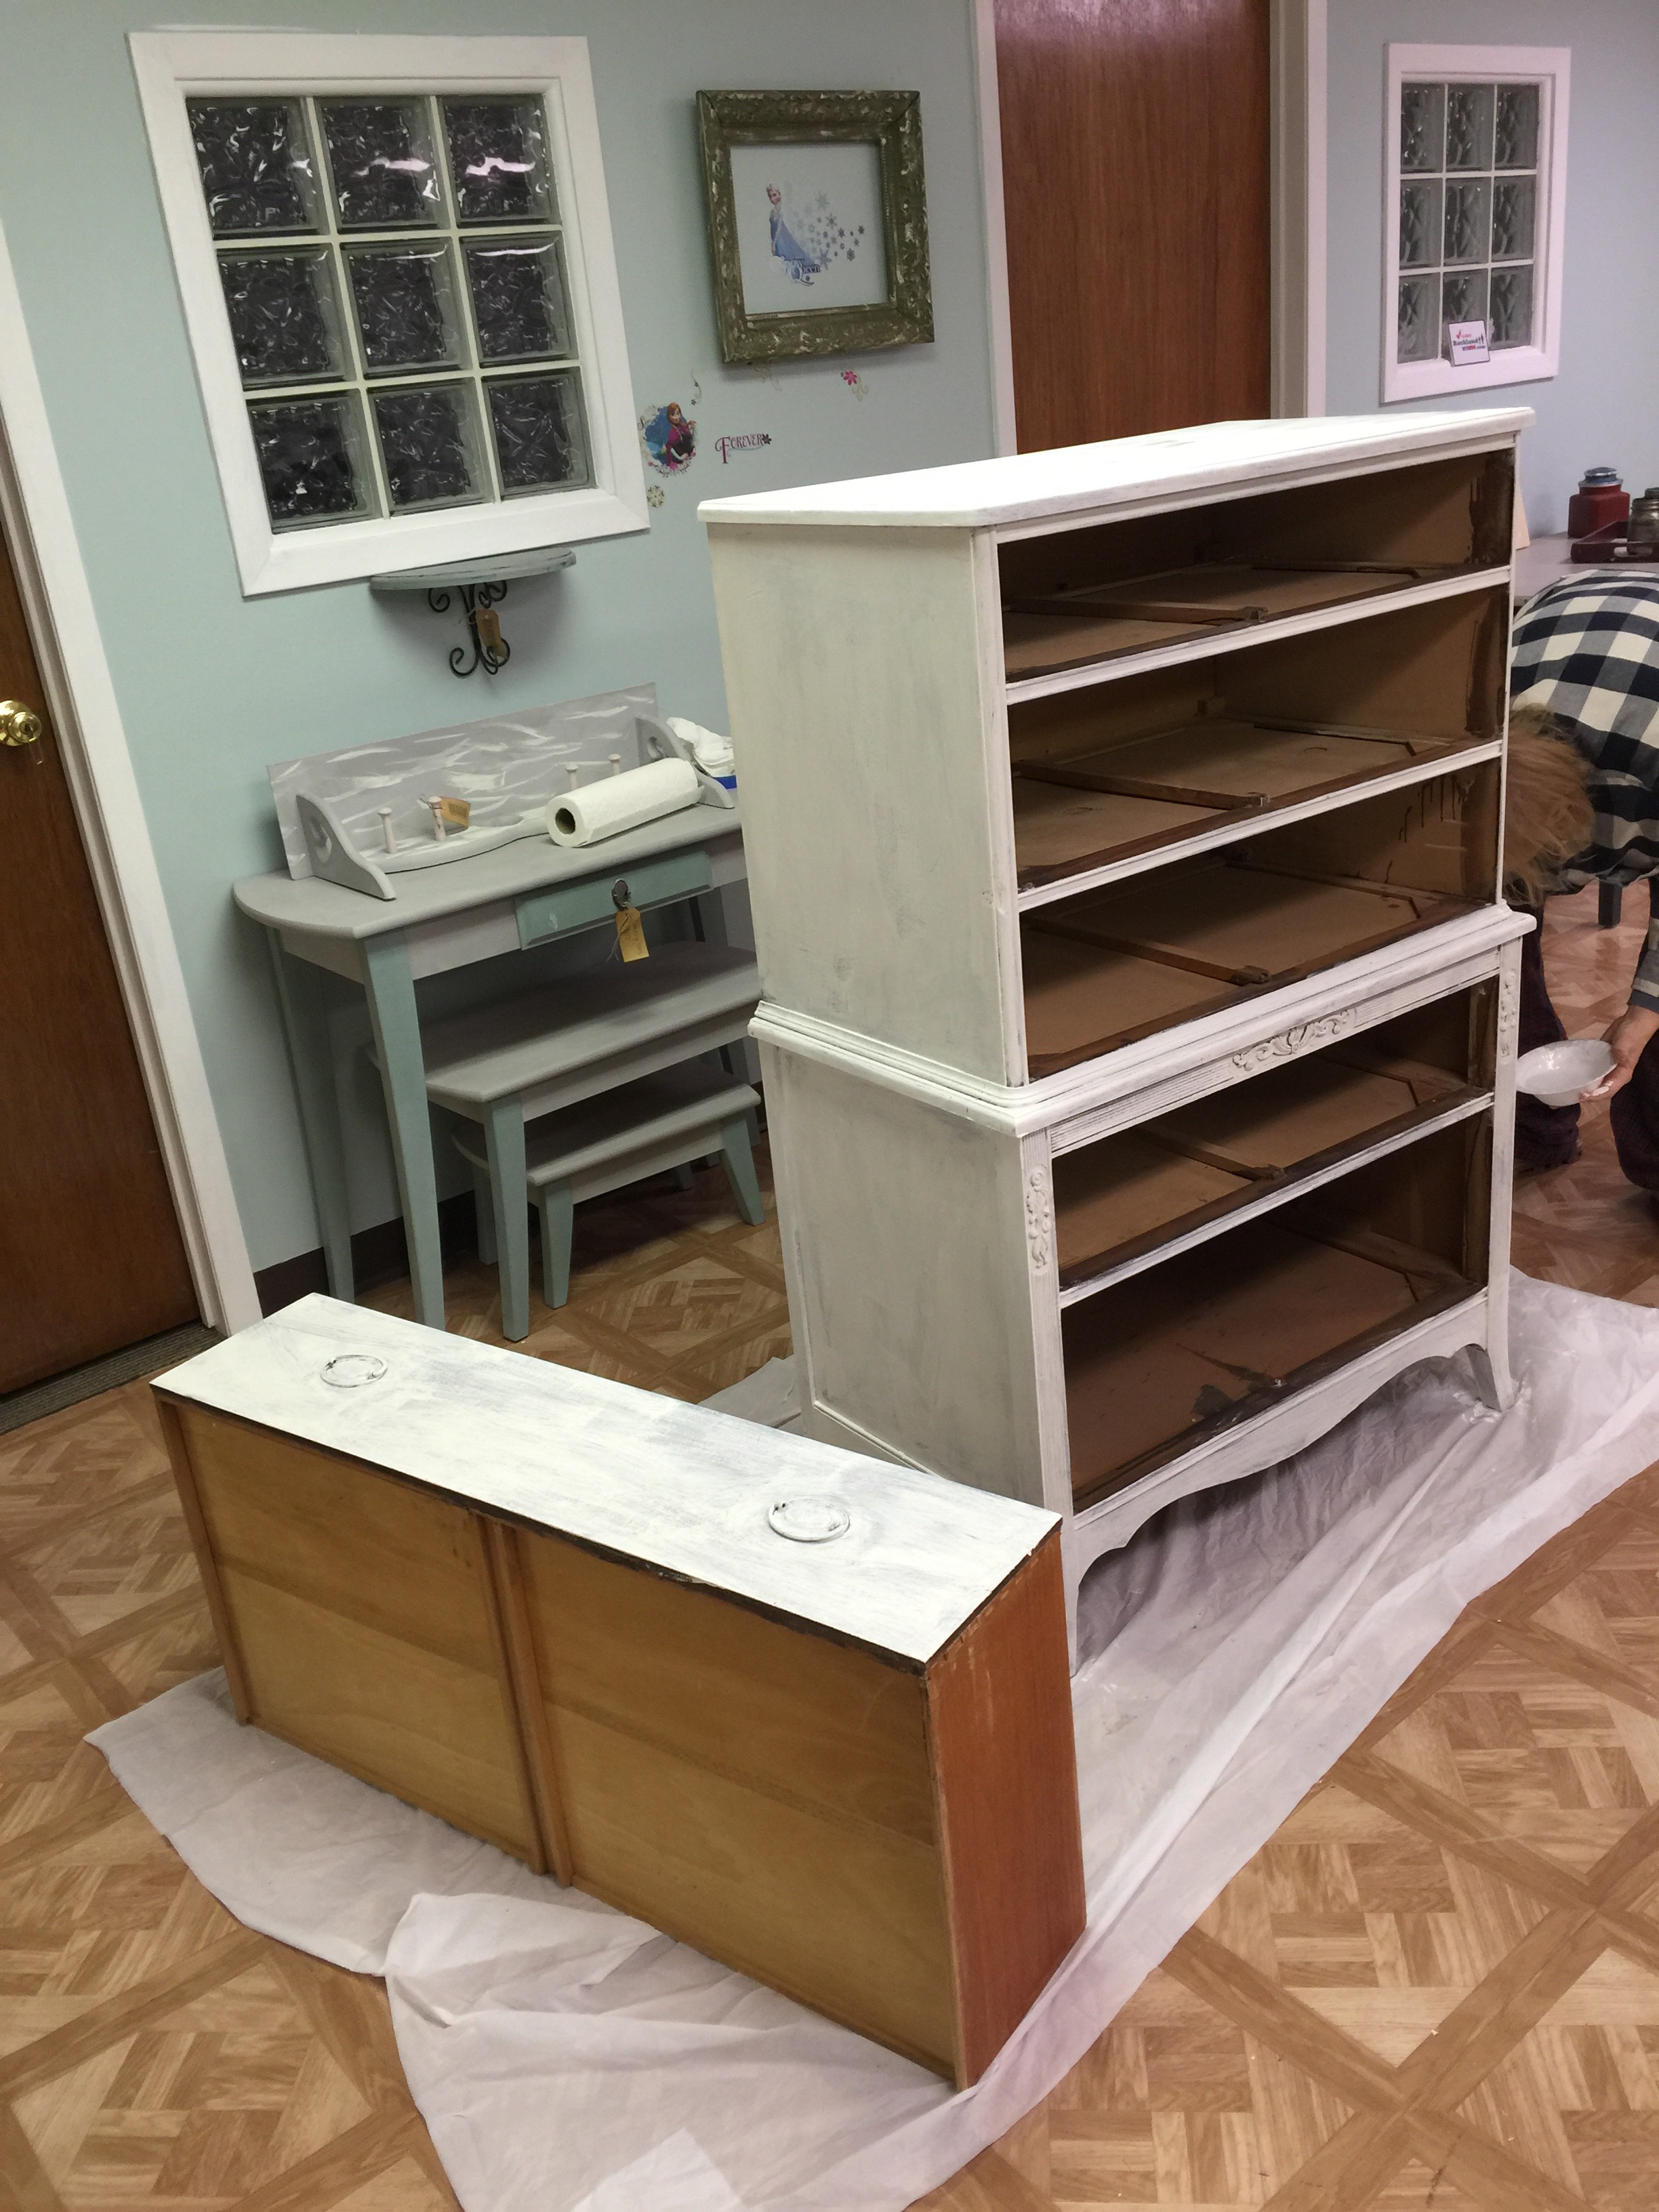
Purchased these three main pieces from a North Rockland Swap Site. These are the three I worked on at Mary’s workshop, the others I added afterwards because I am glutton for punishment ;o)
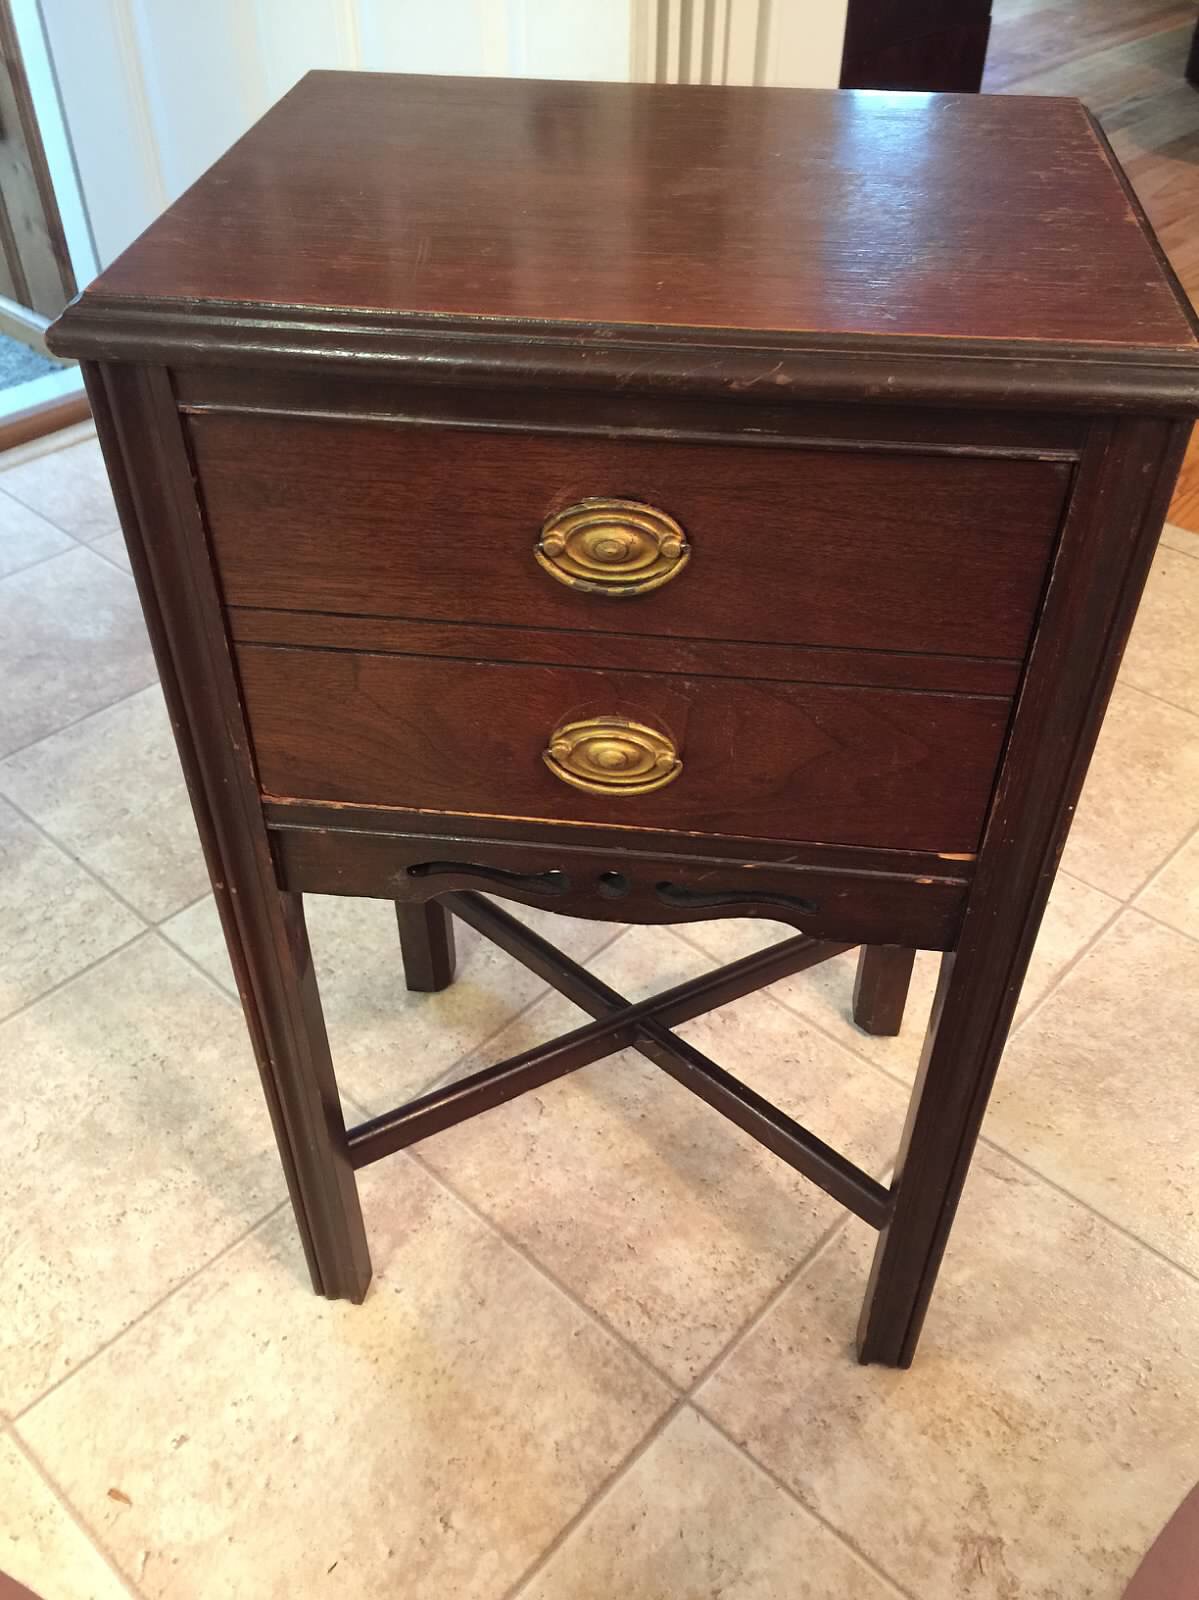
The nightstand I found that coordinated for FREE on the side of the road.
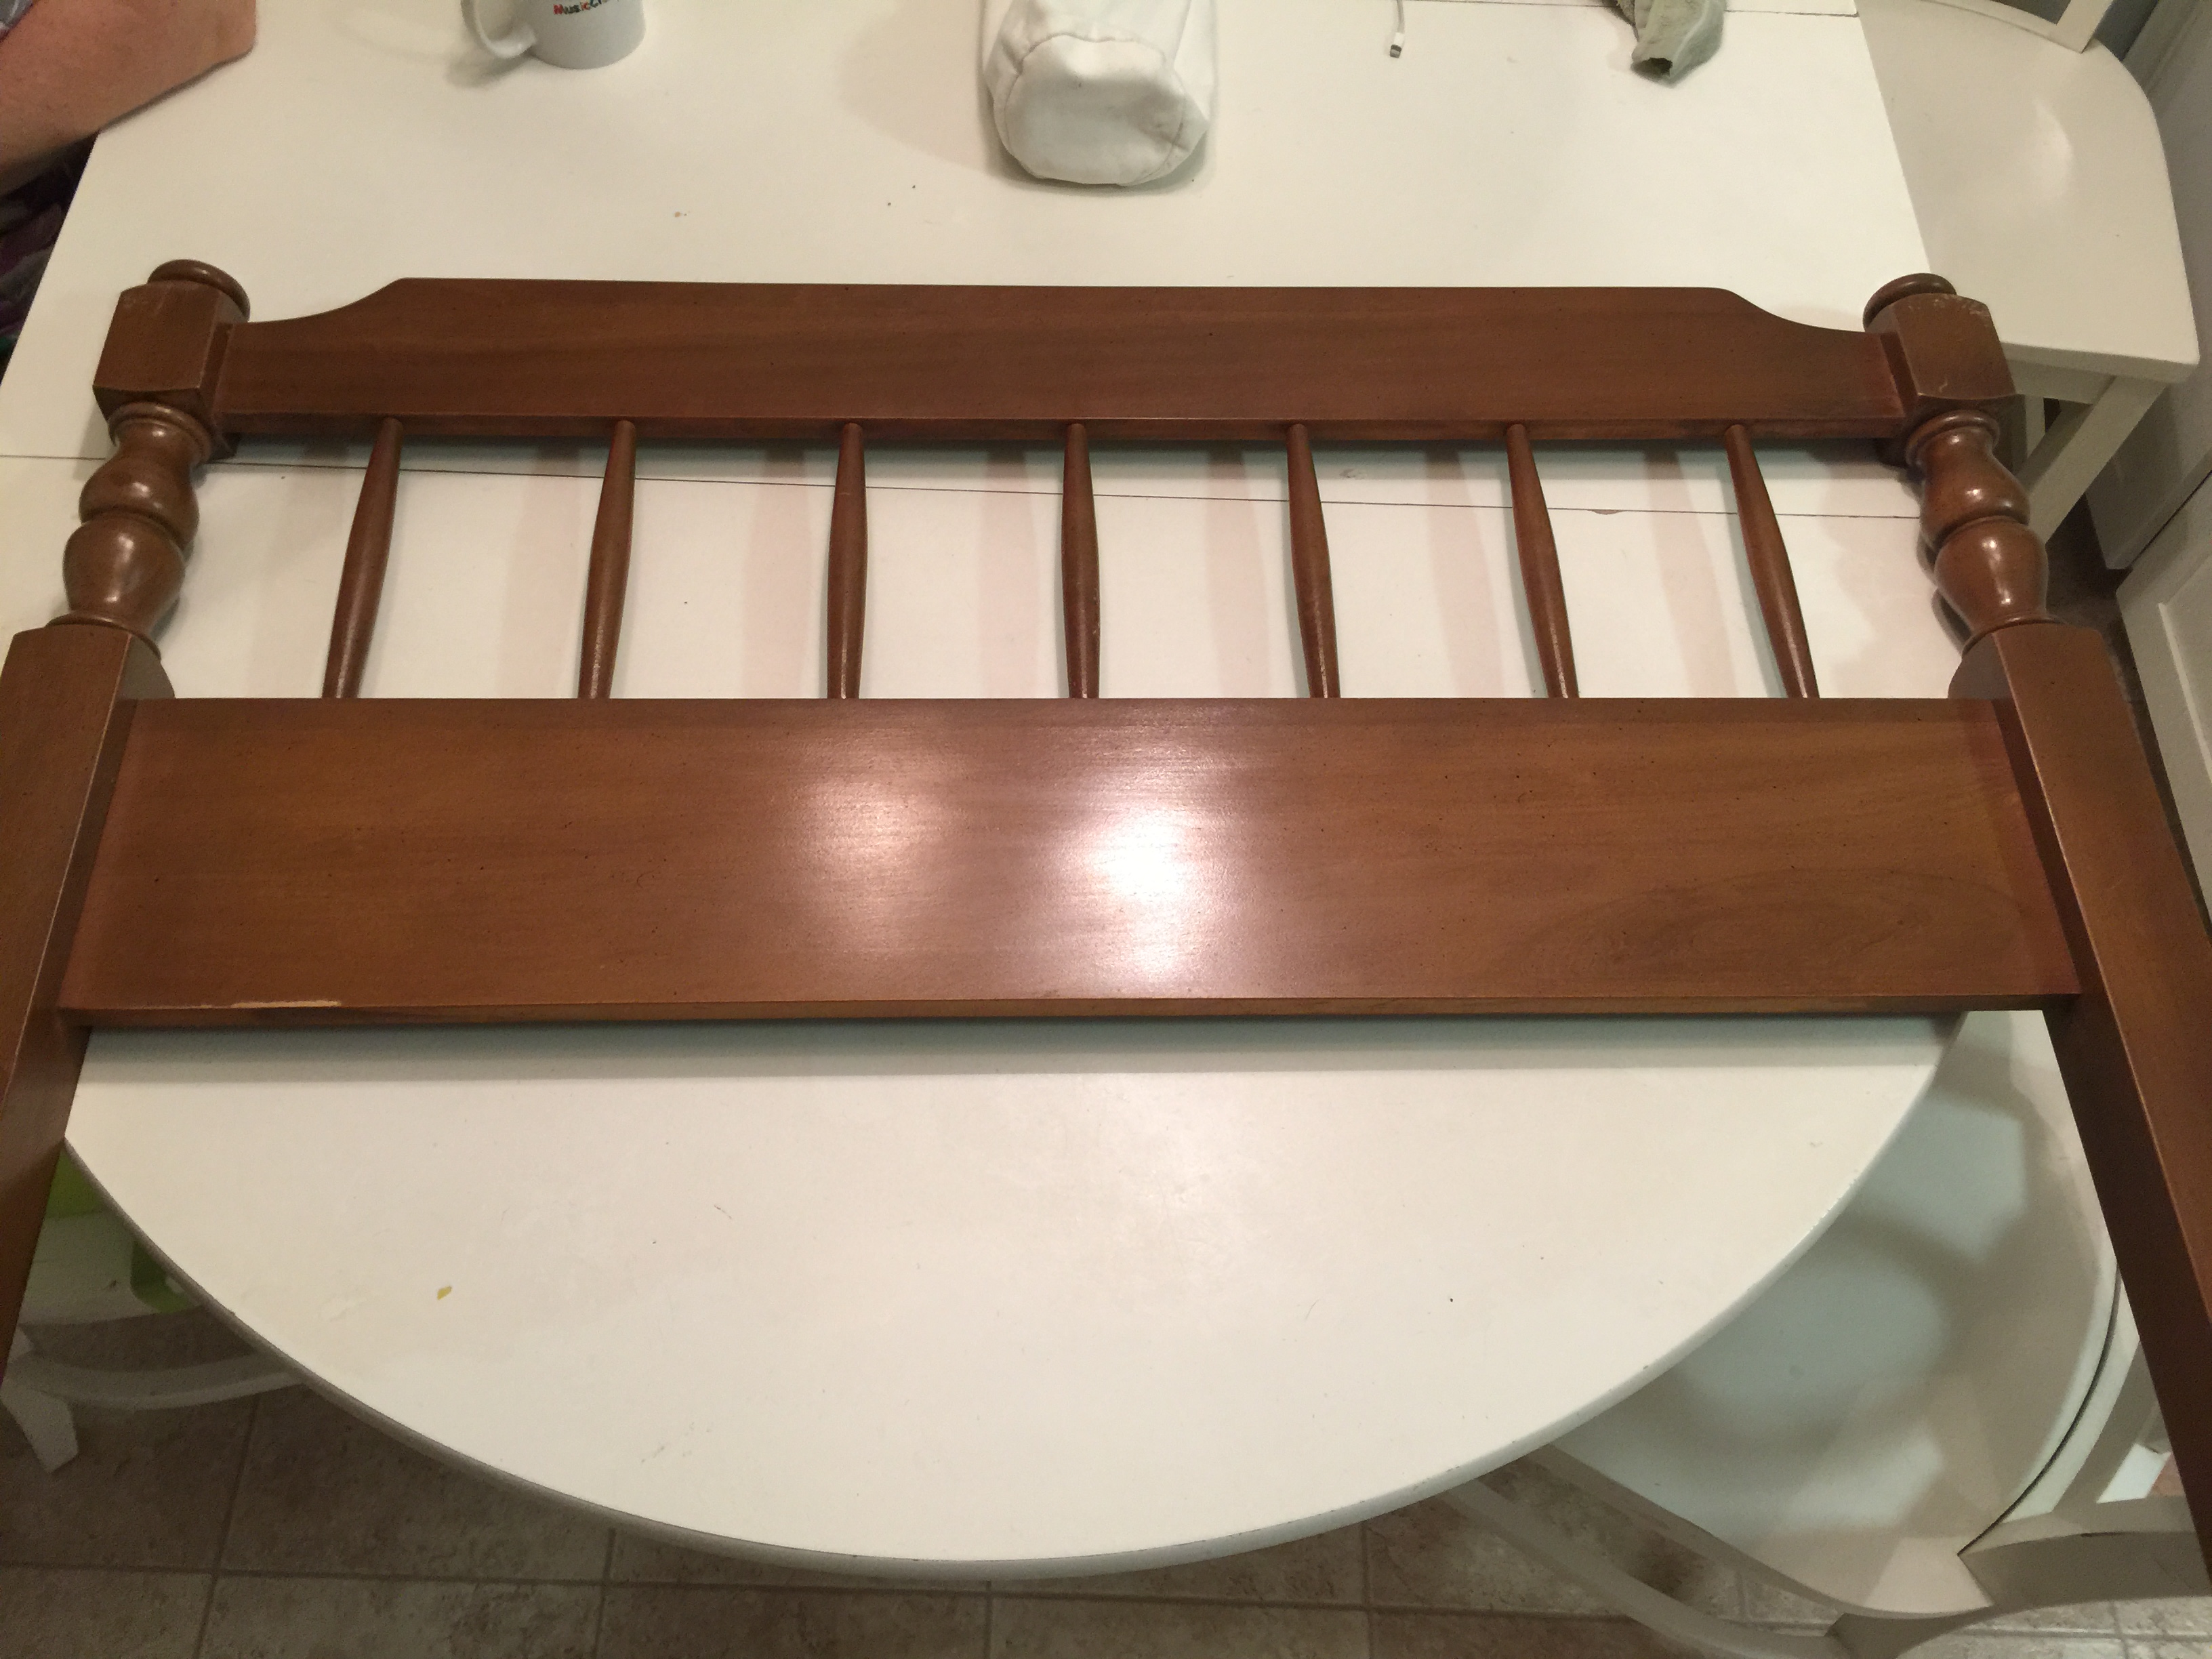
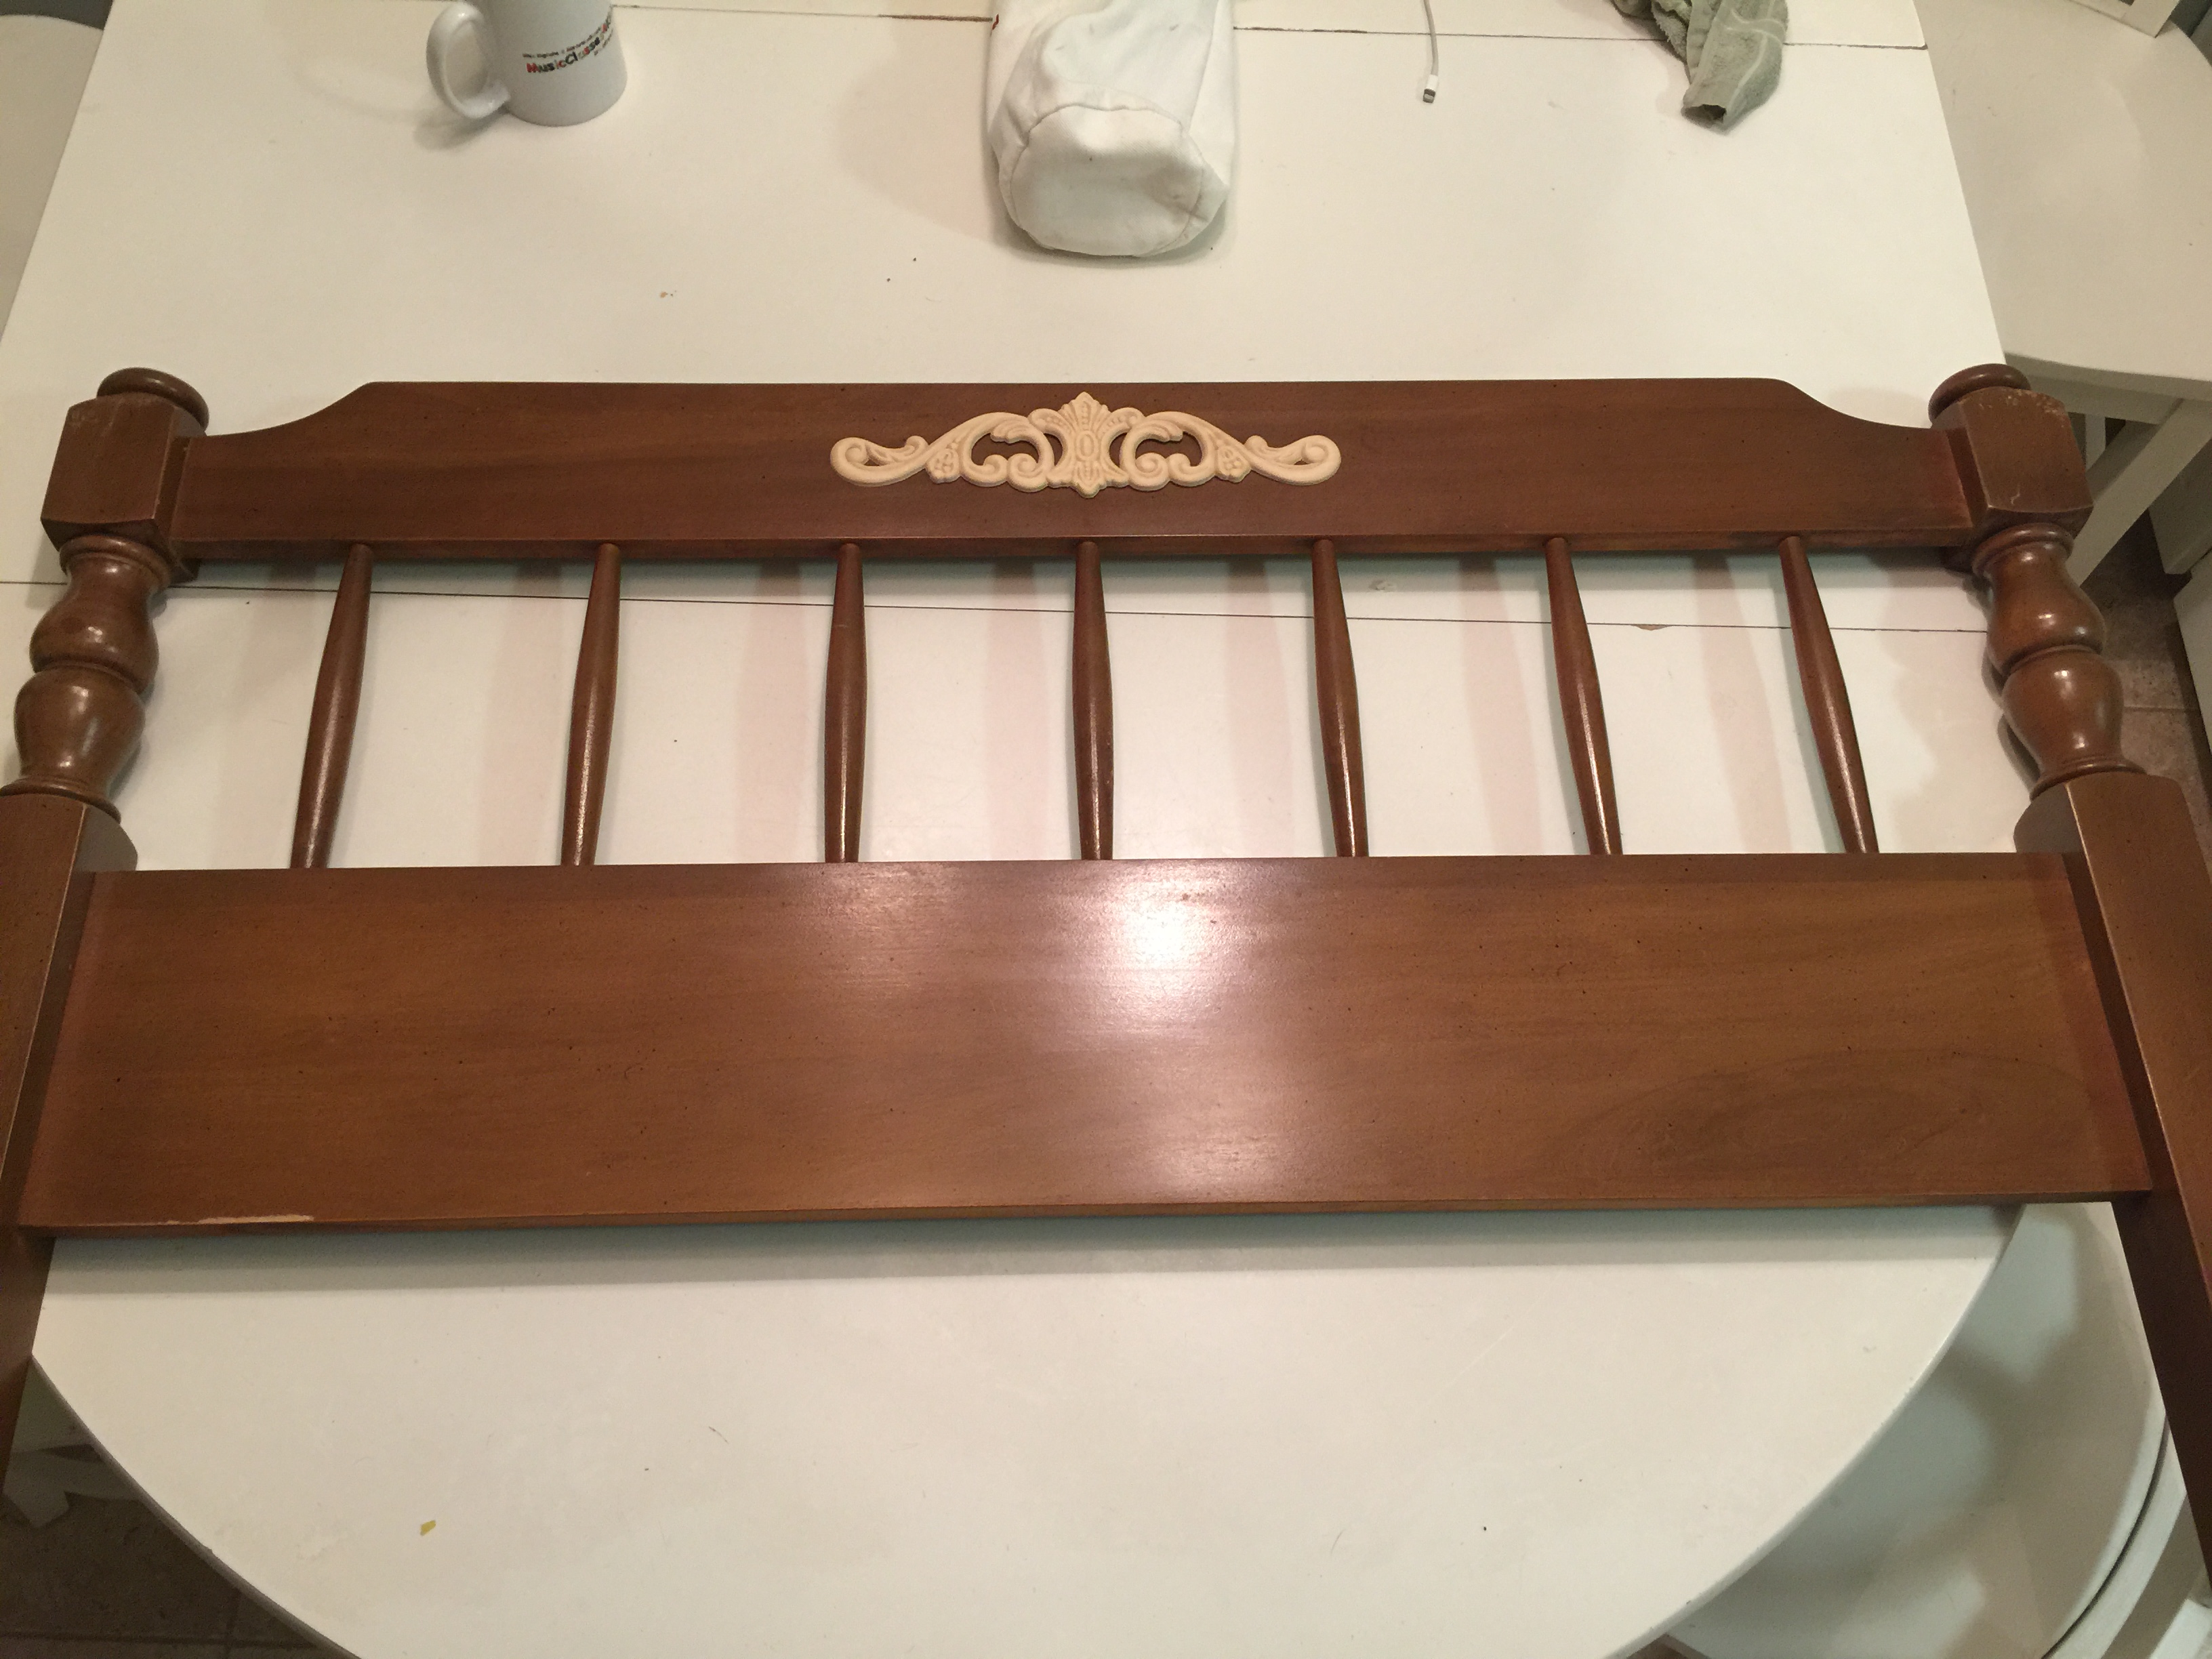
The bed frame we had sitting in the basement.
A New City Garage Sale purchase.
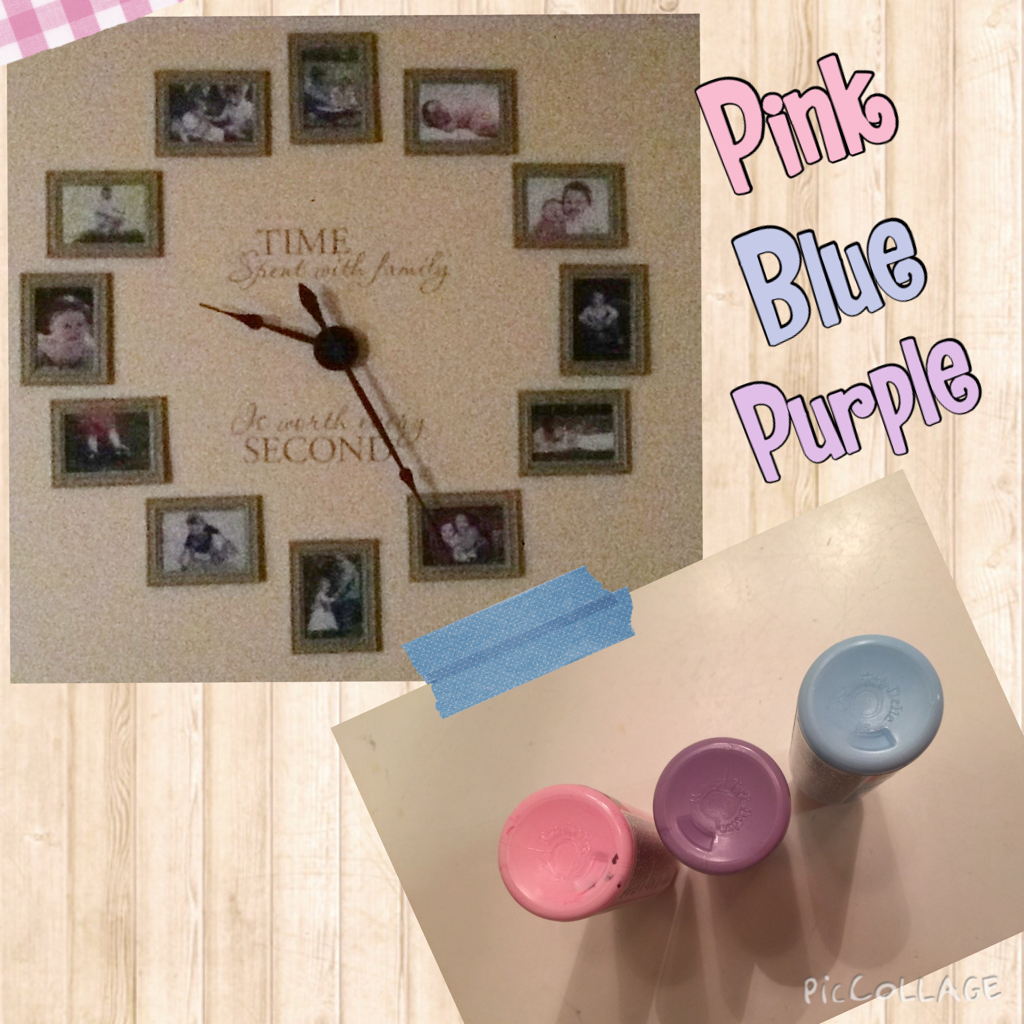
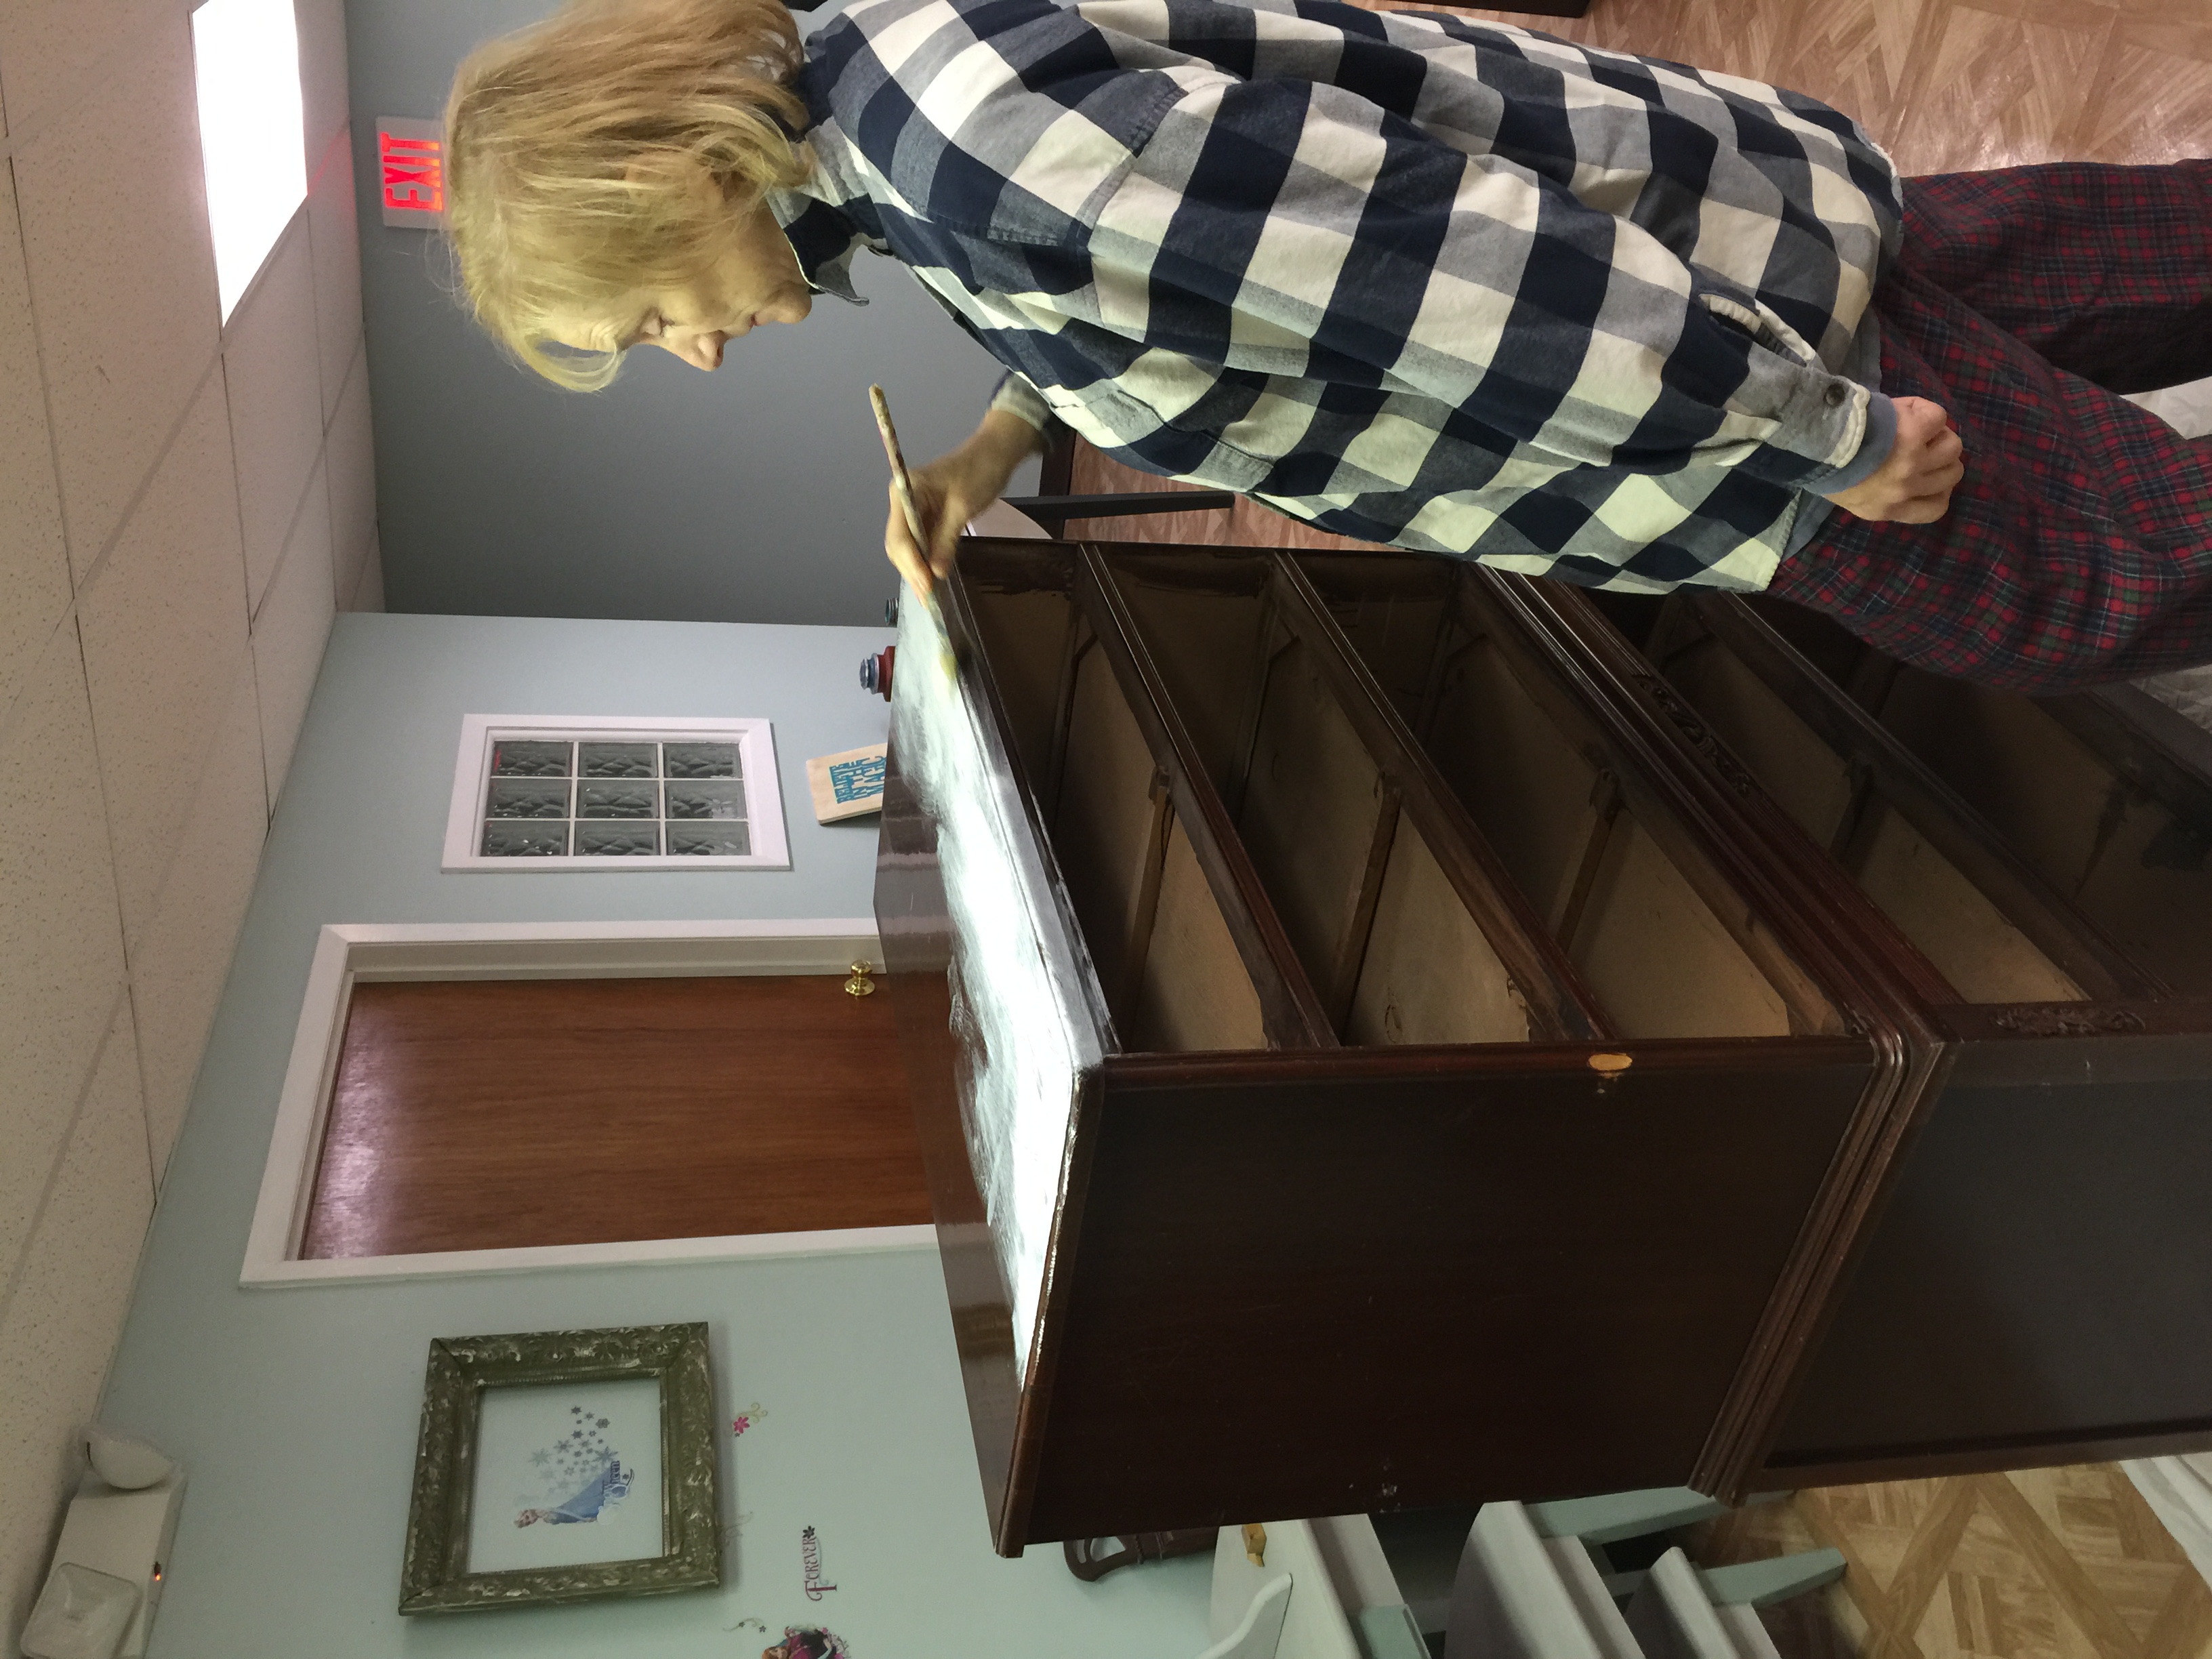
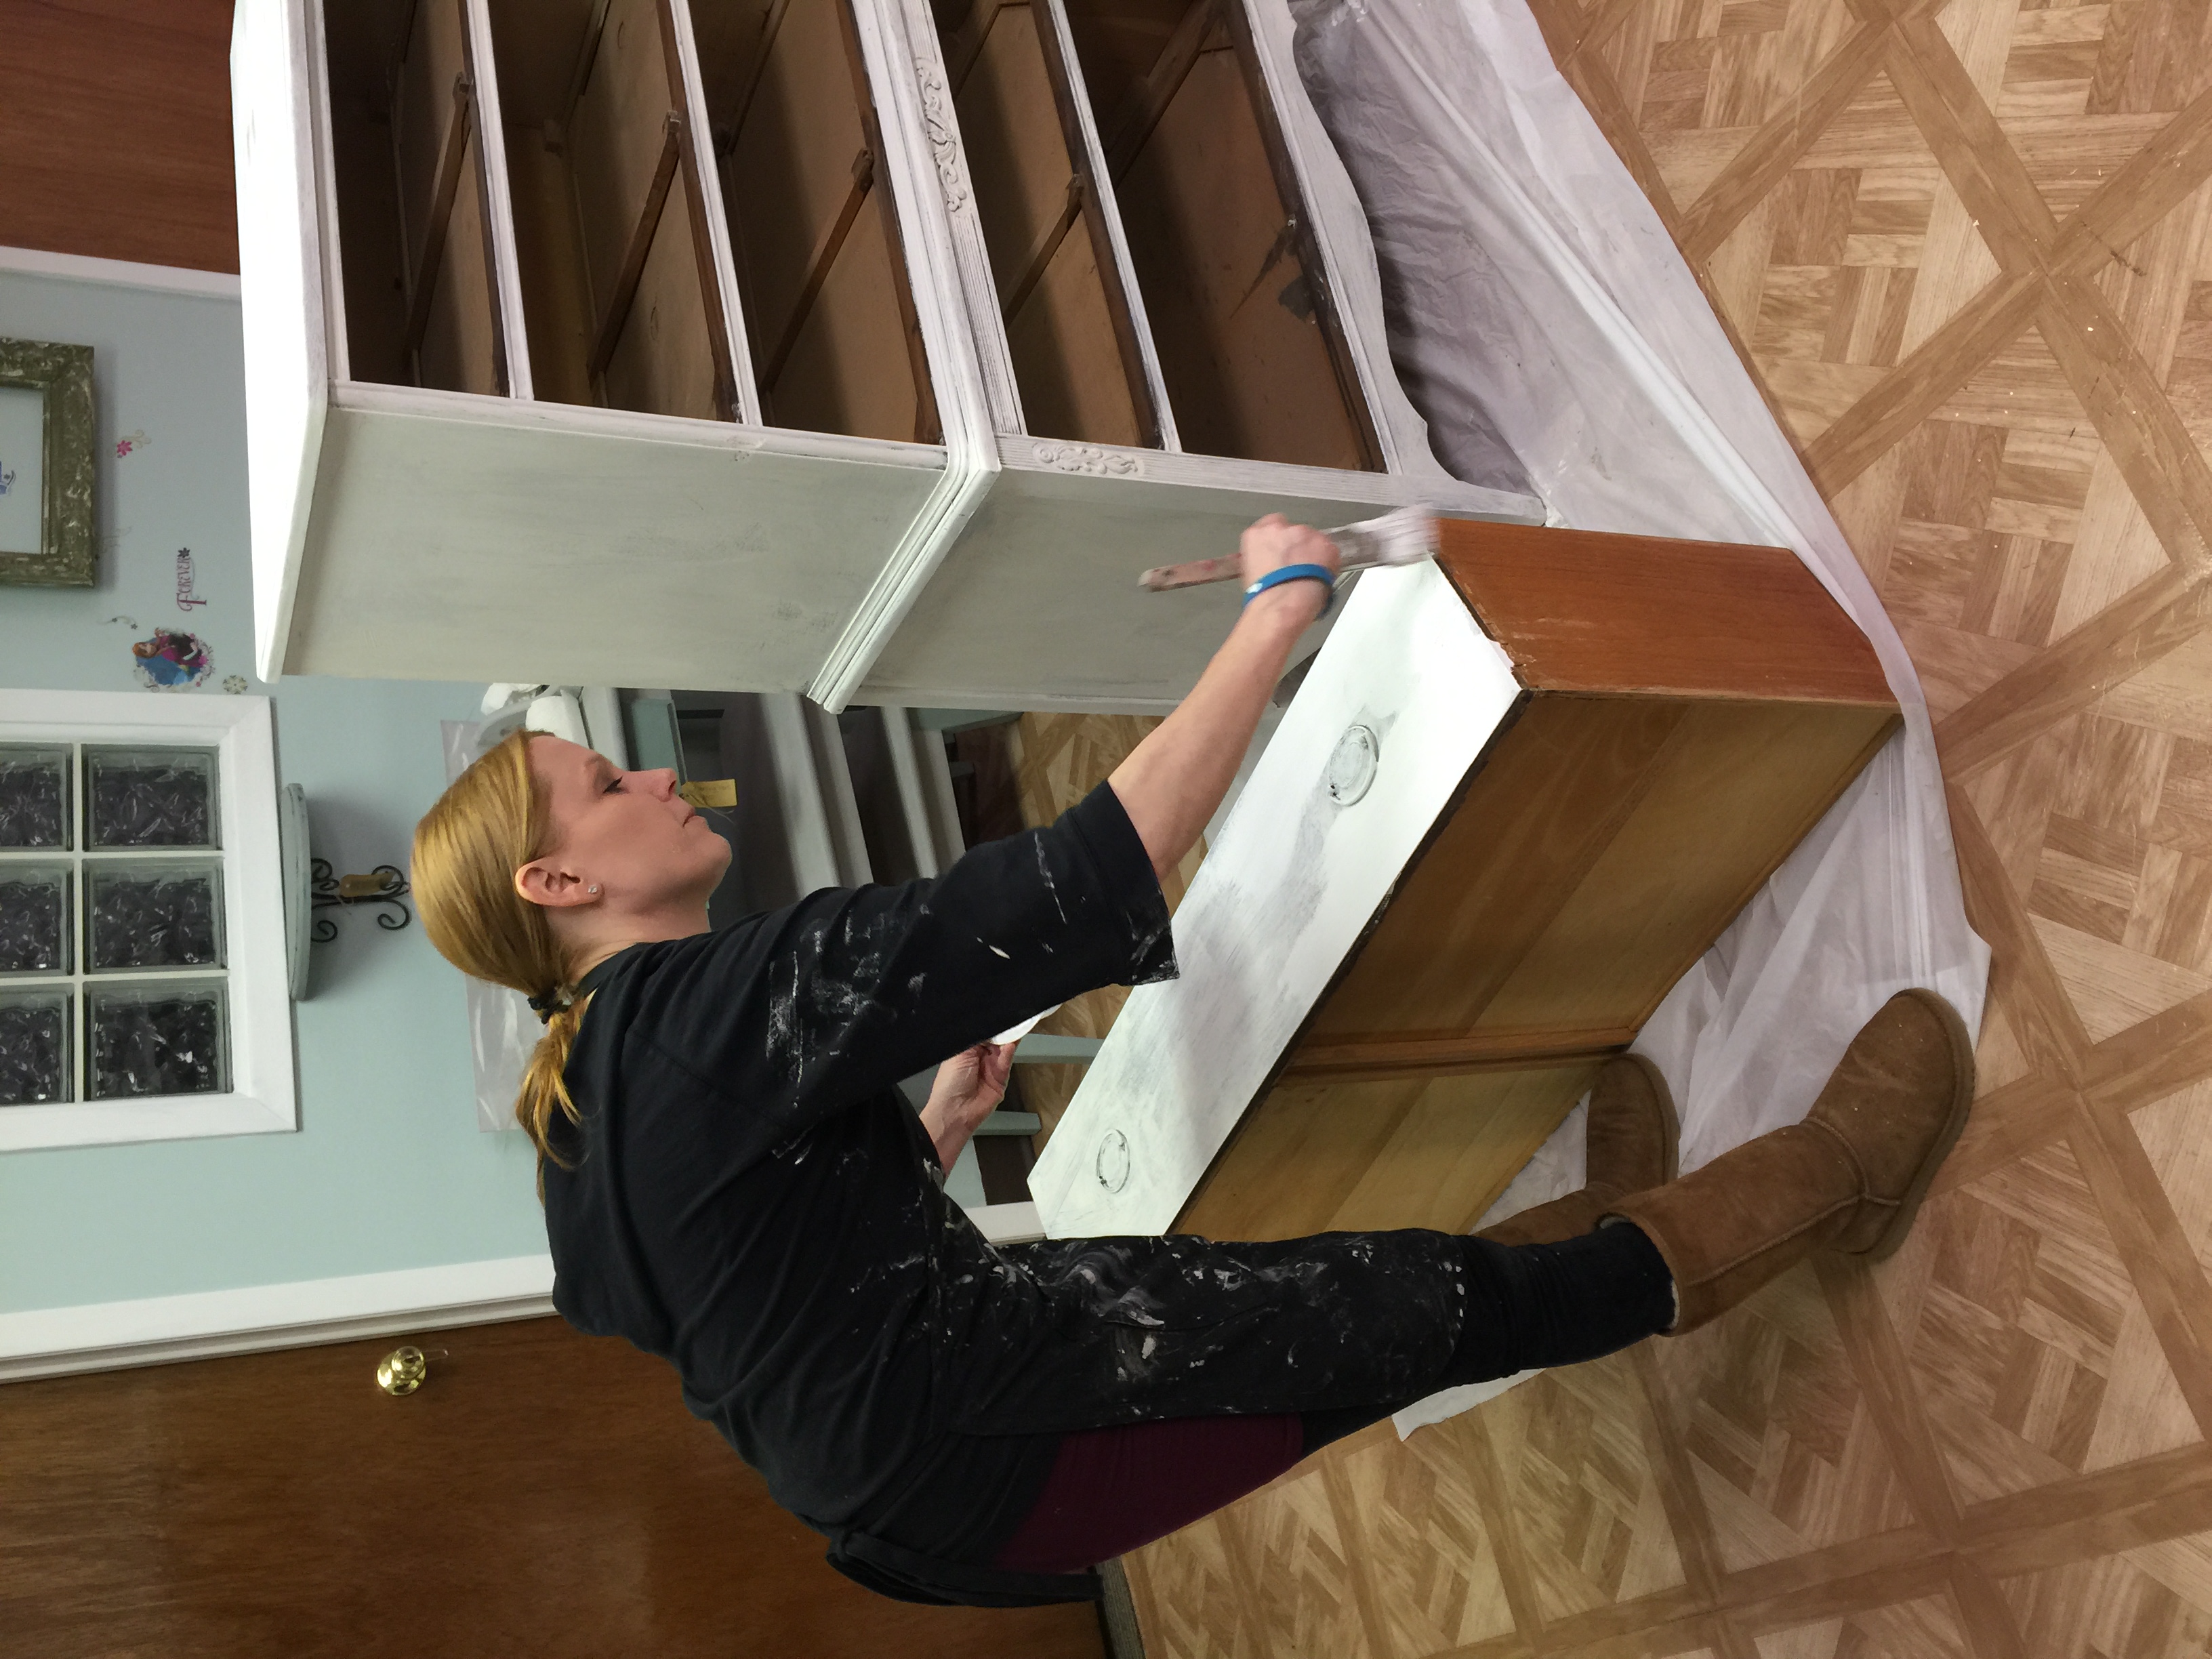
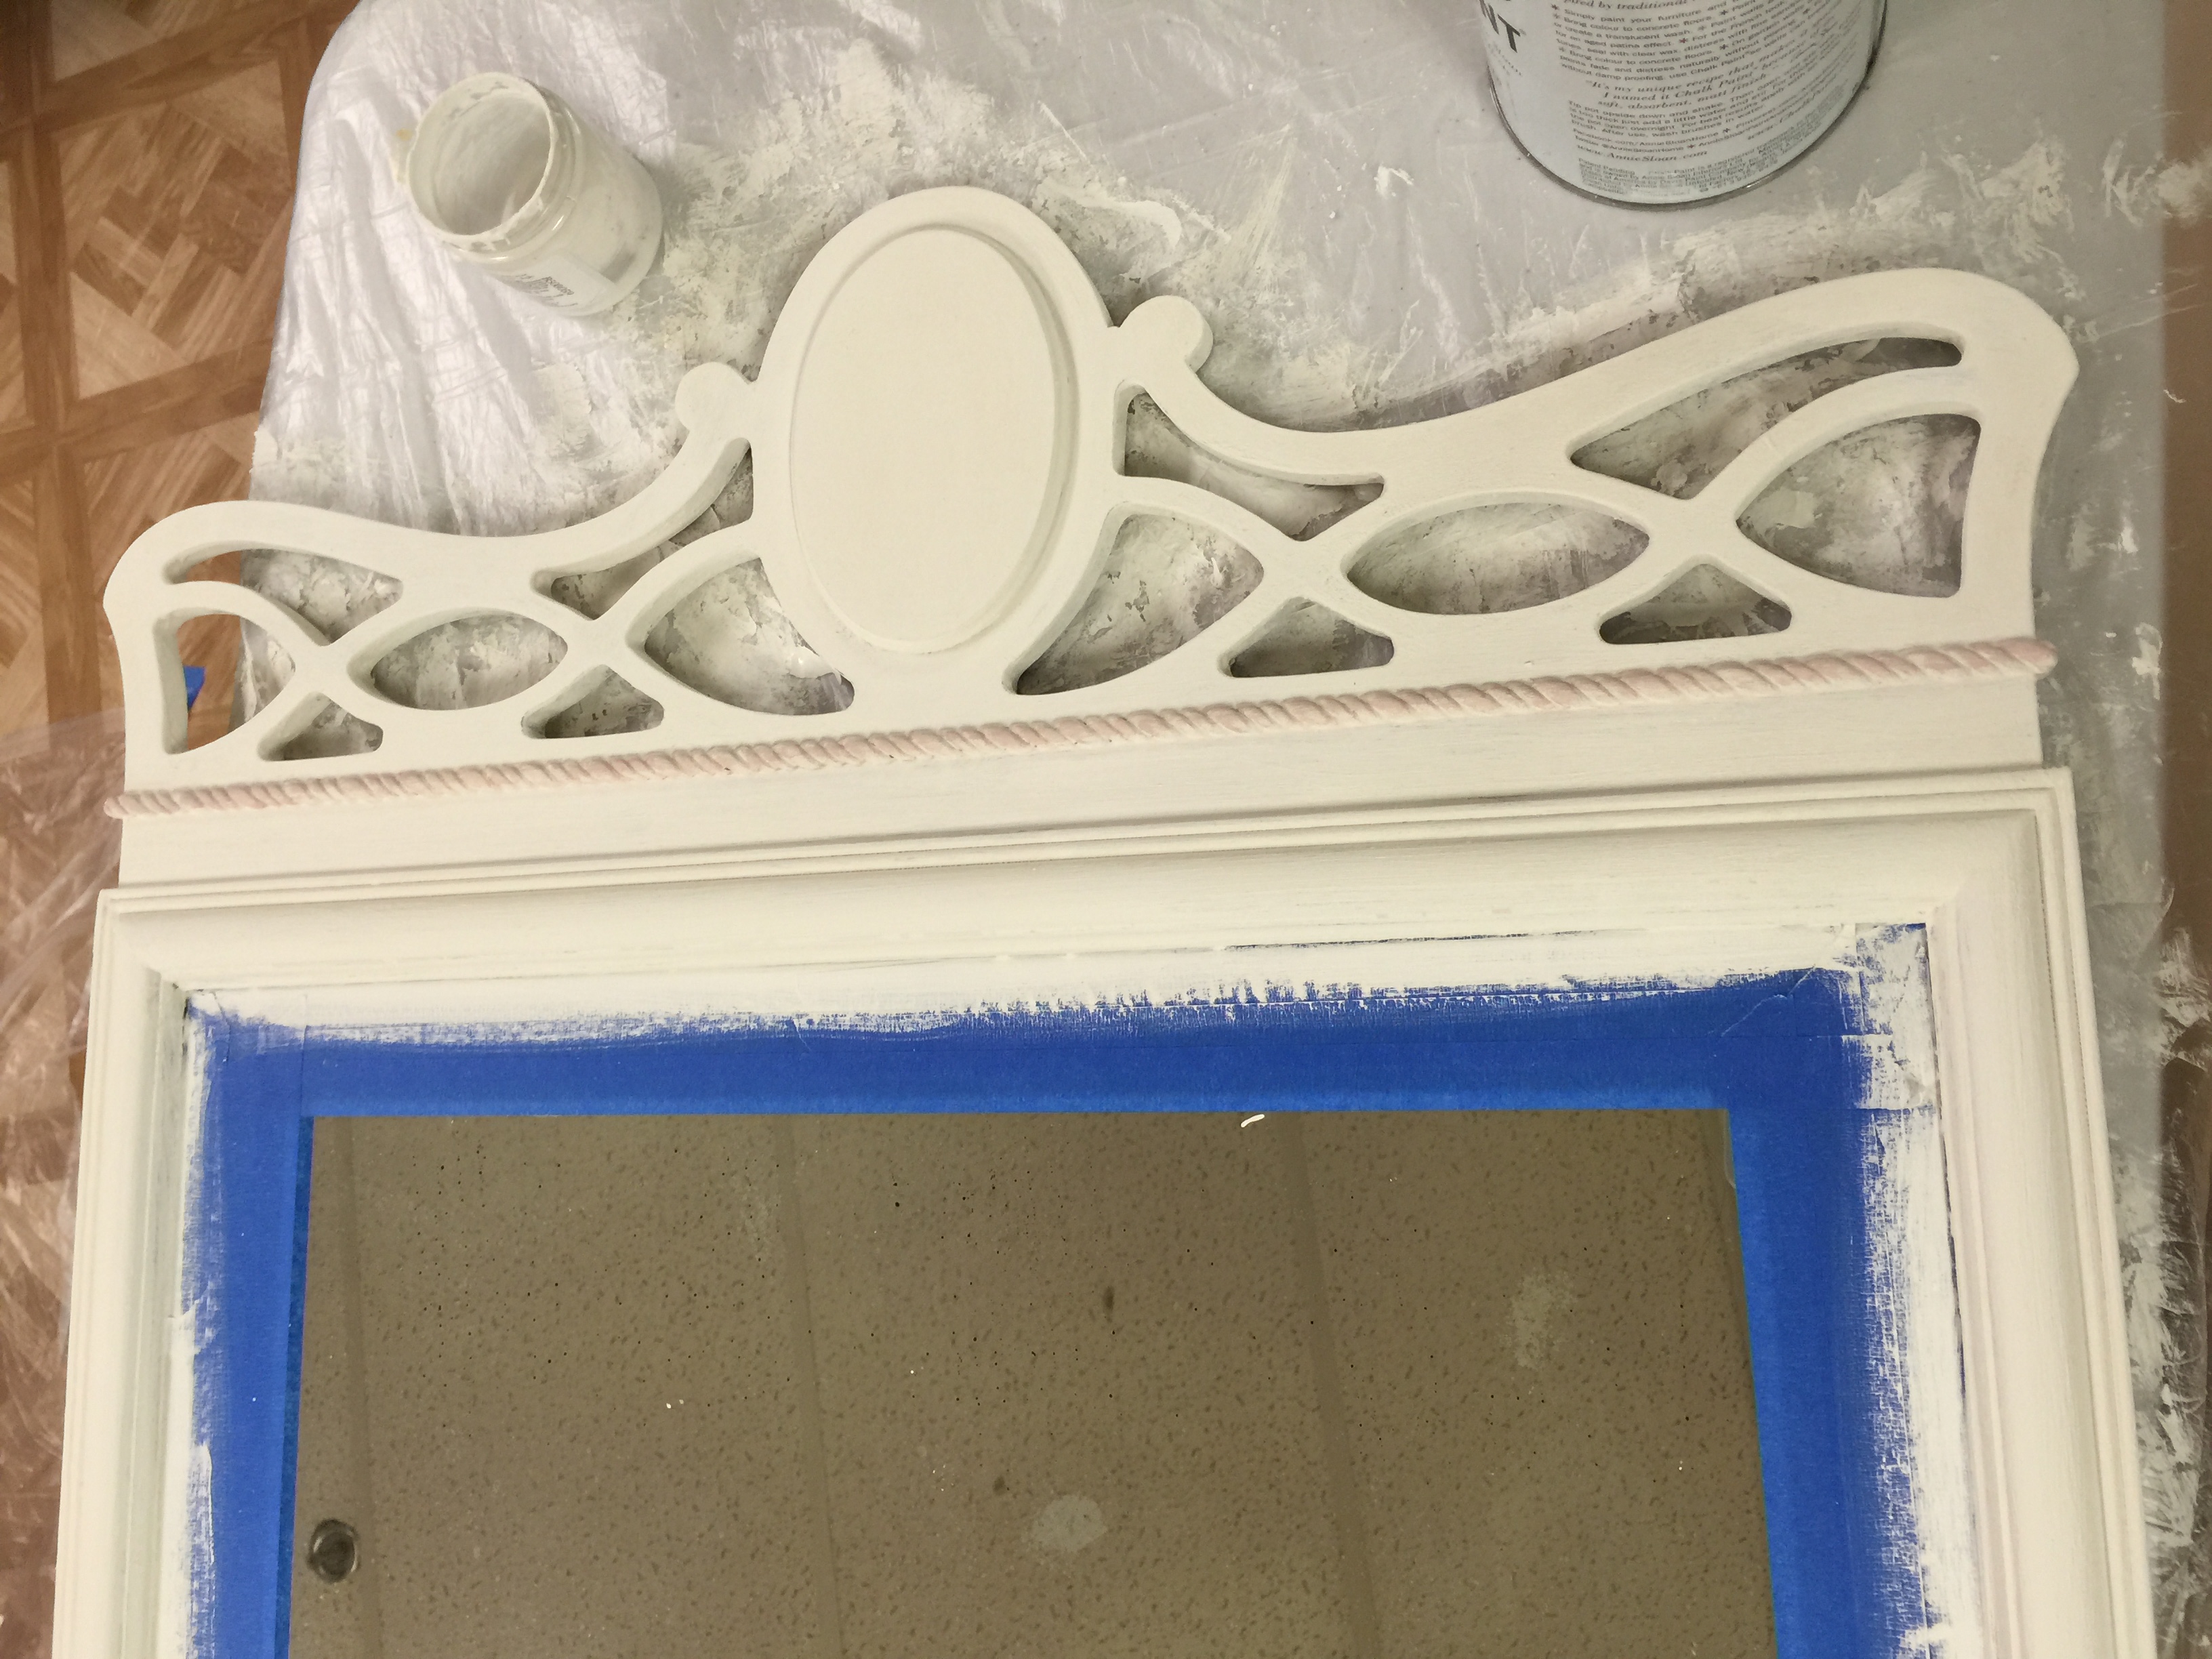
When we showed up for class Mary was all set for us with plenty of space to work, and every supply that we needed. Mary made sure that we had dusted and cleaned our pieces prior to our starting. Then we discussed our vision. I wanted to paint the furniture white, and then add a touch of pink to the details, all while keeping the style very shabby chic. I had seen Mary do this on a previous piece that I adored.
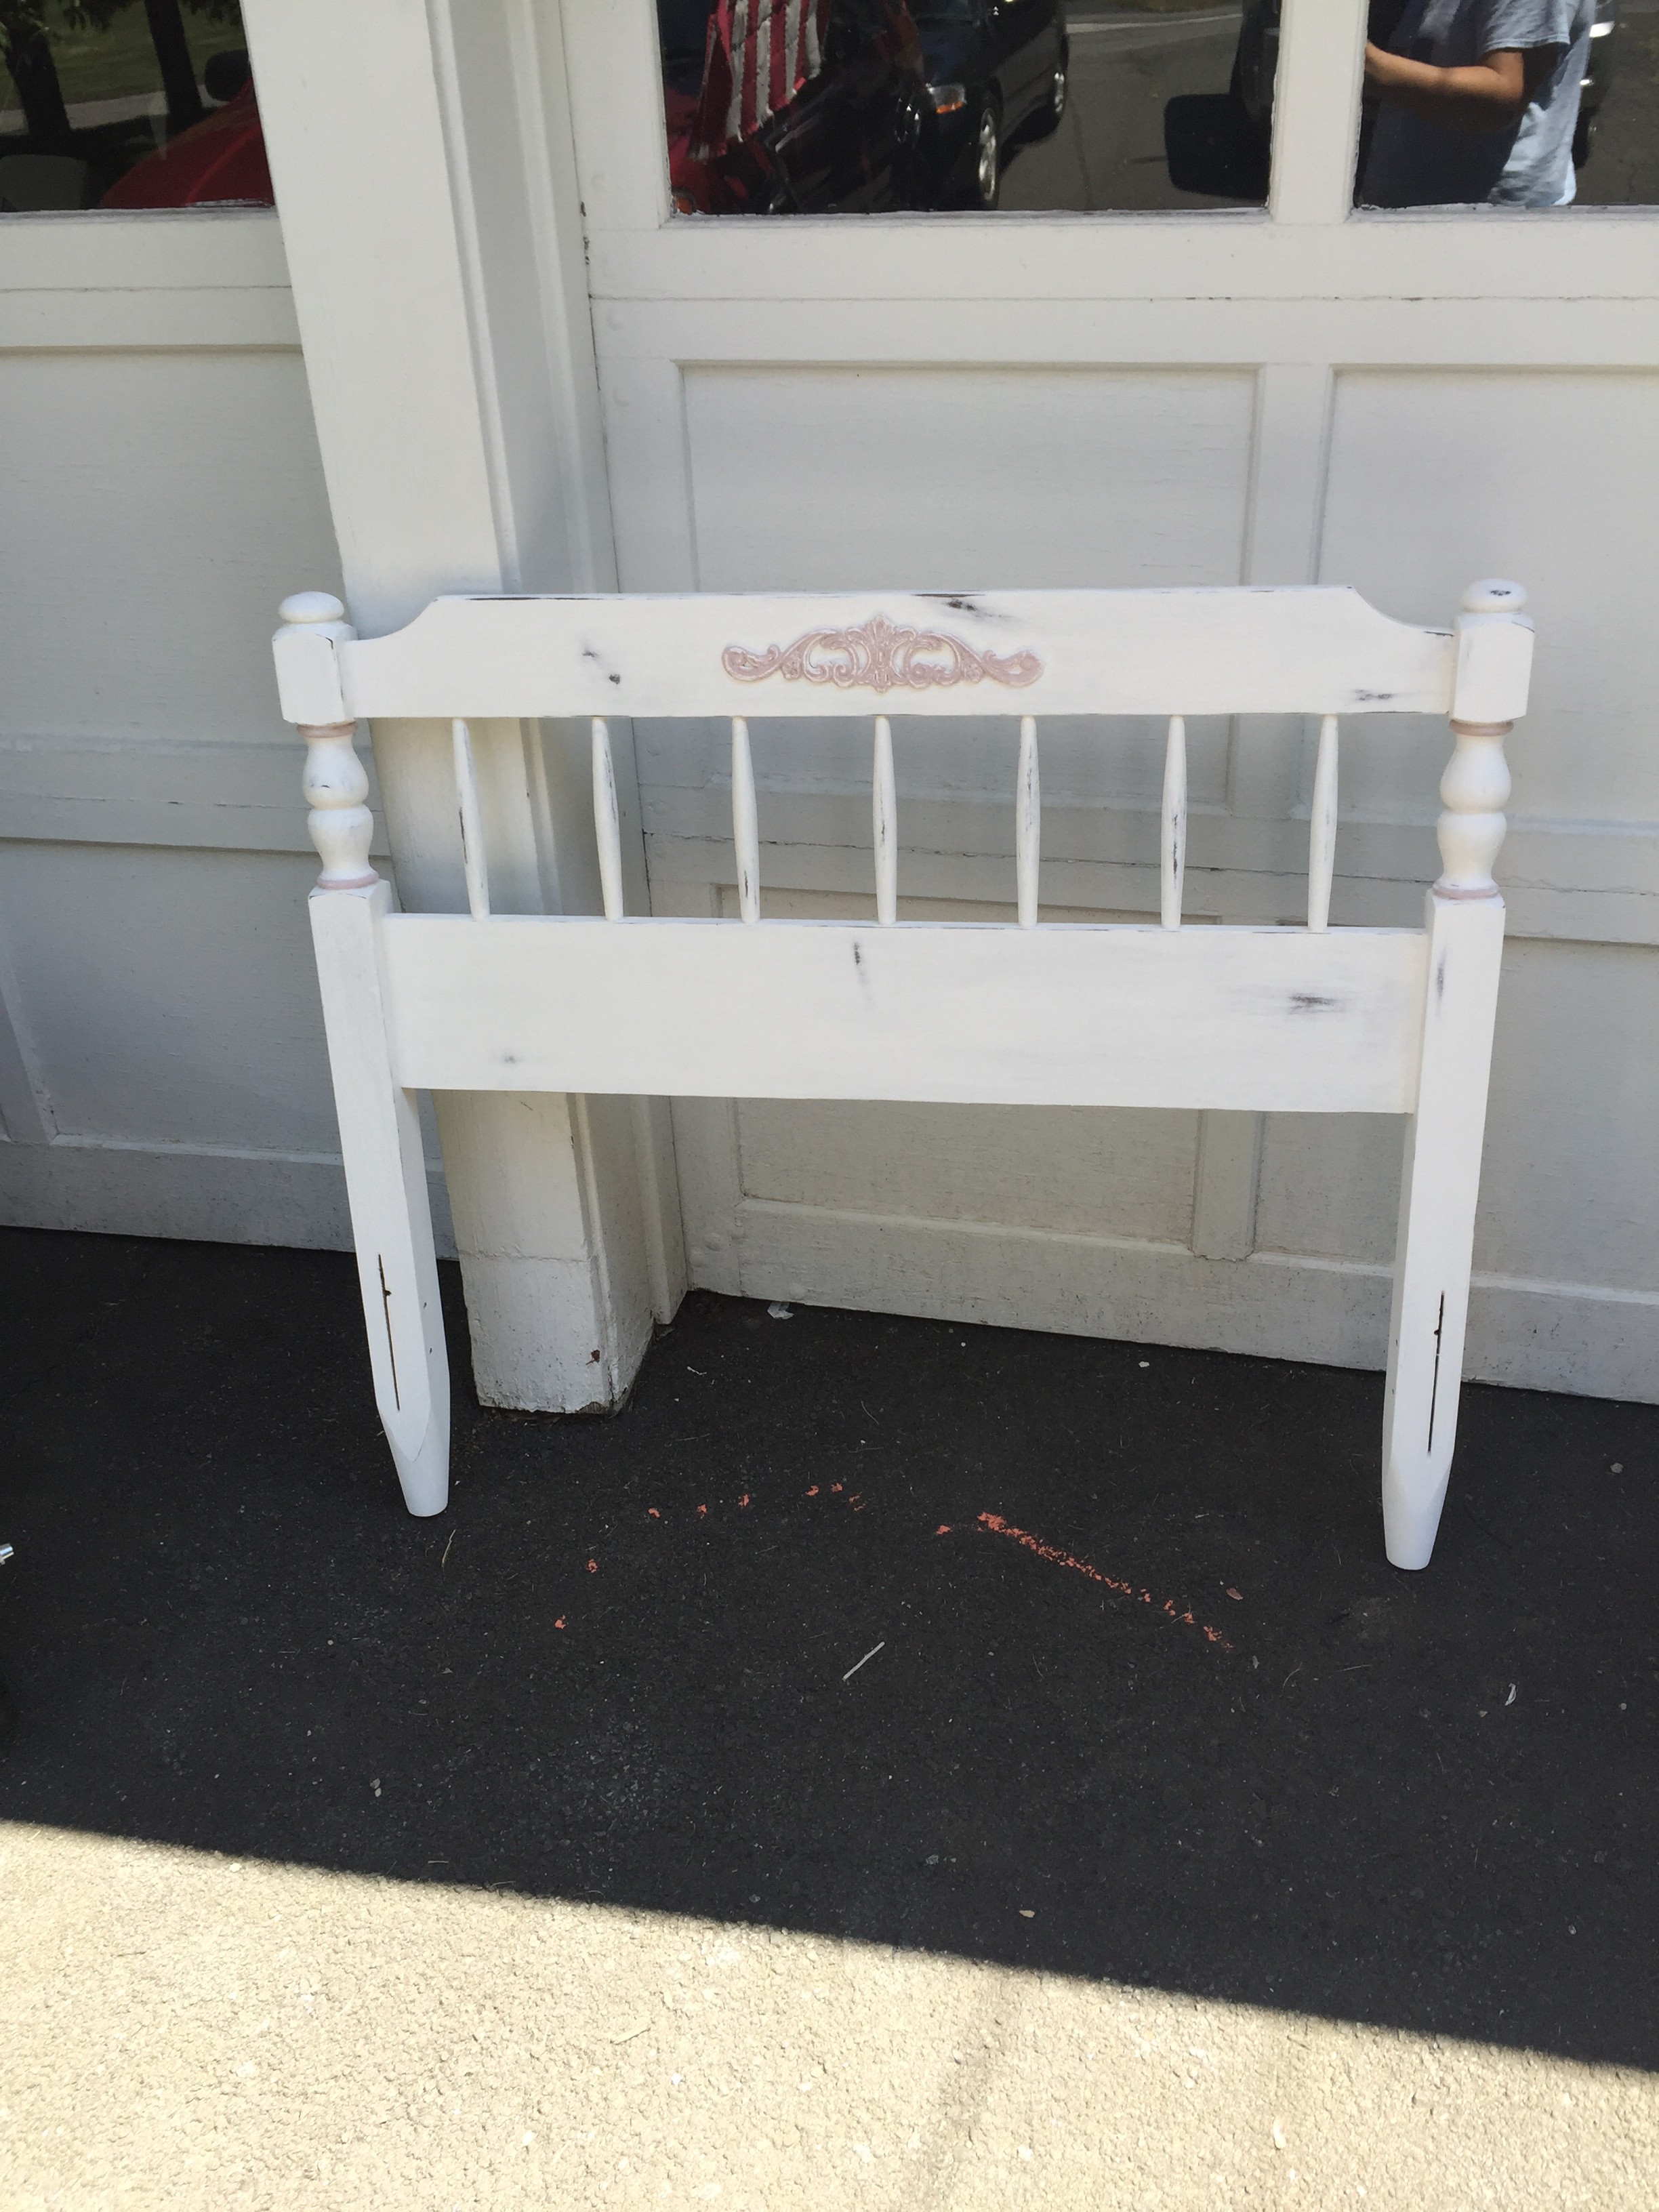
I was nervous about the workload (naturally) so I brought my mother with me. By the end of the day (yes the day) between my mother, Mary and Myself we were able to get two coats of paint on and some of the pink detailing done. Mary assured me that I was ready to complete the rest on my own. This was the part that I was so very nervous about. Most people complete their projects in the class time allotted so she is able to show them all of the steps involved. While I was there two other painters participated in the class. One completed an adorable gossip chair, and the other a lovely headboard for her daughter. (Usually Mary limits people to pieces that can be done in one class, in my case I was supposed to come back for another class, but our schedules didn’t mesh). Mary assured me that she would be available for any questions and even offered for me to come to her HOUSE and work if I needed to.
When Summer started I was finally able to work on my masterpieces. Although the paint is soft enough to wax straight after drying, I wanted a smoother finish, and some distressing (which Mary has a trick for, I chose to do it the HARD way). I used a fine sandpaper first, followed by a “SUPER-fine) sand paper. Once pleased with the distressing I used the wax that Mary provided to seal it all in. It feels as smooth as glass. I adore it. I had SEVERAL million questions and Mary was super quick to respond, and had ideas and hints for everything. For instance: I needed to find a matching drawer pull for a missing one on the set, she directed me to the right group!
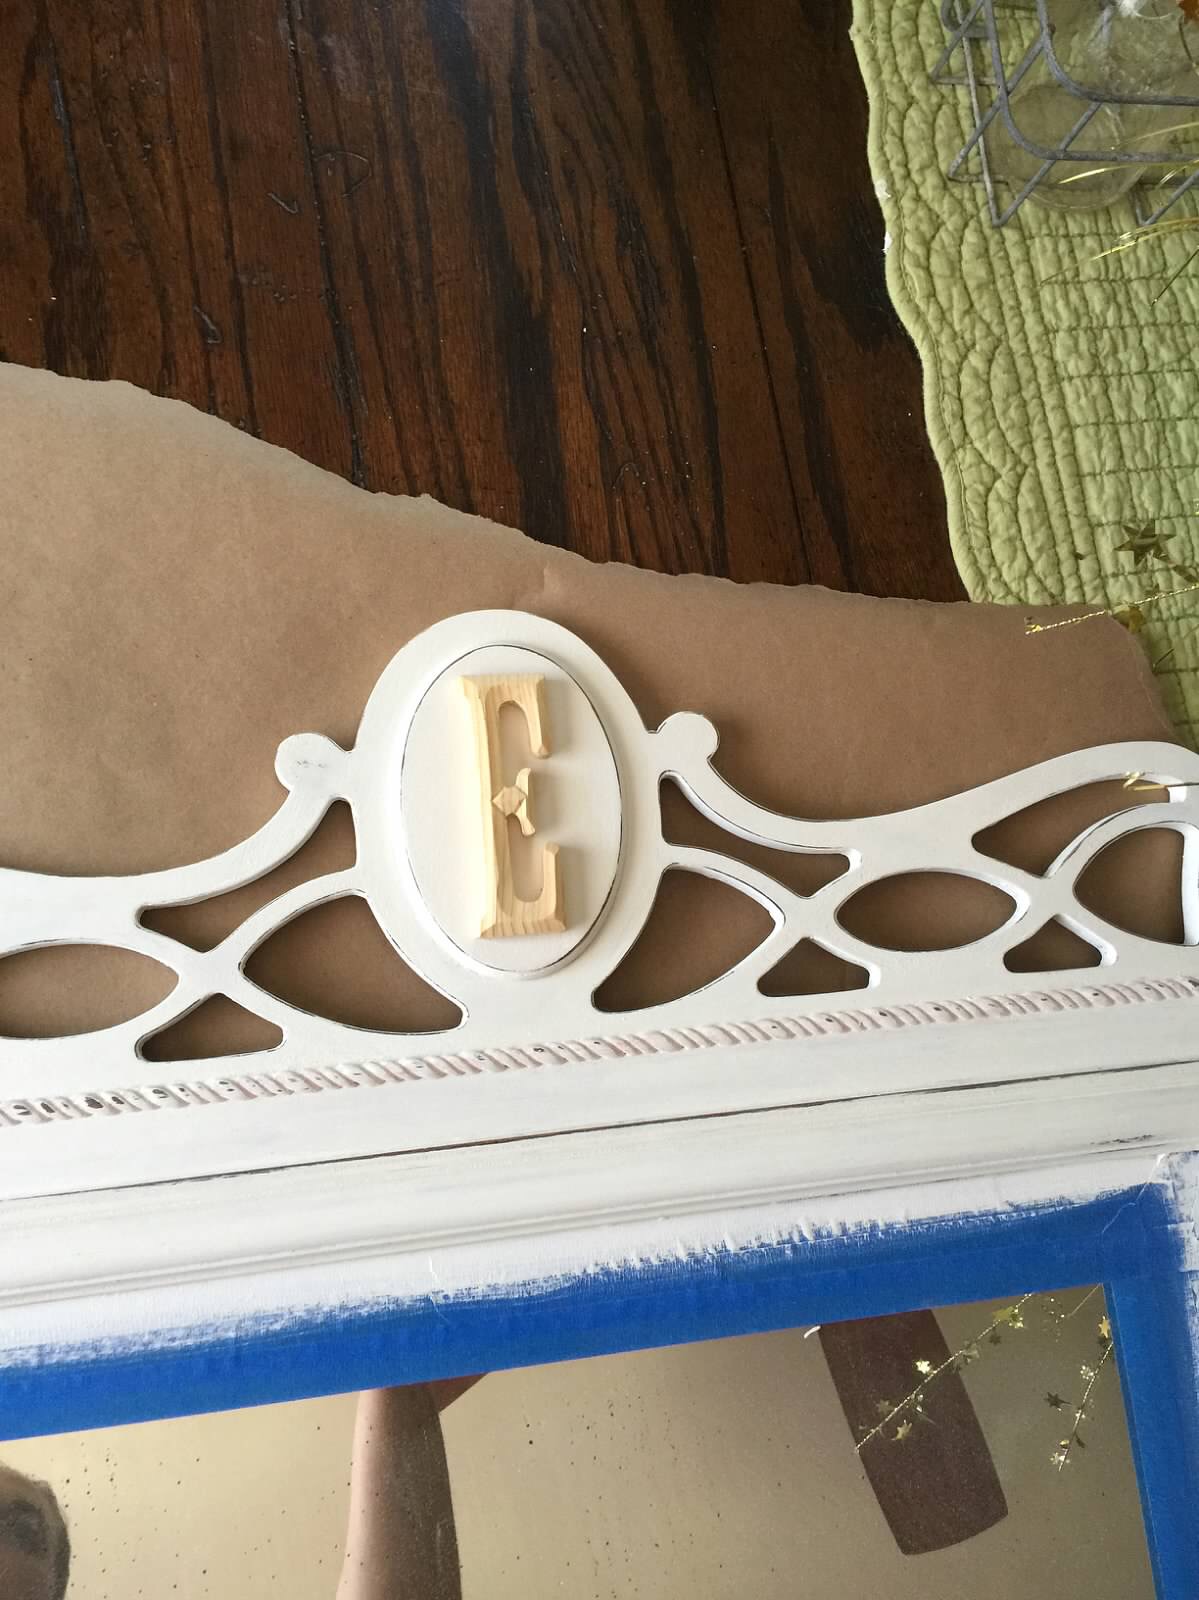
I needed to add a little something to the bedframe to make it coordinate with the rest of the set so Mary suggested I get a wooden applique (you can find them at Home Depot, or Dykes Lumber). I affixed them with Loctite wood glue, painted and distressed. I LOVE THESE DETAILS!!
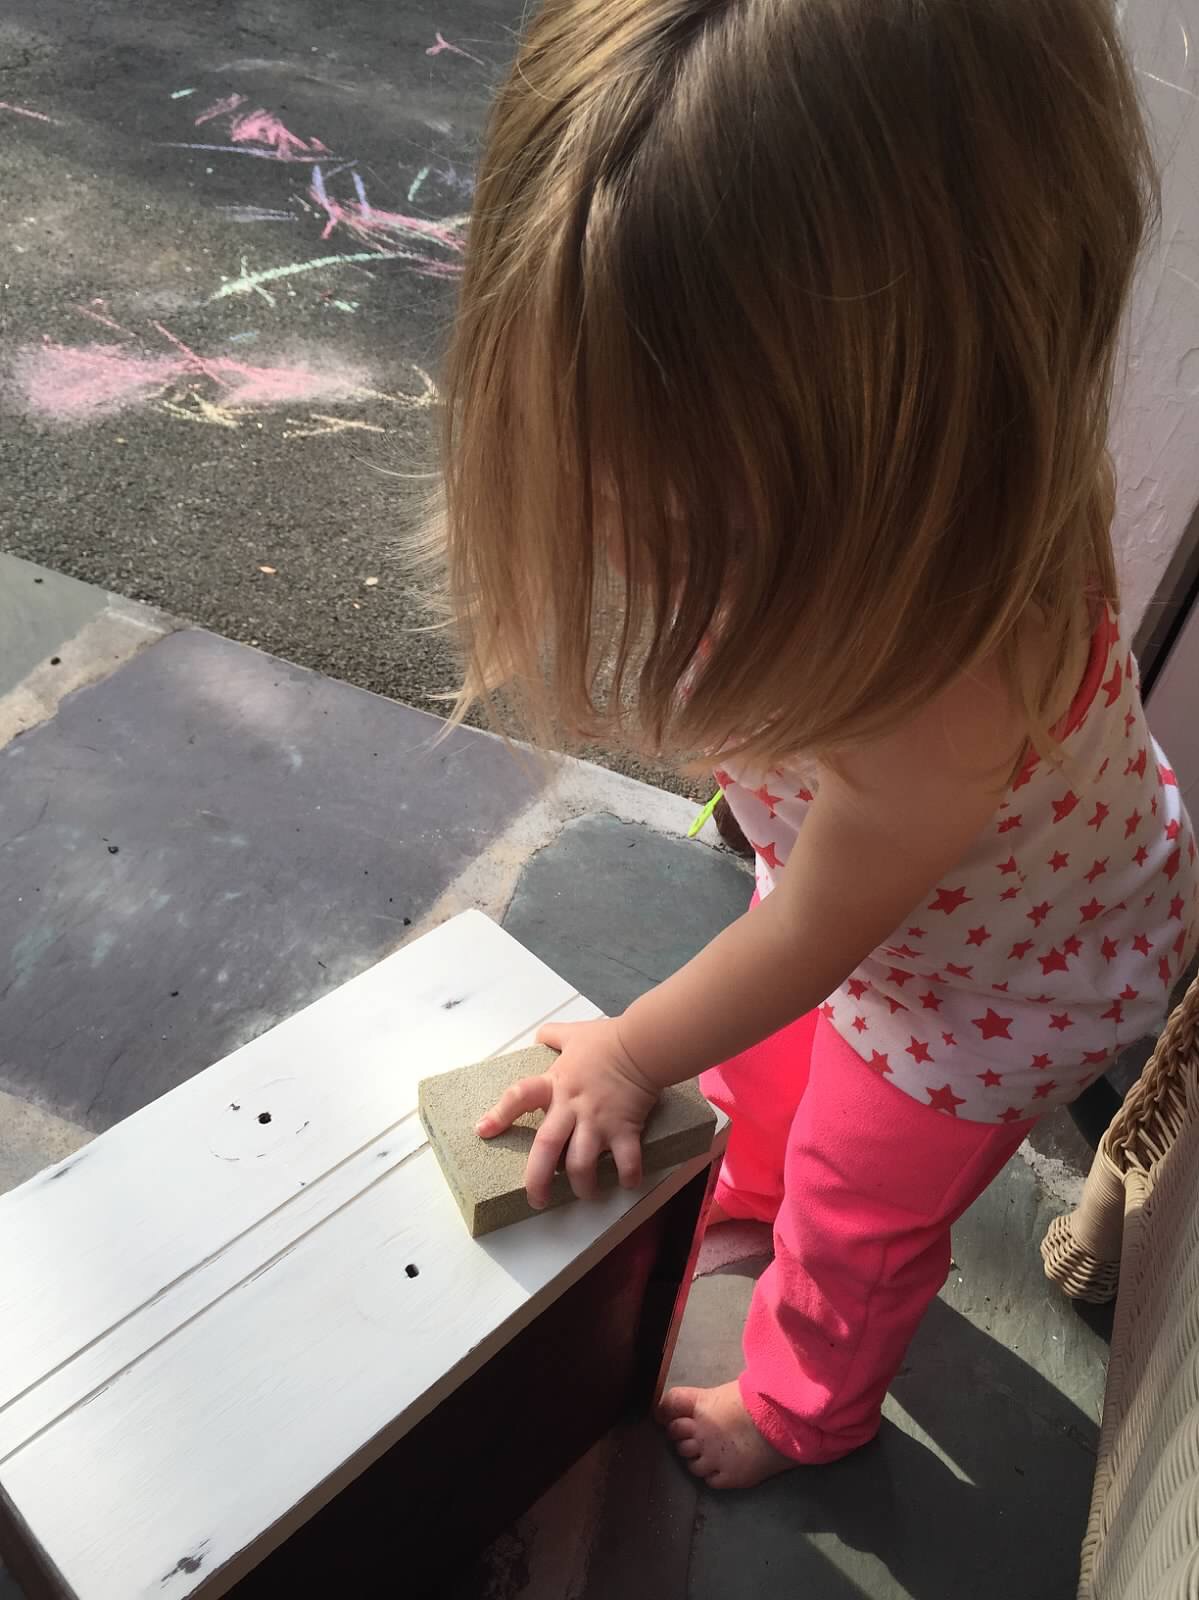
I worked for what seems like forever on these pieces but am so proud of the outcome. (E) even got in on it and learned how to sand (there is a video on our YouTube channel because OH MY GOSH its cute).
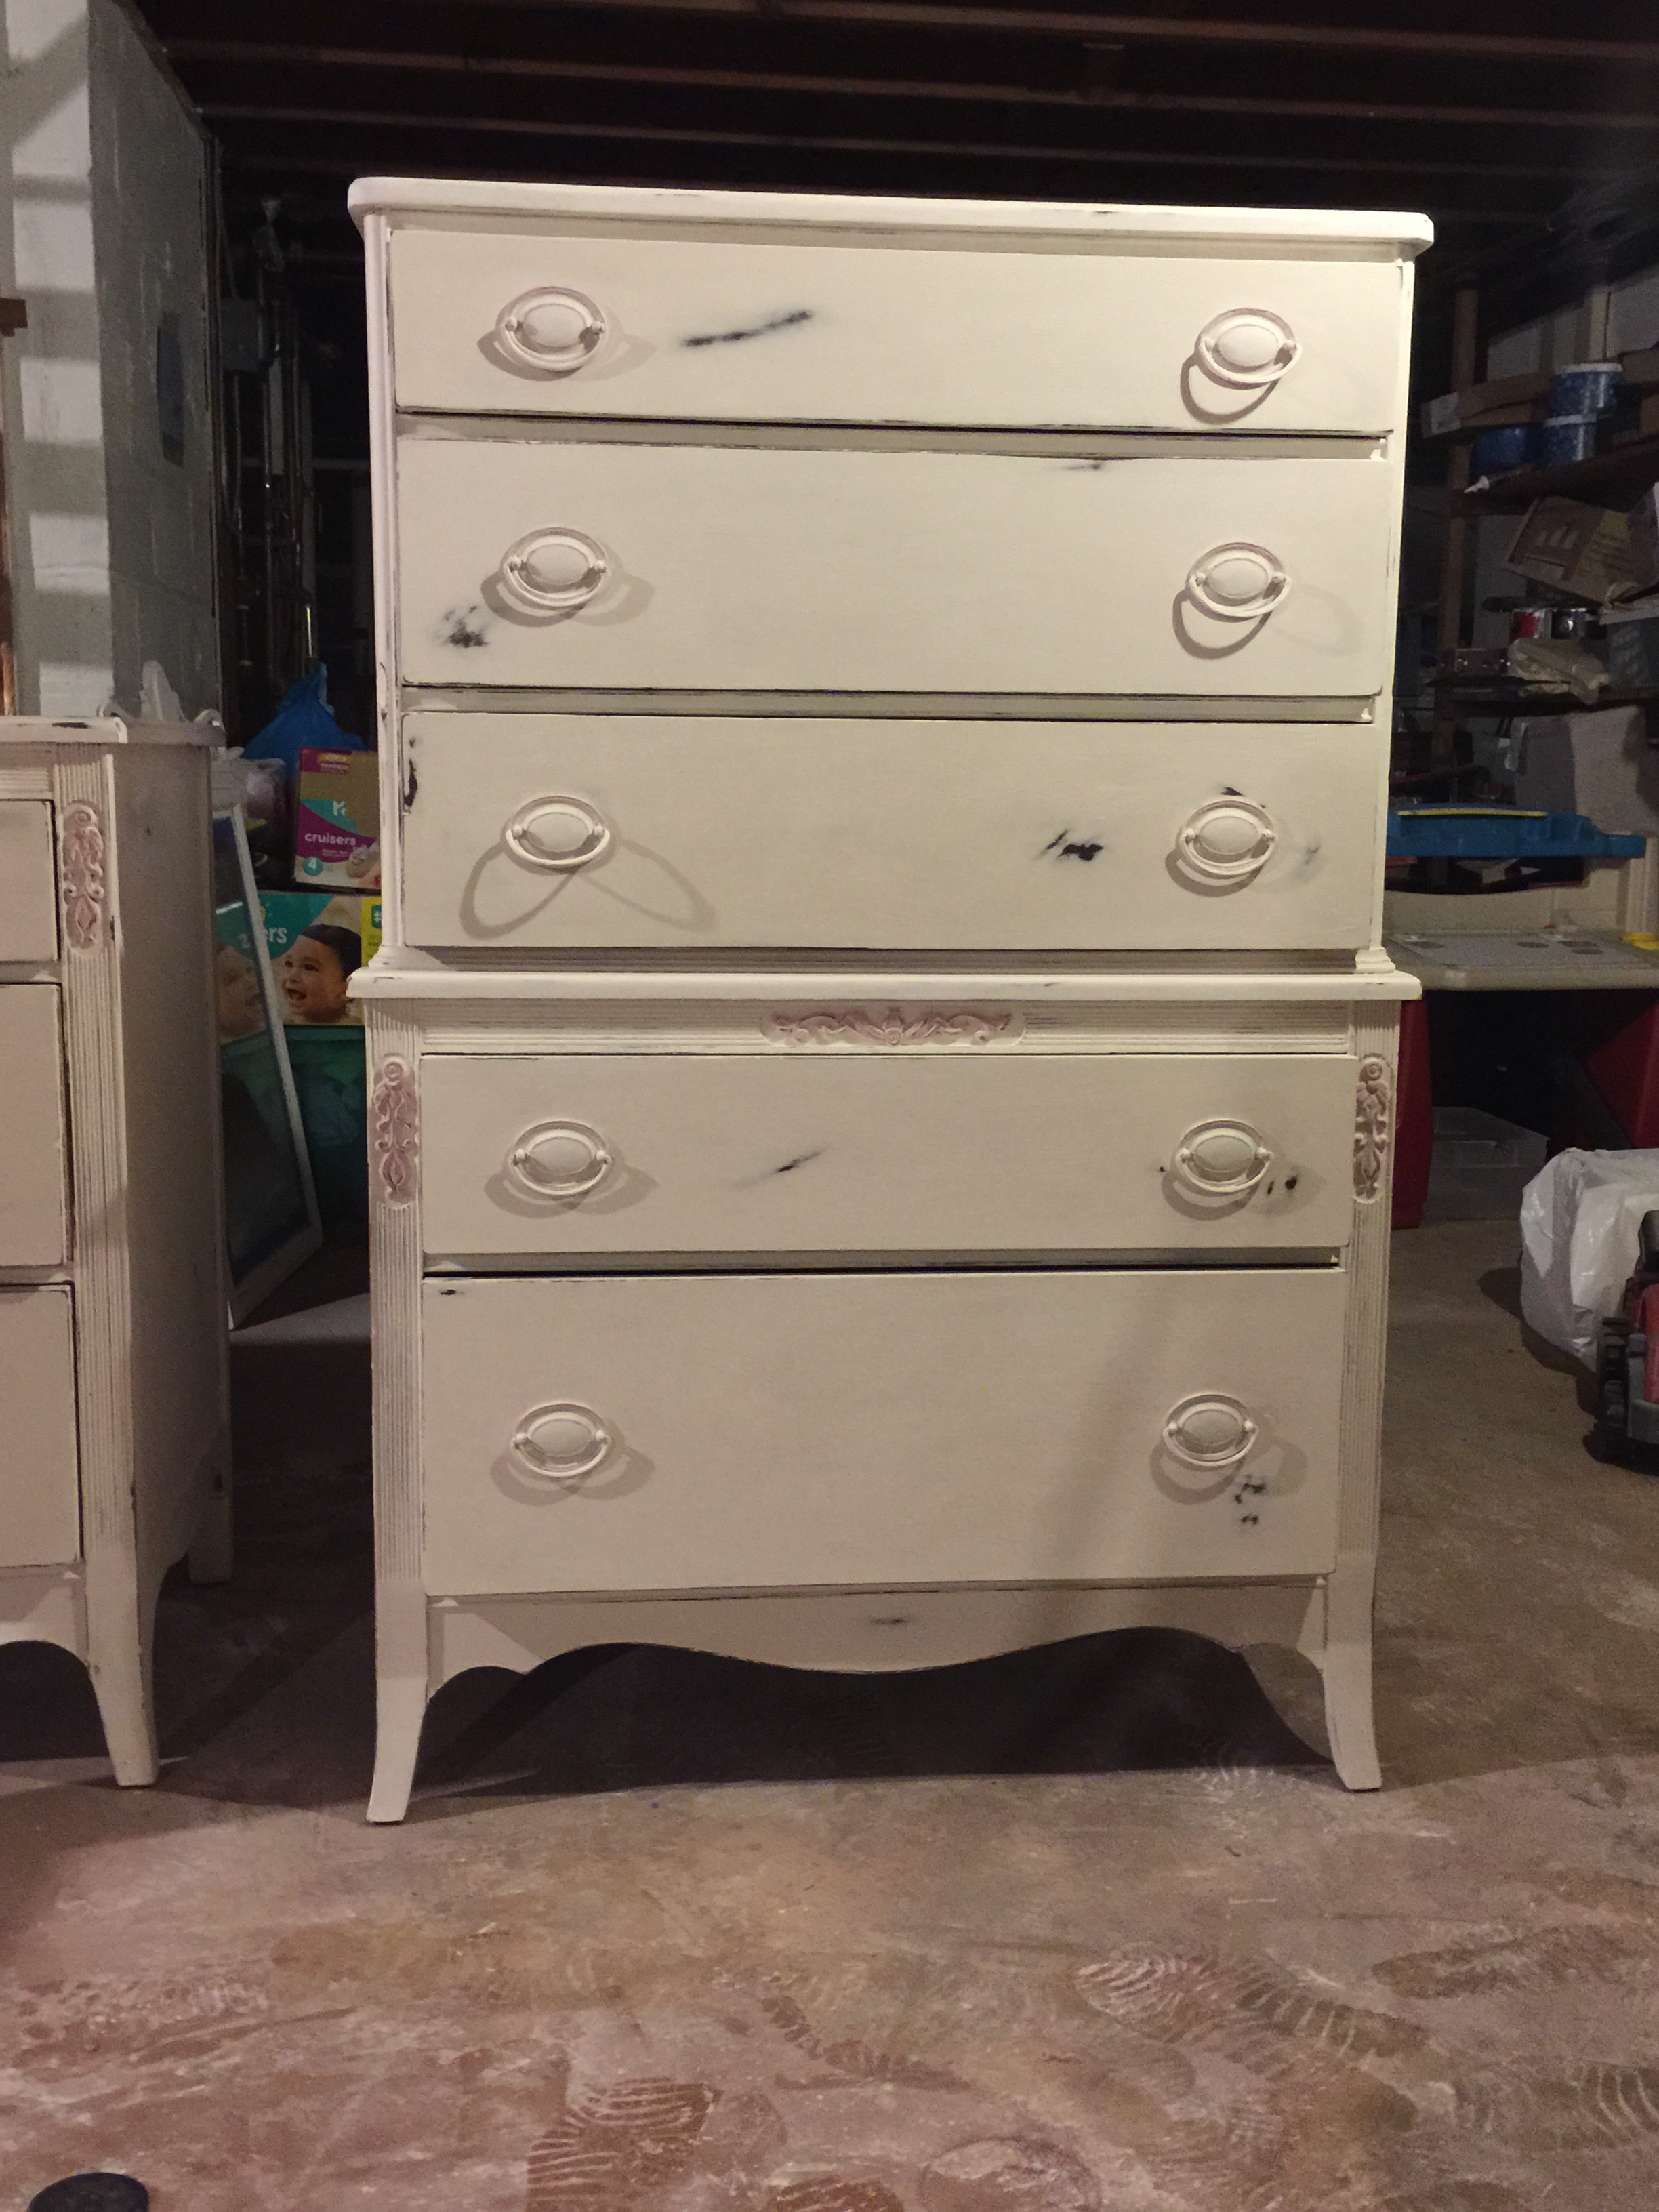
My finished products (you will get to see them in the room when her room is complete and I post).
Dressers


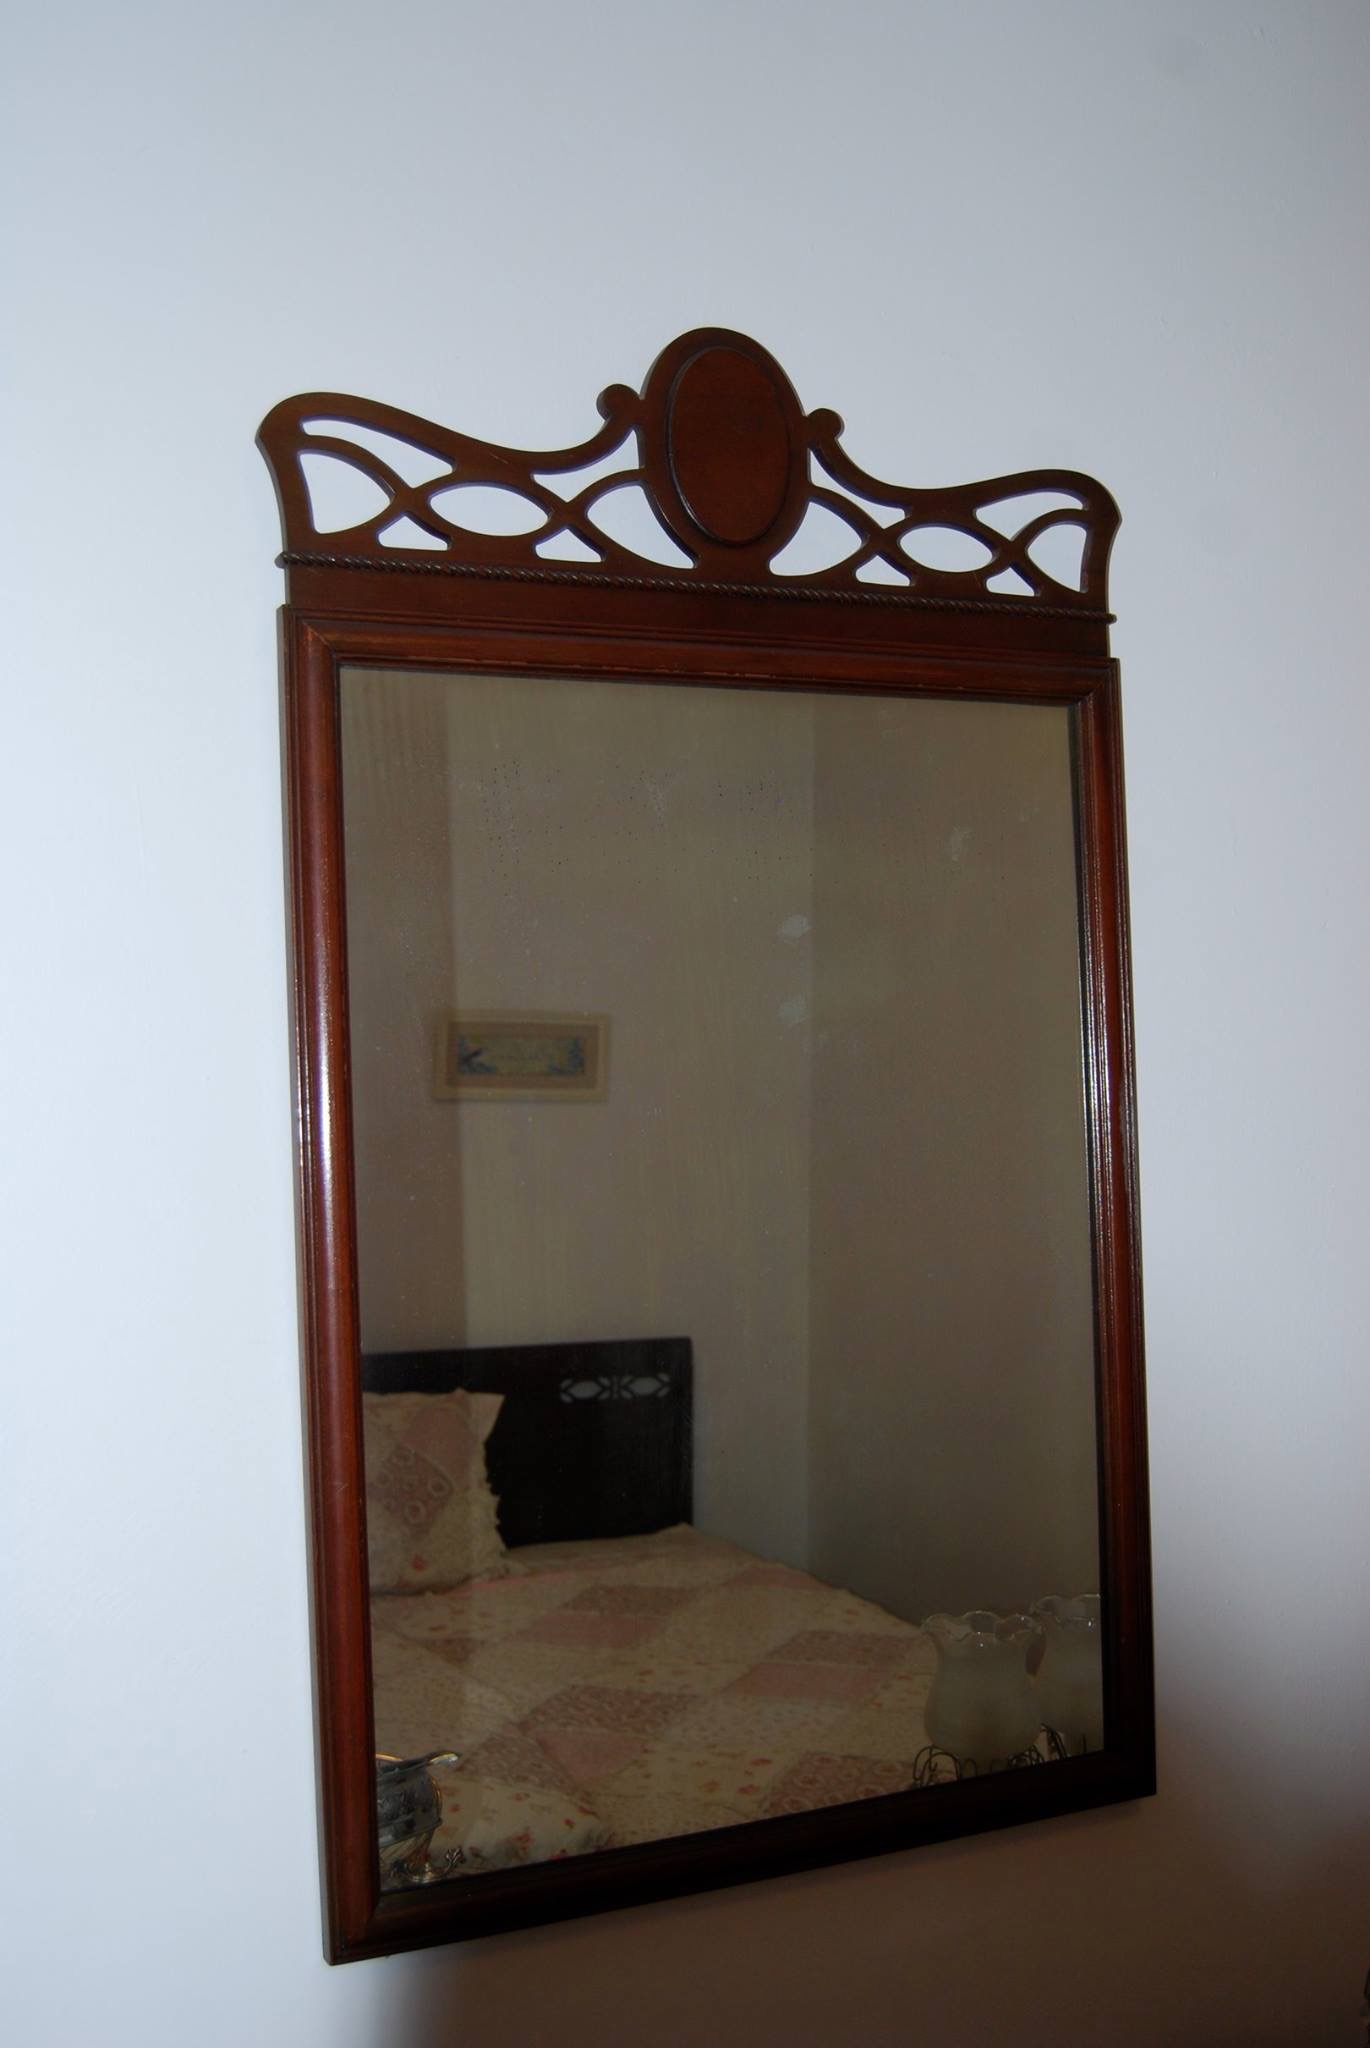
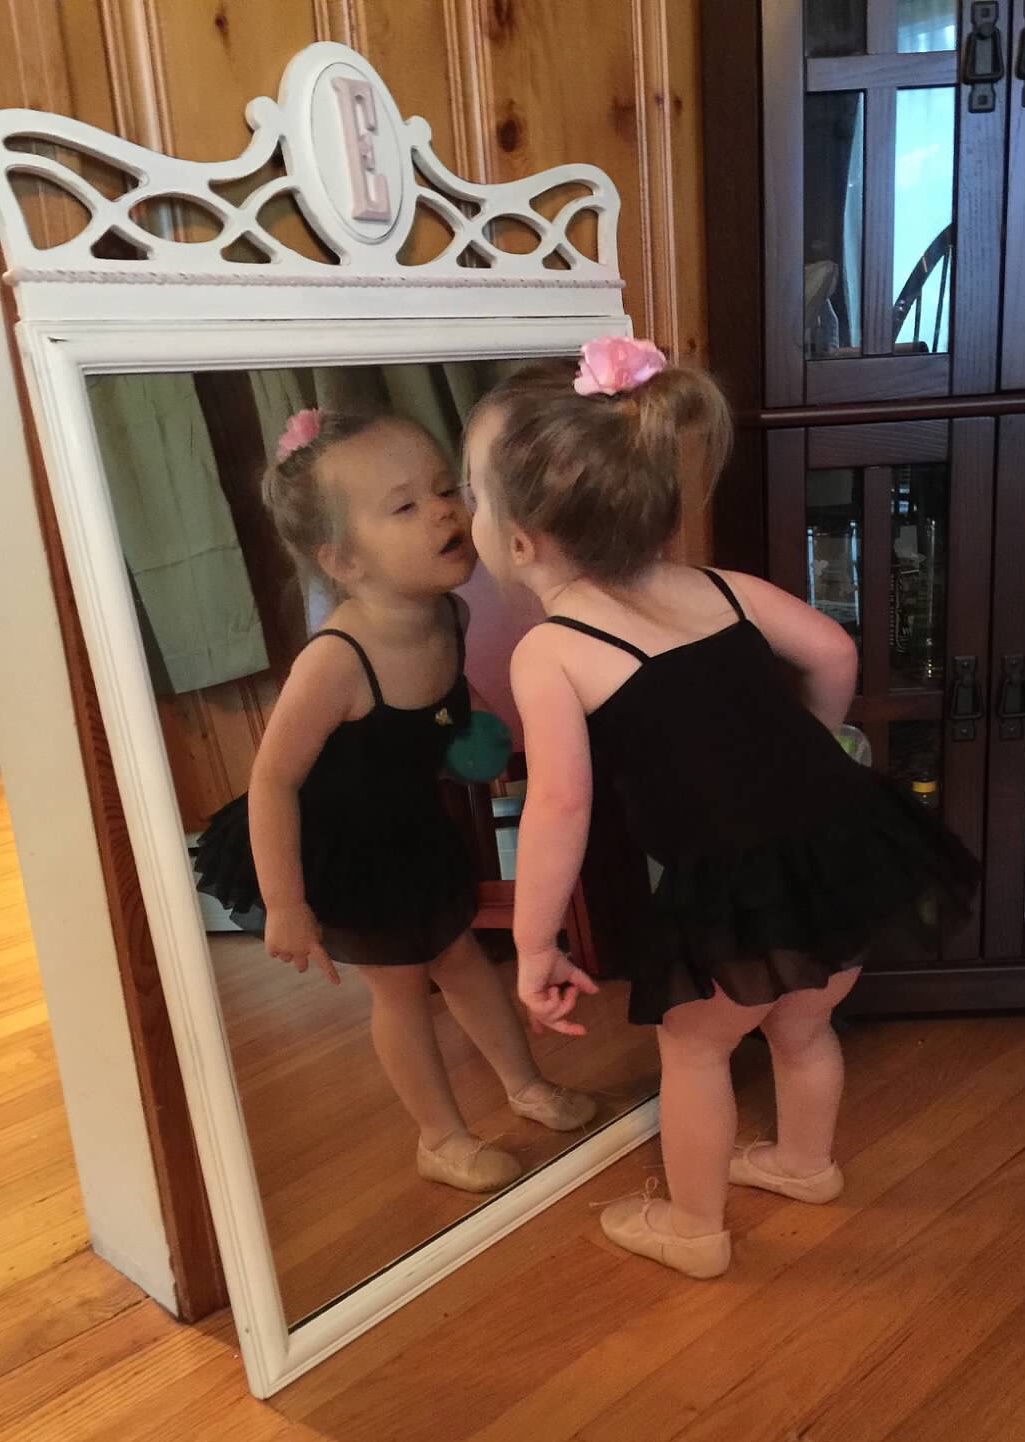
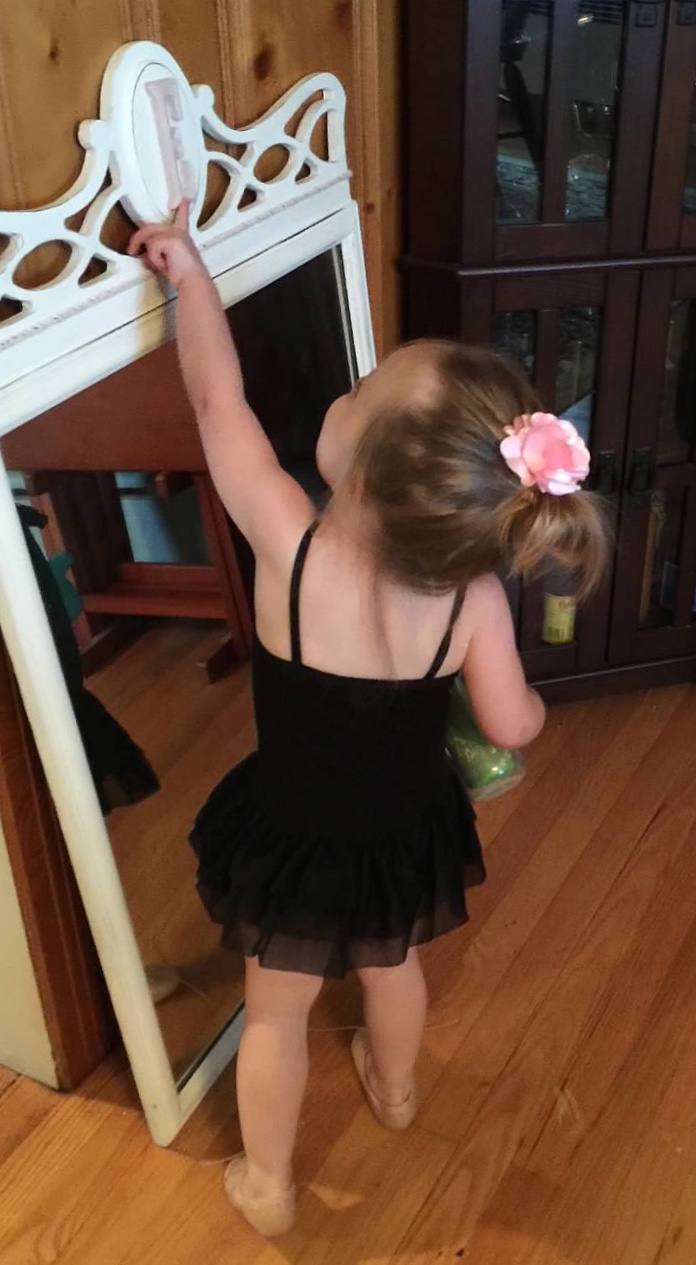
Mirror
Bedframe
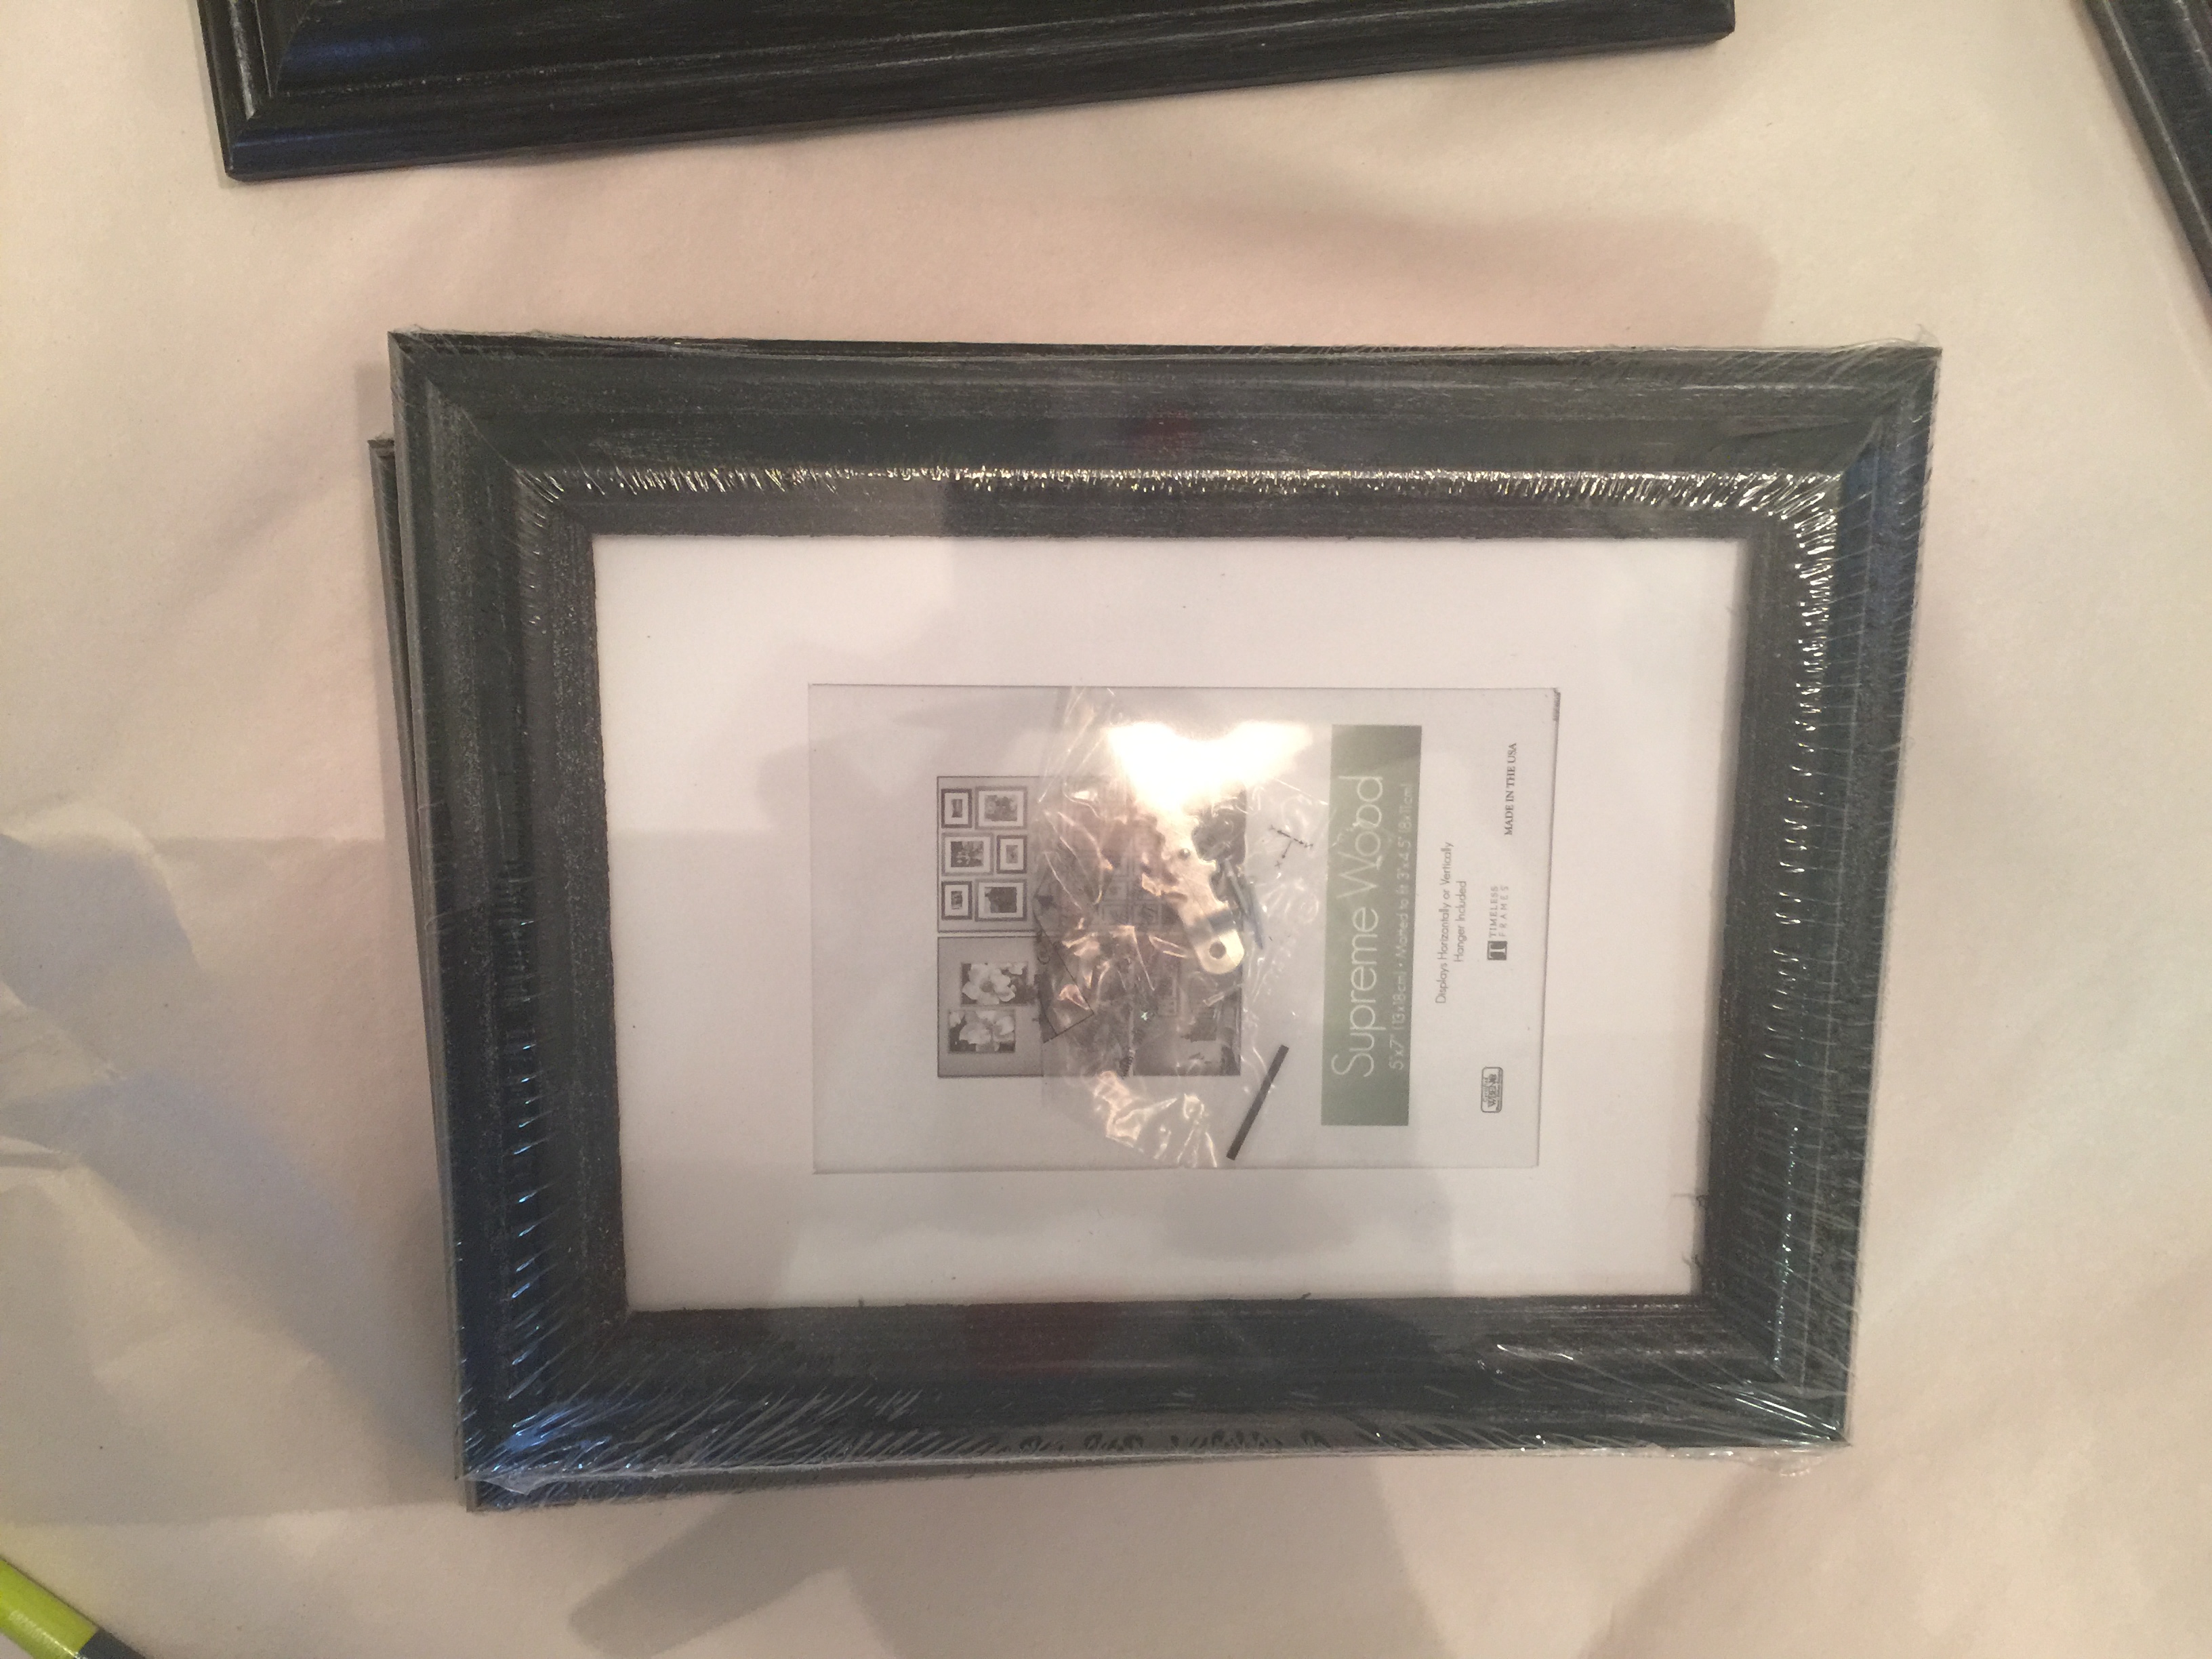
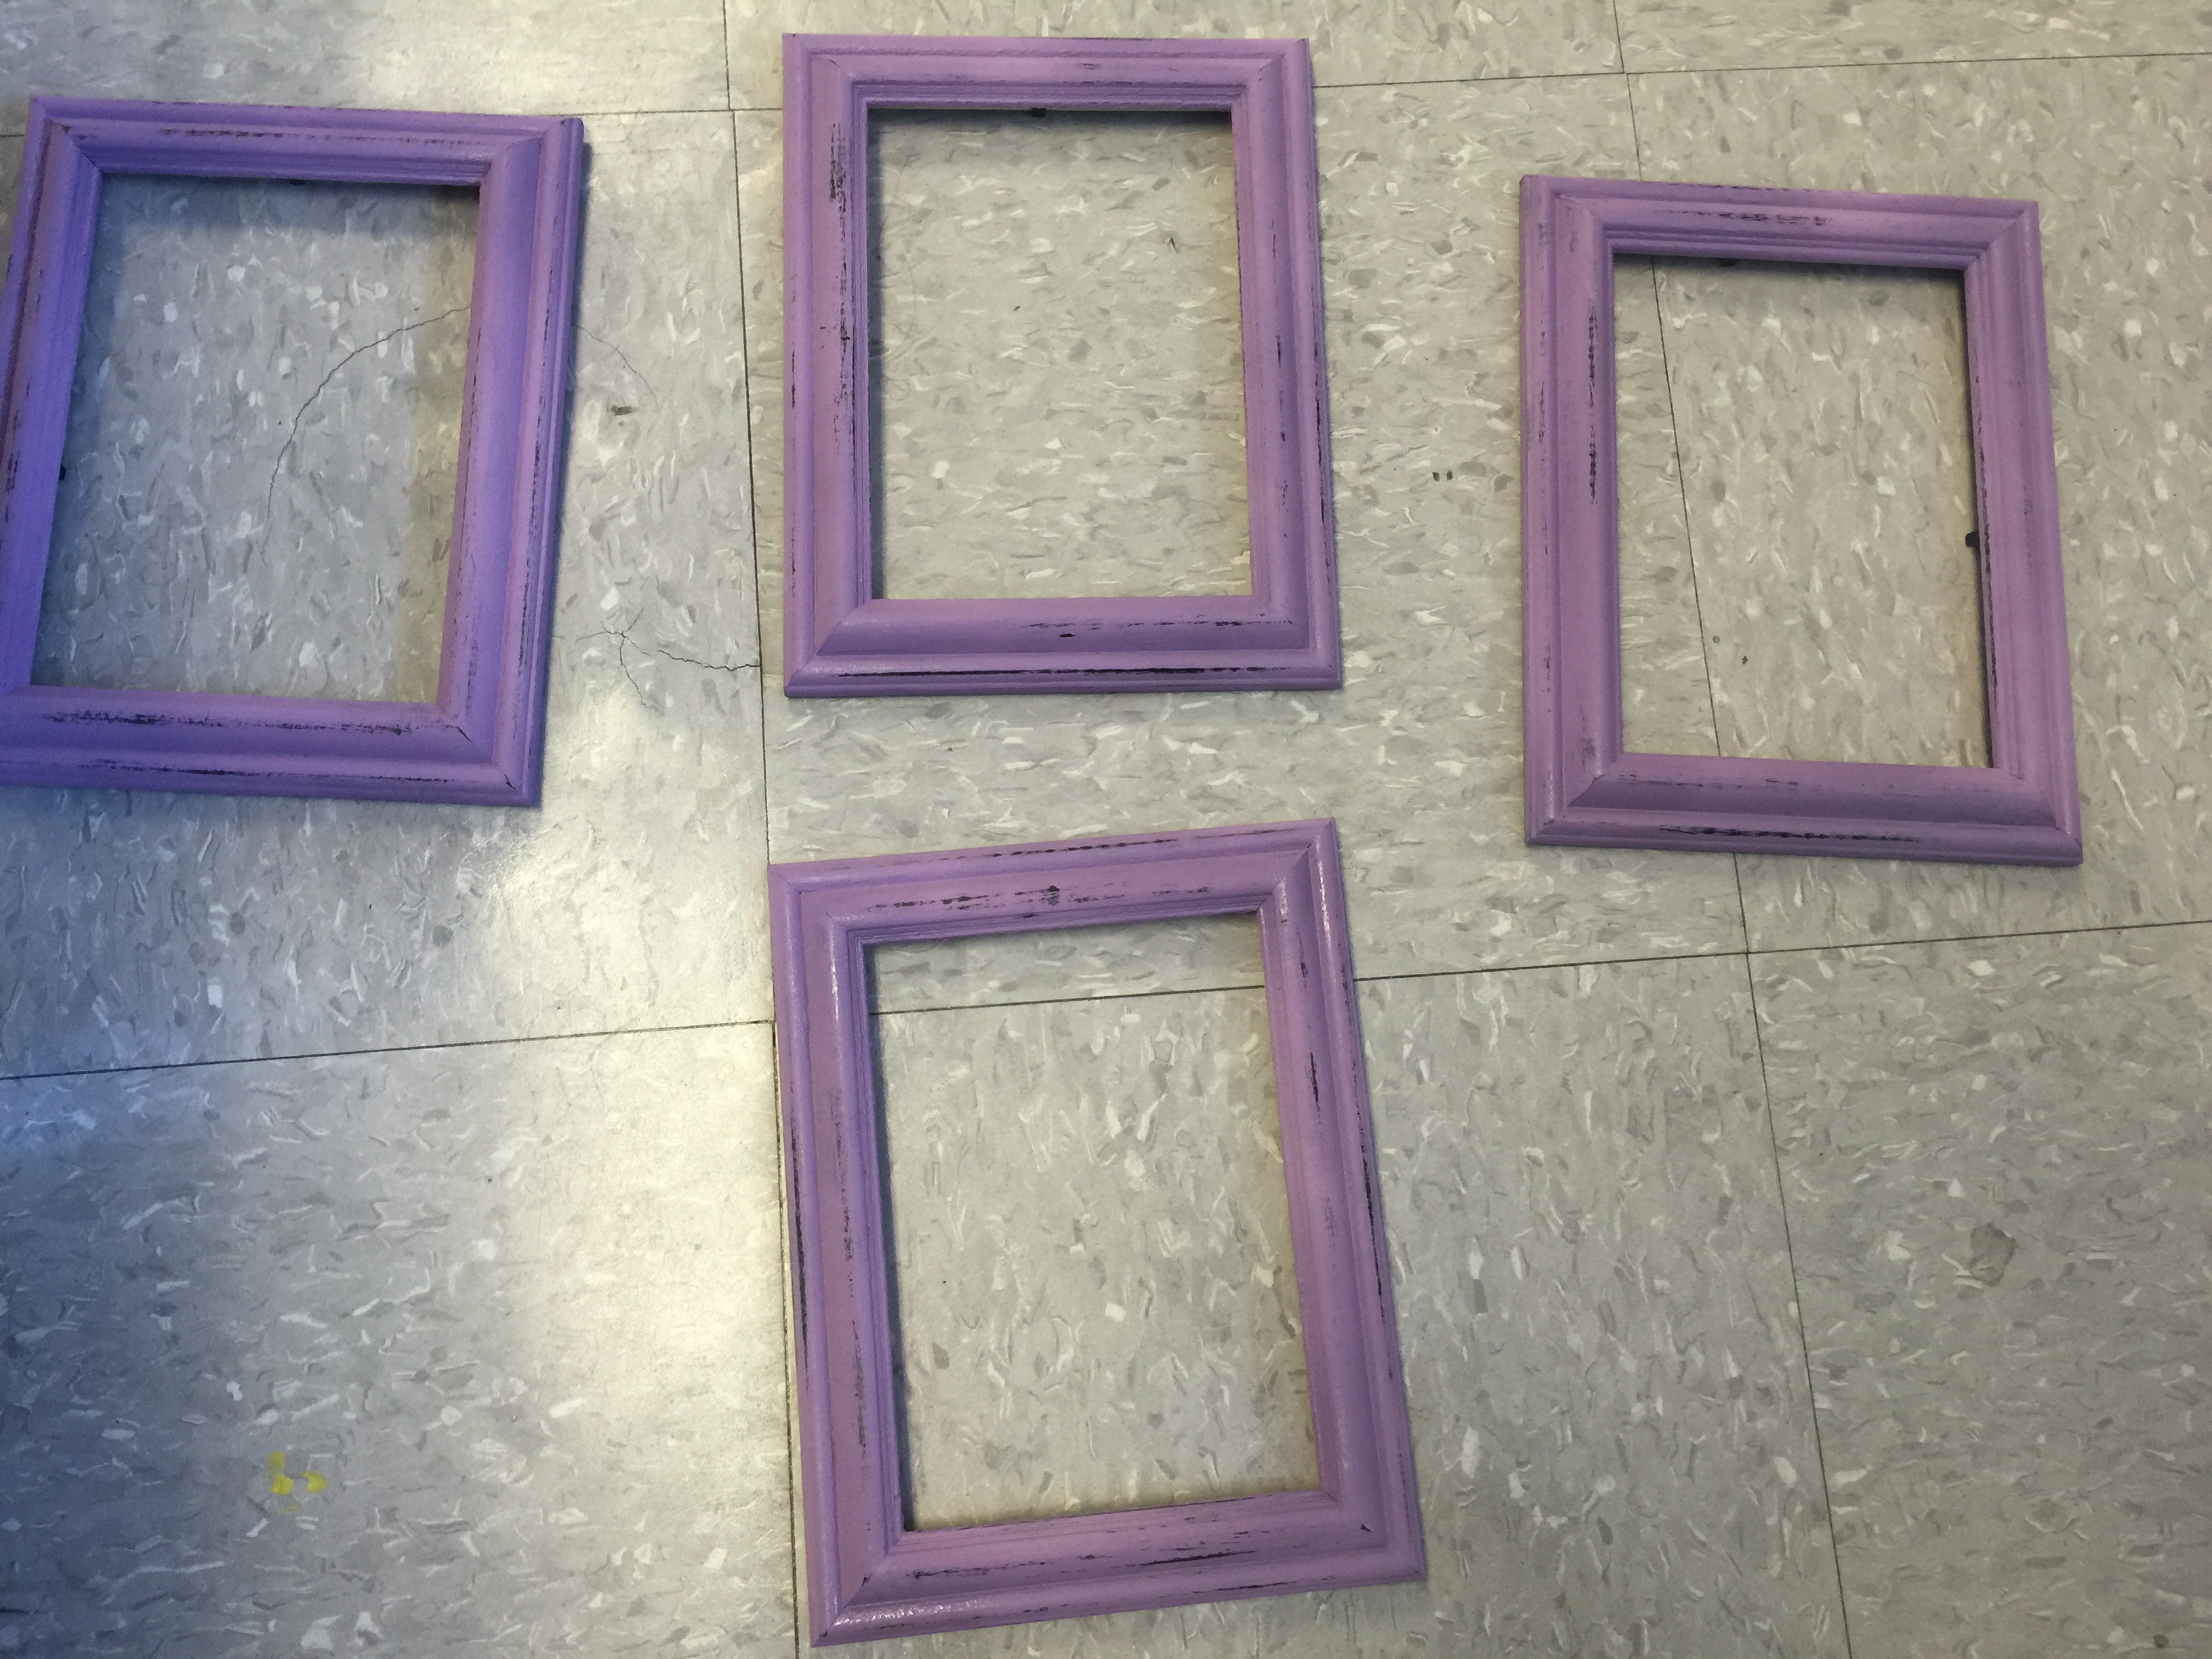
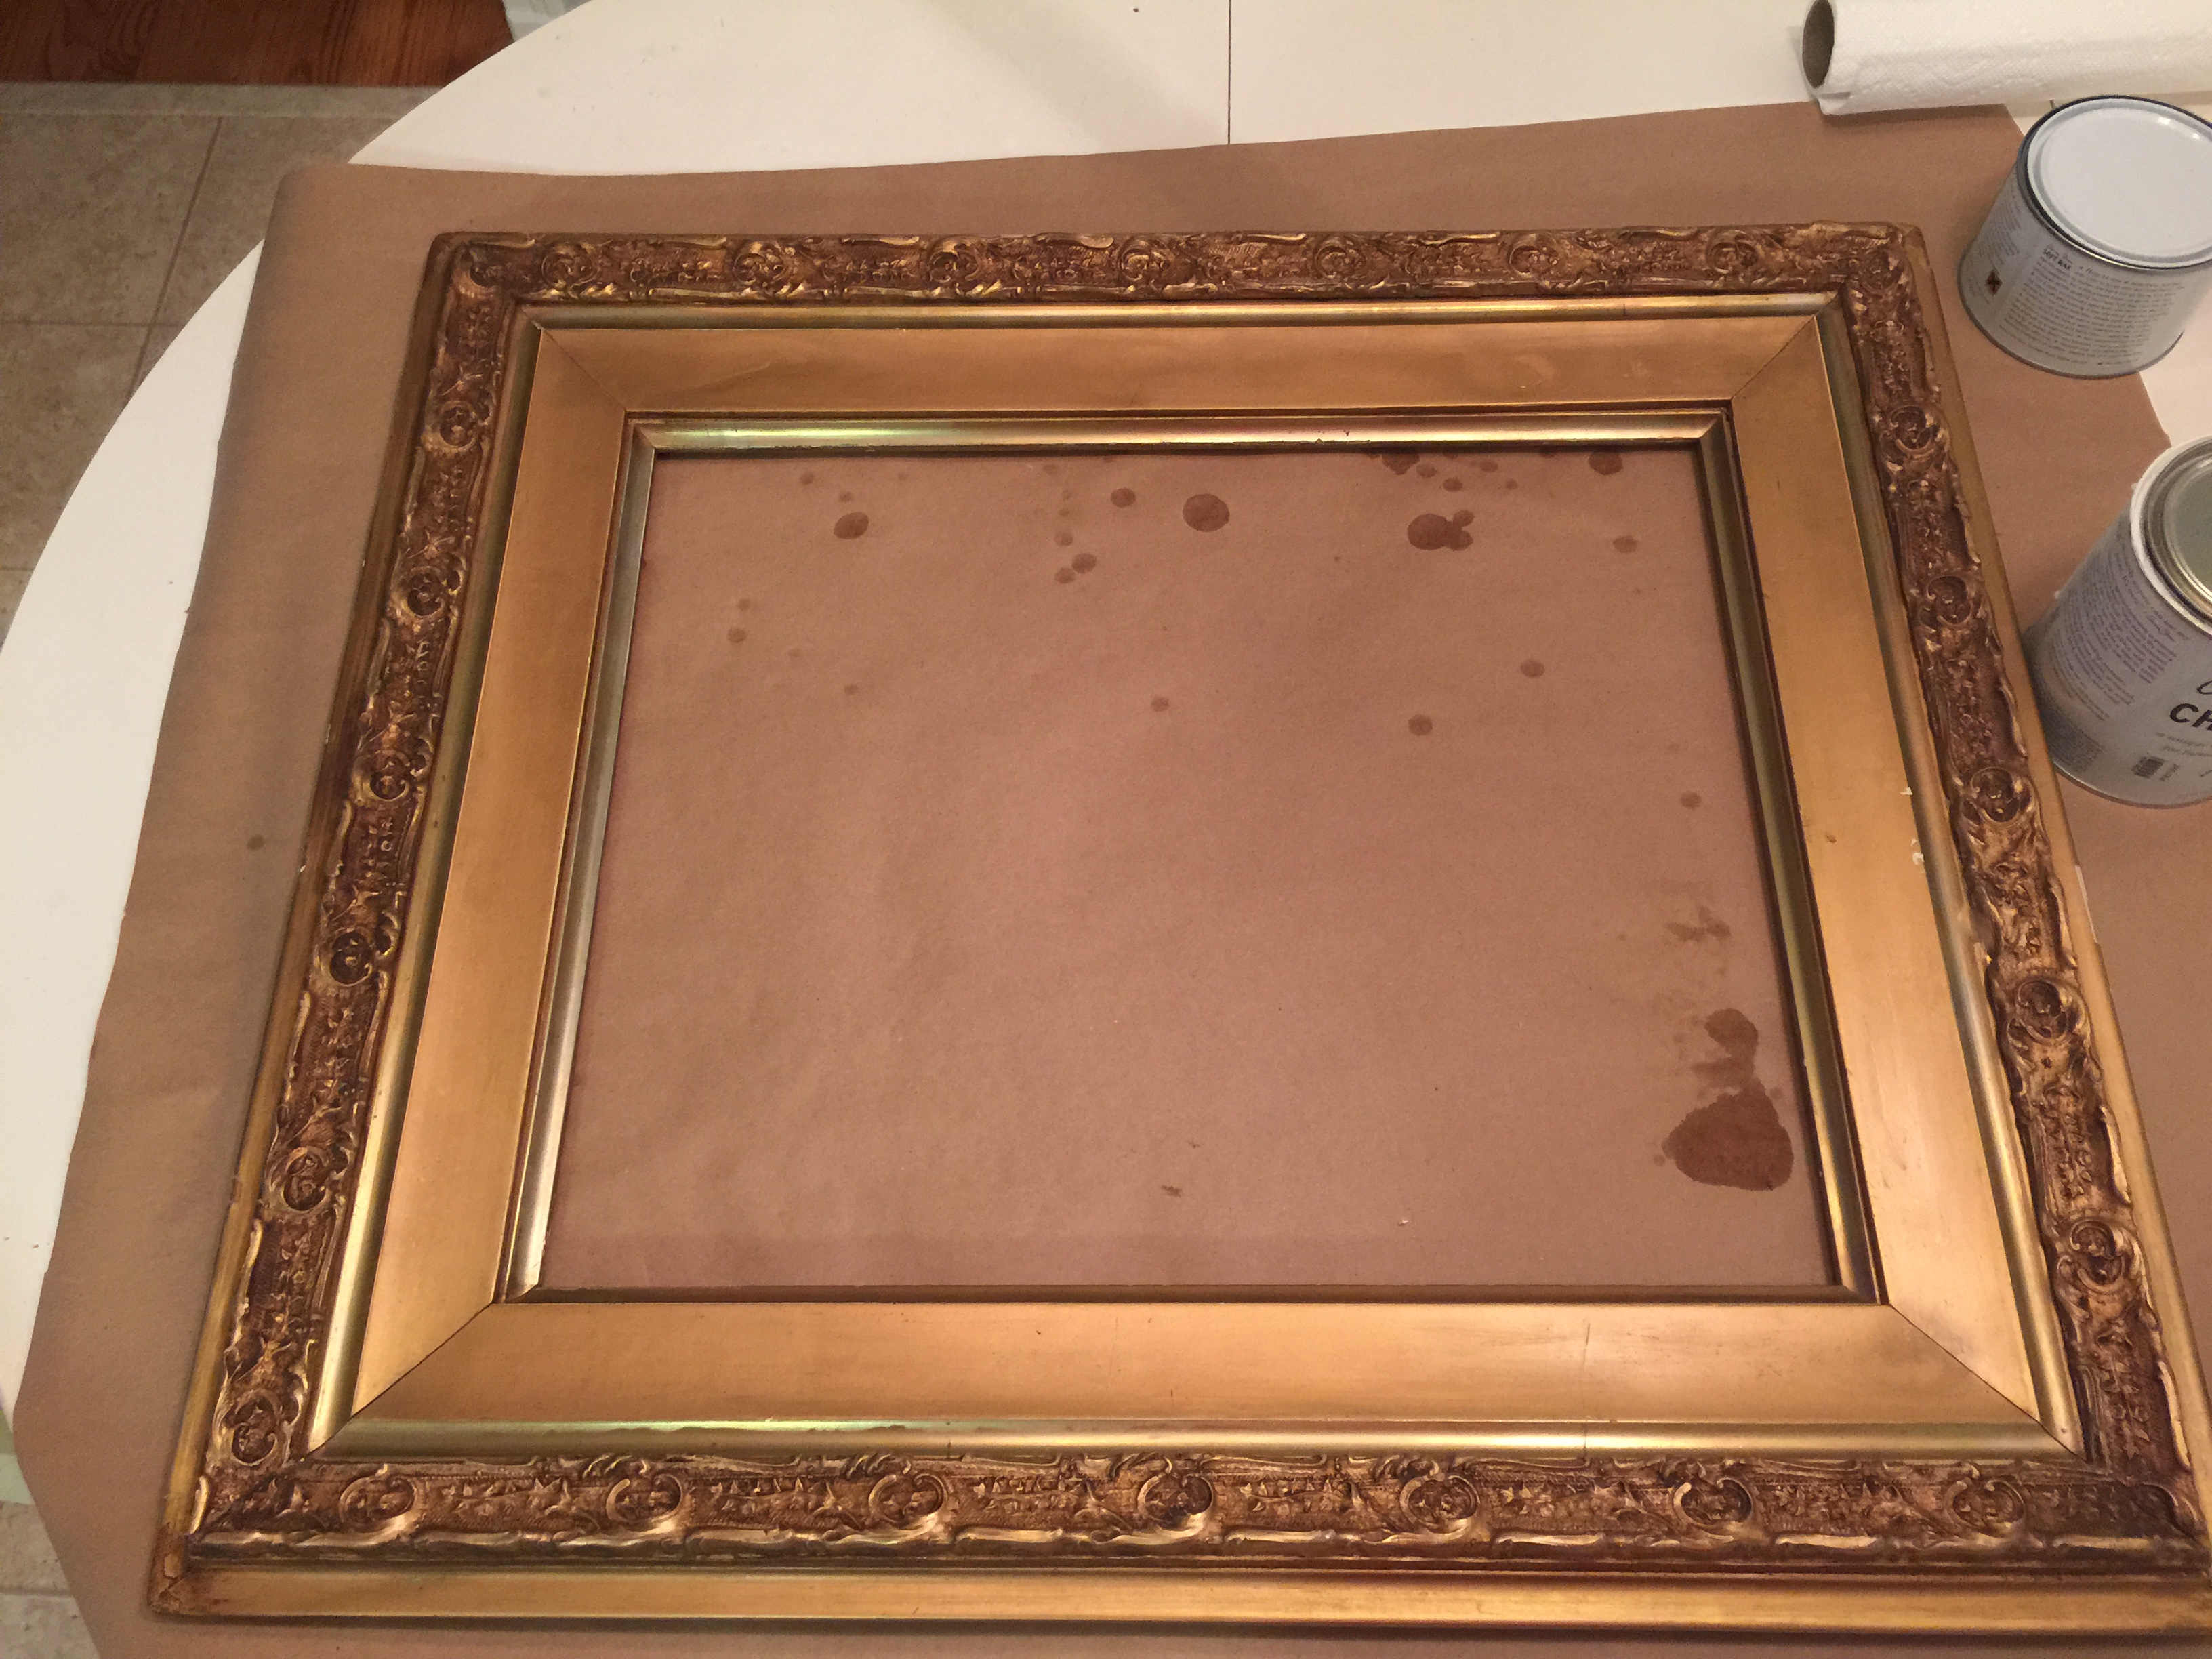
Picture Frame (now awesome bow holder)
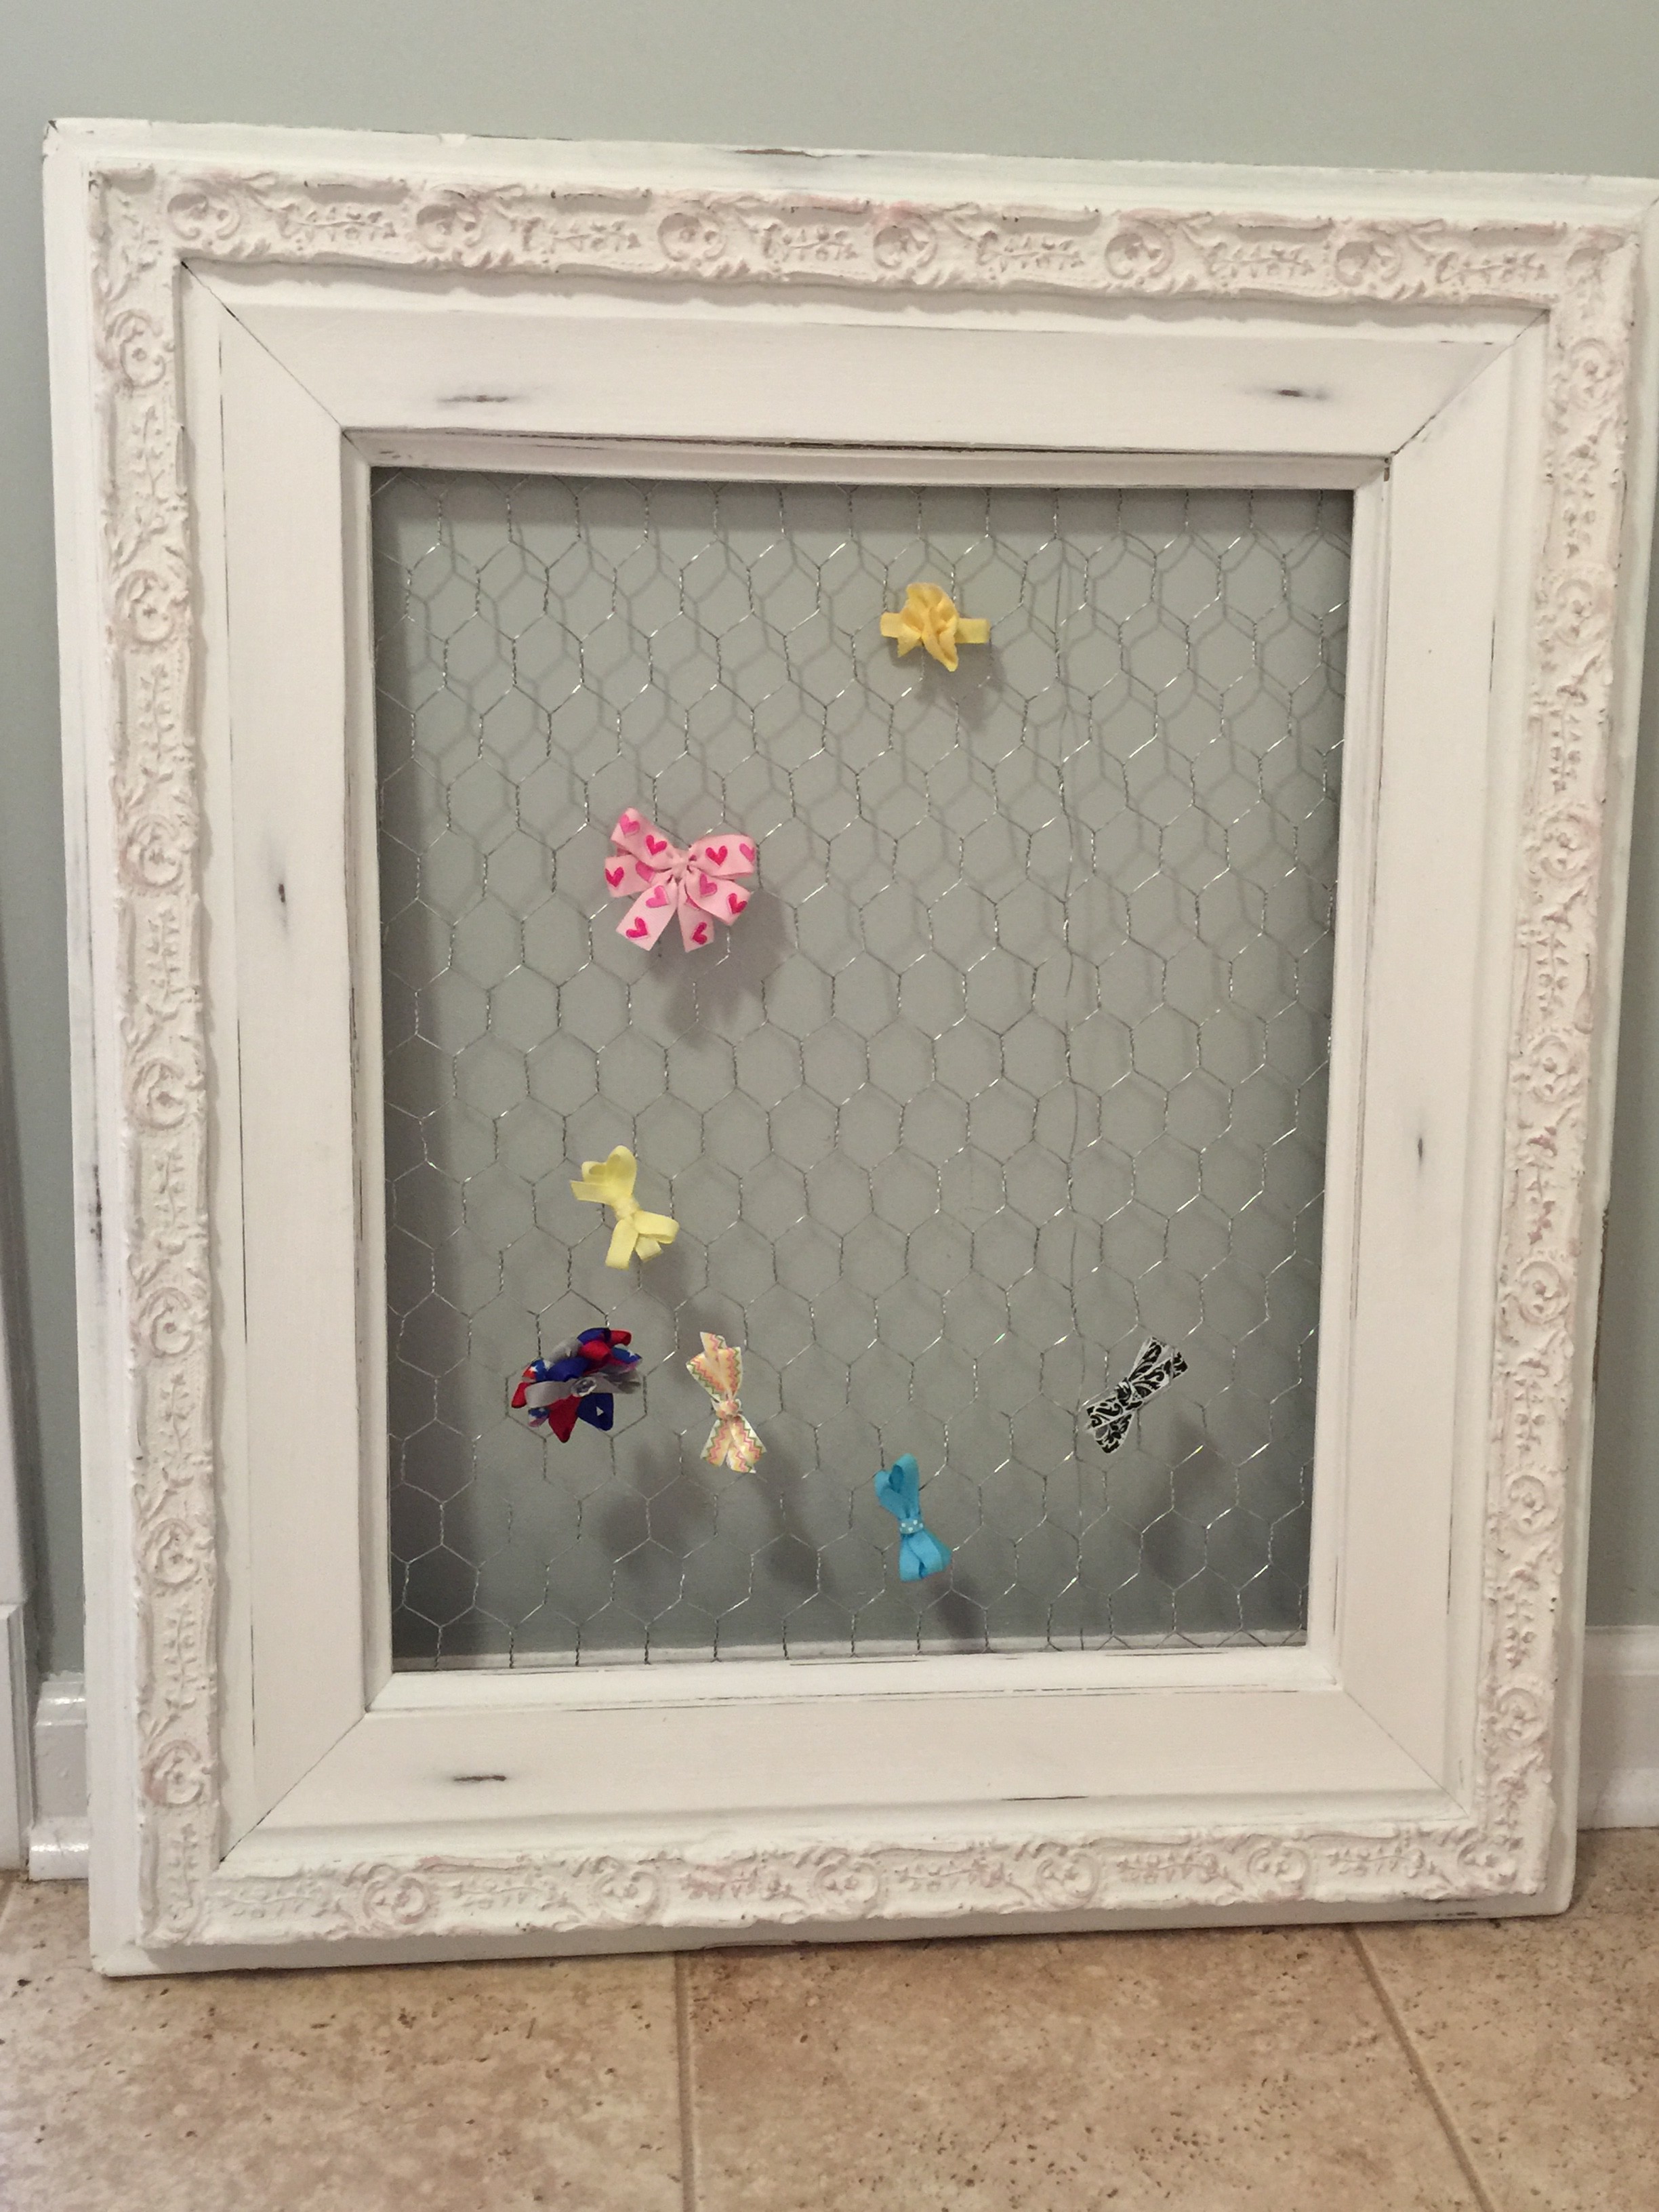
Special credit must be given to Auntie’s Crafts and More who helped me to create this awesome bow holder, and is also responsible for filling it up!
If you are interested in taking a class with Mary (count me in)! I already have so many ideas for new projects (and yes I will share). She is holding her next class on 9/26 from 12-3pm . You can follow her on Instagram, Twitter, and Facebook, BLOG, or you can check out her website: http://www.undergroundfindsandfurniture.com/ .