Disclosure: This is an unsponsored post. All opinions expressed are my own.
We ALWAYS make an ornament. We keep one and then give one to each of the grandparents. I ALWAYS incorporate their hand, foot, or finger prints. Here is this years.
I had a lot to consider. I always want it to be different. Also, I have tried carefully to include skills that the kids need to work on for school into each of our “projects”. (A) hates writing so we have been working at home on pencil grip and increasing his endurance. One great way to do that is with clay.
Marvin brought a picture of what he wanted us to make, as well as the clay and ribbon for the project.
I wanted to liven it up a bit so instead of just one color, (A) got plain green and (E) had a glitter green.
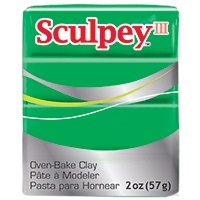
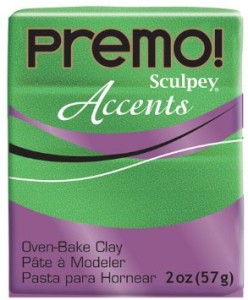
Note: the glitter was much harder to work with and I’m not sure I would purchase it again. There is a Softening agent I learned after the fact which might have helped.
First I let the kiddies play with the clay to soften it up. Then we worked on rolling it out and tracing hands with a toothpick.
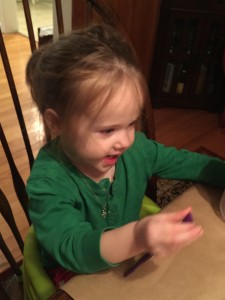
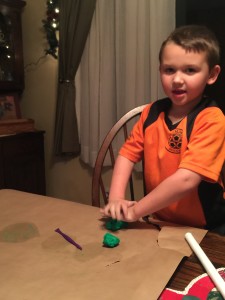
Once traced I cut the handprints out with a knife and placed them on the cookie sheet. I poked a hole in (A)’s hand before baking so that we could get the ribbon through at the end.
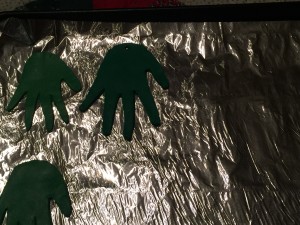
Sparkle and plain went on different sheets because one bakes longer than the other.
Once out and cooled we super glued the hands and berries in the design we wanted, looped through a ribbon and Viola!
Holly Handprint Ornaments!
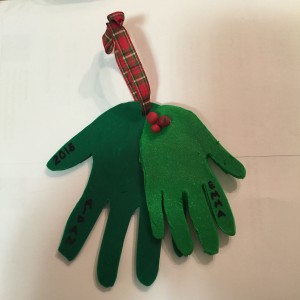
Looking for more hand made ornaments? See ours from years past (click the date to see)!
The years prior, I didn’t post “How to’s” but are pretty self explanatory, if you have a question, please ask, I will explain.
Here are the pictures:
2013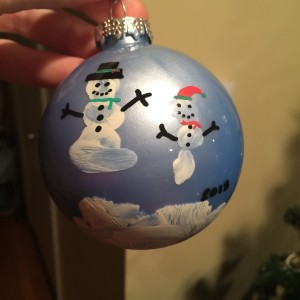
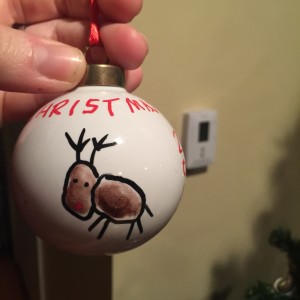
2012


Pingback: Rockland NY Mom | Christmas Ornament 2016