
Disclosure: This is an unsponsored post. All opinions expressed are my own. This article contains affiliate links which means if you choose to purchase the items we recommend we earn a small commission.
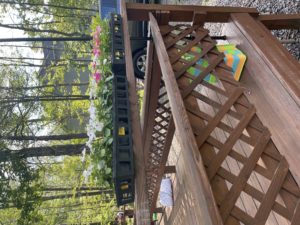
We own a cabin in the woods of the Poconos. It’s my happy place. We have been working on it non stop in the two years that we have owned it. Last year for Mother’s day my family purchased for me a set of Tiki Torches. What a great IDEA cause I LOVE to sit outside in the evenings and enjoy company of family and friends. The problem is, being in a lake region, the ground is TOO SOFT for the torches to stay put in the ground. Every time I put them in the ground, they fell.
We came up with this inexpensive planter fix- which I think is ADORABLE. Now they stay put, they look adorable, and I am pleased as punch to sit outside and enjoy my outdoor space.
What you need:
- Plastic Pots in two sizes (this link has both on it if you need them)– one that’s about the size of a coffee can (or actual coffee cans), and then a larger pot to put it all in and then put flowers in. I found mine at Dollar General, but in case you can’t get out, I linked you to some on Amazon.


- Tiki Torch Cartridge Replacements (in case your got rusty over the winter too)
- Cement
- Potting Soil (we used miracle grow)

- Flowers (went with Vinca’s here because deer don’t love them)
Steps:
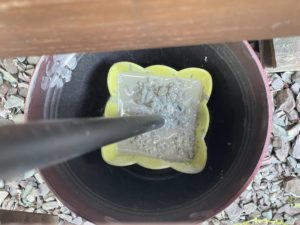
- Mix the cement.
- Put tiki torch bottom into the smaller pot- fill around it with cement. Let dry at least 24 hours.
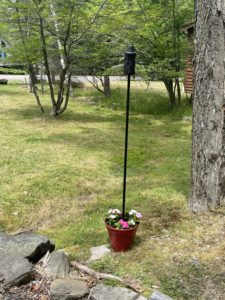
 3. Put the smaller pot into the larger one, filling around the bottom with rocks for stability and filler.
4. Add potting soil, then flowers.
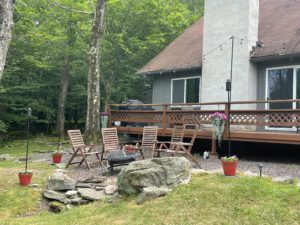
We placed ours around the fire pit area and I cannot wait for the flowers to fill themselves in!
If you love our post or give it a try please as always share a pin, a comment, a social share <3
